
1. Replacing a solar light switch involves several key steps: identifying the right tools for the task, ensuring safety precautions are in place, removing the old switch, and properly installing the new one. 2. Understanding the specific type of solar light switch is critical, as designs may vary across models and brands. 3. Ensuring compatibility with existing systems enhances functionality and longevity. 4. Regular maintenance after installation can prevent future issues and enhance performance.
1. INTRODUCTION TO SOLAR LIGHT SWITCHES
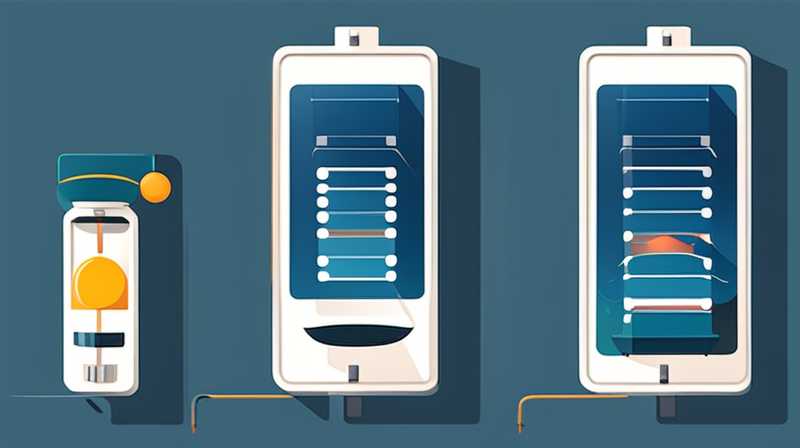
Solar lights have gained immense popularity due to their environmental benefits and cost savings. They harness sunlight to generate power, making them an ideal choice for outdoor lighting solutions. Central to their functionality is the solar light switch, which regulates power flow based on ambient light conditions. When the switch encounters issues or stops functioning entirely, replacing it becomes imperative.
Understanding the mechanics of a solar light switch is crucial before proceeding with a replacement. Many switches include features such as a light sensor and a timer, which dictate the light’s operation. As technology advances, more sophisticated models have emerged, enhancing efficiency and user convenience. However, with this convenience comes the responsibility of maintaining and replacing these components when necessary, ensuring the solar lights continue to operate effectively.
2. TOOLS REQUIRED FOR REPLACEMENT
Before embarking on the replacement process, gathering the appropriate tools saves time and ensures a smoother experience. Essential tools typically include a screwdriver set, a multimeter for testing electrical connections, a wire cutter or stripper, and a pair of safety gloves. These items allow for a thorough and safe approach to replacing the switch.
The role of the multimeter cannot be overstated, as it helps diagnose whether the switch is indeed malfunctioning. Proper usage of this tool provides insights into electrical continuity and prevents unnecessary replacements. Moreover, ensuring that all tools are in good working condition is vital, as using faulty equipment can lead to complications during installation.
3. SAFETY PRECAUTIONS
Safety measures during the replacement process must not be overlooked. Working with electrical components always carries potential risks, and adhering to safety protocols minimizes these hazards. Begin by switching off the power to the solar lights to avoid accidental shocks. Wearing safety gloves adds an extra layer of protection, ensuring that any sharp edges or electrical contacts do not pose hazards.
Additionally, it is wise to check for any signs of wear around the wiring and components. Frayed wires or exposed connections can lead to electrical faults and pose significant risks. Keeping the work area well-lit and organized helps maintain focus and reduces the chance of accidents occurring during the replacement process.
4. REMOVING THE OLD SWITCH
Upon ensuring safety measures are in place and the necessary tools are gathered, the first step in the replacement journey is to remove the old switch. Carefully detach the switch cover by unscrewing it and exposing the internal wiring. Take note of how the wires are connected, preferably taking photos for reference, as this aids in reconnecting the new switch correctly.
Once the cover is removed, the next task involves detaching the switch from the wiring. Carefully loosen the screws holding the wires in place, and gently pull them away from the switch. It is essential to handle the wires delicately to prevent any damage. After disconnecting, inspect the old switch for any signs of wear, which can provide insights into what may have gone wrong.
5. INSTALLING THE NEW SWITCH
With the old component removed, moving onto the installation of the new switch is the next phase. Start by ensuring the new switch is compatible with the solar lights and meets energy requirements. Reference any installation guides provided by the manufacturer, as they often include valuable information on wiring configurations and settings.
Carefully connect the wires according to the reference taken from the old switch. Proper alignment and secure connections are critical to ensure functional integrity. Utilize a screwdriver to tighten the screws and ensure that the connections are stable. After successfully wiring the new switch, reattach the cover, ensuring everything is aligned properly and secure.
6. TESTING FUNCTIONALITY
Once the installation is complete, testing the new switch is essential to confirm its operation. Restore power to the solar lights and observe if the light responds correctly to ambient changes in light conditions. If installed correctly, the lights should turn on at dusk and off at dawn, demonstrating the switch functions as expected.
Using a multimeter again assists in confirming that the connections are intact and that the switch transmits power efficiently. If issues arise during testing, reviewing the wiring connections to resolve potential errors may be necessary. It’s a critical step to ensure that the investment in new components pays off by offering reliable and consistent lighting.
7. REGULAR MAINTENANCE TIPS
Following the successful replacement, maintaining the solar light switch is vital. Regular checks on the alignment and functionality of the switch can prevent unexpected failures. Cleaning the solar panel periodically ensures optimal light absorption, preventing functional deterioration over time.
Incorporating a schedule for these maintenance tasks can prove invaluable. For instance, performing checks once every couple of months guarantees that any developing issues can be addressed promptly. Awareness of potential environmental impacts like debris or snowfall on solar panels is essential, as these factors can impede performance significantly, necessitating further action.
8. WIRING TROUBLESHOOTING
Despite a successful installation, sometimes complications arise related to wiring or connections. It’s valuable to familiarize oneself with basic troubleshooting techniques to diagnose and resolve issues quickly. Symptoms leading to malfunction may involve flickering lights or failure to turn on during the night.
Begin by ensuring all connections are secure and undamaged; loose wires often lead to inconsistent performance. Utilizing the multimeter once more allows for testing voltage and continuity to diagnose the exact cause of failure. If problems persist, checking for any possible damage to the solar panel, wiring, or the new switch may lead to uncovering the root issue.
9. COMMON TYPES OF SOLAR SWITCHES
An array of solar switches exists, each designed for varying applications and environments. Understanding these options can guide future replacements or upgrades for solar lighting systems. Two prevalent switch types include light-sensing switches and timers, each serving distinct functions.
Light-sensing switches operate based on ambient light levels, activating as darkness falls. This automation enhances convenience and power efficiency, making it a preferred choice for most outdoor lighting applications. Conversely, timer switches allow users to predetermine operational hours, offering flexibility tailored to personal schedules and preferences.
10. BENEFITS OF SOLAR LIGHT SWITCHES
Replacement and upgrading of solar light switches have significant benefits beyond mere functionality. Transitioning to modern switches can result in increased energy efficiency, leading to prolonged battery life and reduced maintenance costs. Furthermore, investing in advanced solar technology often aligns with environmental sustainability goals.
Enhanced features in newer models may include smart technology integrations, allowing for remote management through mobile applications. Such innovations open doors to energy-saving options, further promoting ecological responsibility. Recognizing the benefits demonstrates the value of proactive maintenance and strategic replacements in solar lighting systems.
1. WHAT TO CHECK BEFORE REPLACING A SOLAR LIGHT SWITCH?
Prior to any replacement, several factors merit consideration. Begin by assessing whether the solar light is indeed receiving adequate sunlight during the day. Insufficient power generation due to shading from surrounding objects can lead to operational issues. Additionally, evaluate the condition of the solar panel itself. Any damage or accumulations on the panel can impede energy absorption.
Checking connections and battery condition is equally important. A faulty connection or a depleted battery may mimic switch failure. Utilizing a multimeter helps diagnose these issues efficiently. If all previous assessments indicate that the switch is the problem, ensuring you have the correct tools and parts for the replacement solidifies the approach to proceeding.
2. CAN YOU REPLACE A SOLAR LIGHT SWITCH YOURSELF?
Certainly. Replacing a solar light switch is a feasible task for individuals with basic technical skills. Proper preparation, including gathering tools, understanding wiring diagrams, and adhering to safety measures, allows for a successful DIY replacement. It’s essential that all steps are followed methodically, ensuring functionality and safety throughout the process.
However, if a level of uncertainty prevails, consulting a professional can provide added assurance. Some models may possess unique requirements or complexities that warrant expert intervention. Ultimately, individuals should assess their comfort level with electrical tasks before deciding to proceed independently.
3. HOW OFTEN SHOULD SOLAR LIGHT SWITCHES BE REPLACED?
The longevity of a solar light switch varies based on usage patterns, environmental factors, and maintenance practices. Generally, switches can last between two to five years, but proactive checks aid in identifying signs of wear much earlier. Factors such as exposure to extreme weather and excessive use can contribute to accelerated wear.
Incorporating regular maintenance and inspections ensures that replacements are strategic rather than reactive. Keeping track of the performance of solar lights can also guide replacement schedules. If frequent outages or performance issues occur, considering an upgrade may be beneficial.
Understanding and effectively replacing a solar light switch empowers individuals to enhance their lighting systems’ efficiency and longevity. This process encompasses preparation, safe handling, and thorough testing to ensure successful installation. Proactive maintenance further guarantees the optimal functionality of solar lights and switches, creating a reliable lighting solution. Consequently, integrating regular upkeep and awareness of potential issues fosters both comfort and assurance. Investing time in familiarizing oneself with these systems leads to informed decisions, optimizing the use of solar technology to its fullest potential.
Original article by NenPower, If reposted, please credit the source: https://nenpower.com/blog/how-to-replace-a-solar-light-switch/
