
1. The negative wire of solar light should be connected to the negative terminal of the battery or the corresponding negative point in your circuit, ensuring proper polarity is maintained. Connecting it to any other point may lead to malfunction, potentially damaging the solar light system. Always refer to product guidelines for specific instructions.
UNDERSTANDING WIRING IN SOLAR LIGHT SYSTEMS
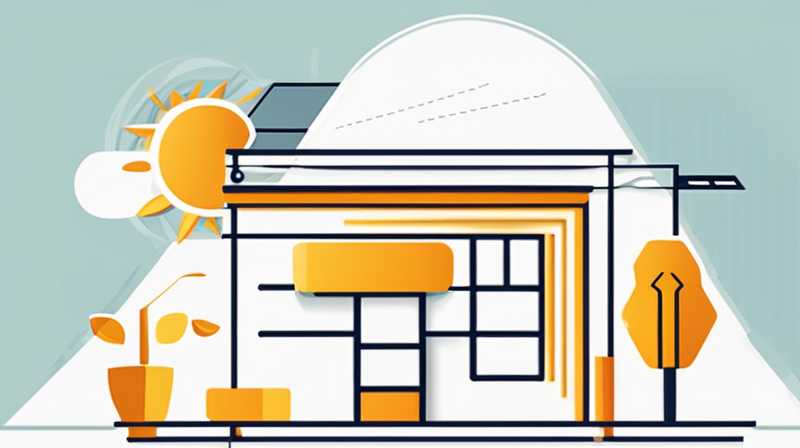
INTRODUCTION TO SOLAR LIGHT COMPONENTS
Solar lights operate through a combination of solar panels, batteries, LEDs, and voltage regulators. The solar panels absorb sunlight and convert it into electrical energy, which is stored in batteries for later use. Understanding the fundamental components of solar lighting systems is essential for proper installation. When it comes to wiring, the polarity of the connections plays a crucial role in the functionality and longevity of the system.
Failure to connect wires correctly can cause short circuits, reduced efficiency, or even permanent damage. Most solar lights consist of a positive and a negative wire, often color-coded red and black, respectively. Thus, comprehending how to properly connect the negative wire is vital for a successful solar installation.
IMPORTANCE OF POLARITY IN CONNECTIONS
Maintaining correct polarity is critical in any electrical system, especially in solar-powered applications. The negative wire serves a fundamental purpose: it completes the circuit that allows electricity to flow. If the negative connection is not established correctly, it can lead to a variety of issues, including ineffective power transfer and overheating.
One of the common misconceptions is that the negative connection can be made to any point in the circuit. This is false, as it must be specifically tied to the negative terminal of the battery or solar panel. Failure to adhere to this basic electrical principle can lead to subpar performance or failure of solar light fixtures.
DETAILED STEPS FOR CONNECTING NEGATIVE WIRE
PREPARATION AND MATERIALS NEEDED
Before undertaking the connection of the negative wire, it’s imperative to gather the necessary materials. These typically include solar lights, appropriate wiring gauges, connectors, and, importantly, a multimeter for testing purposes. A thorough preparation phase can dramatically increase the chances of a successful installation.
Additionally, safety gear such as gloves and safety goggles should be worn to protect against any unforeseen electrical hazards. Proper preparation creates the foundation for a safe and efficient installation experience.
STEP-BY-STEP CONNECTION PROCESS
- Identify the Components: Start with identifying the solar panel, battery, and the feature of the light itself. Once identified, locate the positive and negative terminals for each component, which often require a keen eye to distinguish.
- Proper Insulation: Ensure that all wires are insulated properly to prevent accidental contact during the installation process. This could involve stripping wires and using appropriate connectors—such as ring terminals or butt connectors—for solid connections.
-
Connecting the Negative Wire: Take the negative wire, often black in color, and connect it to the negative terminal of the battery. Ensure that connectors are secure and that there is no exposed copper wire that could touch other components, potentially causing a short circuit.
-
Final Test: Utilizing a multimeter, check the connection to ensure that it correctly indicates the negative charge. This can prevent future issues before the solar light is fully operational.
CHECKING CONNECTIONS FOR FUNCTIONALITY
After all connections have been made, it’s critical to test the system to ensure everything is working correctly. Using a multimeter to check voltage can help confirm that the negative wire is appropriately connected.
Regular testing is essential for ensuring that the system operates efficiently over time, allowing users to troubleshoot any potential concerns effectively. Notably, if the solar lights fail to operate correctly after installation, it’s advisable to reassess the polarity of the connections.
POTENTIAL ISSUES WITH INCORRECT CONNECTIONS
COMMON ERRORS MADE DURING INSTALLATION
Errors in connecting the negative wire can lead to several problems, including electrical shorts, component damage, and system malfunction. Often, installers assume that a loose connection will suffice, which is particularly detrimental. Negligent connections can lead to flickering lights or complete power failure.
Furthermore, incorrect wiring can also result in cloudy performance from the solar lights, reducing their effectiveness over time. It is essential to take a meticulous approach to the wiring process. Ensuring all connections adhere to manufacturer guidelines is key in preventing these common errors.
MITIGATING RISK OF DAMAGE
There are various methods to mitigate the risk of damage to the solar light system. Implementing fuses in the circuit can protect against overcurrent situations, providing added security for all components involved.
Additionally, utilizing high-quality wires with appropriate insulation techniques could mitigate risks linked to environmental factors like moisture or extreme temperatures. These preventative measures are crucial for ensuring a long-lasting solar lighting system.
MAINTAINING YOUR SOLAR LIGHT SYSTEM
REGULAR INSPECTIONS
After the installation process, engaging in regular inspections is crucial for ensuring that the solar lights continue functioning effectively. Regular checks can help to identify any loose connections or signs of wear. This can include visual examinations of the wiring as well as functional tests of the solar lights themselves.
In essence, taking a proactive approach toward maintenance can extend the lifespan of the solar lighting system, preventing unexpected failures due to neglect. Staying attentive to the system’s performance will yield benefits in efficiency and longer service periods.
CLEANING AND UPKEEP
To further enhance the performance of solar lights, ensure that the solar panels are clean and free from debris. Accumulated dirt can diminish the effectiveness of solar energy capture, leading to inadequate power supply for the lights.
Cleaning the panels, along with maintaining the wires and connections, promotes a healthy solar system. Combining these maintenance practices leads to an investment that not only saves energy but also reduces long-term costs.
FREQUENTLY ASKED QUESTIONS
HOW CAN I KNOW WHICH WIRE IS NEGATIVE?
To identify which wire is negative, one can typically observe color coding—black or blue indicates negative, while red or yellow signifies positive. If uncertain, using a multimeter to measure voltage can provide definitive results. Confirm that the meter indicates a negative value when the black probe is on the wire in question.
Additionally, consult the device’s documentation, as different manufacturers may have variations in wire coloration. Understanding the specifics related to your solar light model is vital for making accurate connections.
WHAT HAPPENS IF I CONNECT THE NEGATIVE WIRE INCORRECTLY?
Connecting the negative wire incorrectly can lead to severe consequences, including potential electrical short circuits. This can compromise not only the solar lights but also other interconnected components in the circuit, resulting in reduced efficiency or irreversible damage.
In addition to damaging devices, incorrect wiring may pose safety hazards, risking electrical shocks or fires under certain circumstances. Therefore, adhering strictly to wiring protocols is critical in preventing these hazards.
CAN I USE A DIFFERENT TYPE OF WIRE FOR CONNECTIONS?
While it’s technically possible to use different wire types for connections, it’s not advisable. Wire gauges must be compatible with the existing system to ensure consistent electricity flow. Using either under- or over-sized wires can lead to overheating or inadequate power delivery.
Always refer to the specifications of your solar light products to determine the appropriate wire types for connections. Following manufacturer recommendations safeguards both functionality and safety.
(BOLD) STRATEGIC INSIGHTS ON CONNECTING THE NEGATIVE WIRE FOR SOLAR LIGHTS
(BOLD) Knocking down the intricacies of connecting the negative wire in solar lights involves a methodology focused on proper practices and safety. (BOLD) Correct polarity must never be underestimated, as this provides a stable electric path and averts potential risks inherent in faulty connections, such as malfunctioning lights or component damage. (BOLD) By adhering to appropriate protocols during installation, individuals can ensure their solar lighting systems remain functional and durable over time. Furthermore, establishing a routine for maintenance will maximize efficiency, fostering an environmentally friendly alternative. As solar technology progresses, an awareness of these mechanical subtleties becomes paramount for anyone looking to utilize renewable energy effectively. (BOLD) Ultimately, understanding the significance of each connection, particularly the negative wire, not only enhances the sustainability of your setup but also promotes a brighter future powered by clean energy solutions.
Original article by NenPower, If reposted, please credit the source: https://nenpower.com/blog/where-to-connect-the-negative-wire-of-solar-light/
