
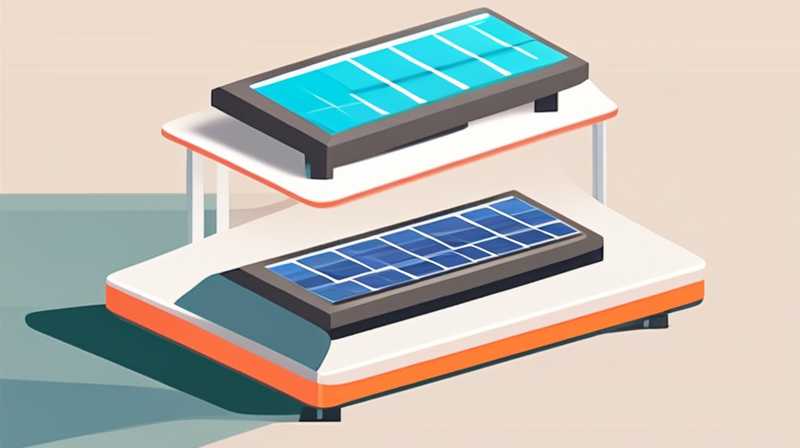
If the solar tube rubber pad is broken, immediate action should be taken to prevent further damage and ensure the system’s efficiency. 1. Assess the damage, 2. Obtain replacement parts, 3. Remove the broken pad, 4. Install the new rubber pad. A critical step involves securing the exact replacement which matches the specifications of the existing solar tube system to maintain operational integrity and prevent leaks. It is also essential to seal all edges carefully to ensure longevity and optimal performance after replacement.
1. ASSESSING THE DAMAGE
When a solar tube rubber pad sustains damage, the first course of action involves meticulously inspecting the surrounding area to evaluate the extent of the issue. The rubber pad acts as a vital component that seals the junction between the solar tube and the structure it is affixed to. Therefore, a thorough examination is paramount. Checking for any signs of wear, tear, or degradation can provide insights into whether the damage is isolated or indicative of broader issues with the installation.
Identifying the specific nature of the damage can help determine the necessary steps for remediation. Visual indicators such as cracking, brittleness, or dislocation can signify that replacement is imperative. In addition, assessing whether the integrity of the surrounding installation has been compromised is necessary. Signs of leakage, moisture buildup, or other environmental factors could potentially affect the entire solar tube system, necessitating a more comprehensive evaluation of the entire setup.
2. OBTAINING REPLACEMENT PARTS
Once the assessment highlights the need for a new rubber pad, the focus should turn to sourcing an appropriate replacement. It is crucial to procure parts that are designed specifically for the type of solar tube in question. Mismatched components can lead to inefficient performance or additional damage. Identify the make and model of your solar tube system to ensure compatibility with purchased parts.
Online retailers, local hardware stores, or specialized solar equipment suppliers often carry a range of replacement parts. Consulting manuals or seeking assistance from professionals can facilitate the process of acquiring the correct rubber pad. It is essential to consider quality over cost when selecting replacement components. Investing in high-quality materials ensures durability and the optimal functioning of the solar tube setup. Utilizing inferior materials can lead to premature failure, warranting yet further expenditures down the line.
3. REMOVING THE BROKEN PAD
Removing the damaged rubber pad demands careful handling to avoid causing any additional disruption to the system. Begin this phase by ensuring that the solar tube is insulated properly and that there is no residual pressure or fluid within the system. Using an appropriate set of tools, detach any screws, bolts, or fixtures that hold the rubber pad in position. Maintaining a measured approach minimizes the risk of inflicting damage on surrounding components.
After loosening the fasteners, gently peel the old rubber pad away from its placement. Applying heat or lubricant can assist in softening any stubborn adhesive. Take caution to avoid pulling or stretching any remaining seals, as these could also require replacement. Once the old pad is completely detached, it is prudent to conduct a brief inspection of the area beneath and around where the pad was affixed to ensure there are no additional issues that need addressing before proceeding to installation.
4. INSTALLING THE NEW RUBBER PAD
Having successfully removed the defective rubber pad, it is time to install the new component. Prior to placing the new pad, ensure that the surface is meticulously cleaned to prevent any dirt or debris from interfering with the adhesive seal. Using a suitable cleaner, wipe down the area and allow it to dry before proceeding.
When preparing the new rubber pad for installation, align it accurately with the designated area. Ensure that any connection points or holes for screws or bolts are accurately matched up to establish a proper seal. Apply adhesive or sealant as specified in the product instructions. It is advisable to press down firmly on the new pad to secure it in place and eliminate air pockets that could compromise effectiveness.
After the new pad has been installed, allow it to cure per the manufacturer’s instructions. This curing period is crucial for sealing and ensuring that the pad adheres correctly to the surface. Reattach any fixtures or plumbing that were disconnected during the removal process. Following this, conduct a complete system check to verify that operations resume normally without leaks or other irregularities.
FREQUENTLY ASKED QUESTIONS
WHAT ARE THE SIGNS THAT THE RUBBER PAD NEEDS REPLACEMENT?
Indicators signaling a potential need for replacement include visible cracks, excessive wear, or degraded material that appears brittle or hardened over time. Additionally, if a solar tube system begins to develop leaks, excessive humidity, or even localized corrosion around the pad’s environment, these can all signify that the rubber has lost its integrity and effectiveness. It is crucial to perform routine checks and maintenance to identify these warning signs early on.
Regular visual inspections can help catch these problems before they escalate into more serious concerns. Should any of these conditions be detected, it is highly advisable to replace the rubber pad promptly, as neglecting this can lead to further complications and costly repairs down the line. Identifying and addressing such issues early can greatly enhance the longevity of the solar tube system while also maintaining energy efficiency.
HOW CAN I PREVENT FURTHER DAMAGE TO MY SOLAR TUBE SYSTEM?
Preventative measures are essential to extend the lifespan of solar tube systems. Regular maintenance practices such as performing consistent inspections, cleaning the components regularly, and promptly addressing minor damages can greatly mitigate potential issues. Installing coverings or shields during extreme weather can also help protect the installation from environmental impacts.
Another precaution includes ensuring that the rubber pad is made of high-quality material and is correctly fitted during installation. By utilizing appropriate adhesives, sealing methods, and ensuring that all components of the tube system are secure, you can decrease the likelihood of recurring problems. Educating oneself on the optimal care procedures and recognizing signs of wear will empower owners to take action before issues escalate.
WHAT SHOULD I CONSIDER WHEN PURCHASING REPLACEMENT PARTS?
When choosing replacement parts, focus on several key factors to ensure a successful procurement. Compatibility with the existing system’s specifications is paramount; double-checking the make and model will avoid mismatched purchases that could lead to further complications.
Moreover, quality should be prioritized over cost. High-quality components are typically constructed from durable materials that can withstand environmental factors and routine operational stresses. Investigate the supplier’s reputation and check consumer reviews to ensure that the parts offered have been validated by previous customers. Opting for warranty-backed products can also provide additional peace of mind regarding the reliability of the replacement components.
Making informed decisions when it comes to solar tube systems is critical for maintaining efficiency and preventing further damage. Assessing the situation, acquiring compatible components, and ensuring proper installation methods serve to safeguard the longevity and effectiveness of the system. Well-maintained solar tube setups not only yield significant savings but contribute positively to broader energy efficiency goals as well. Therefore, treating any issues with diligence, favoring high-quality replacements, and engaging in regular maintenance routines will enhance performance and sustainability.
Original article by NenPower, If reposted, please credit the source: https://nenpower.com/blog/what-to-do-if-the-solar-tube-rubber-pad-is-broken/
