
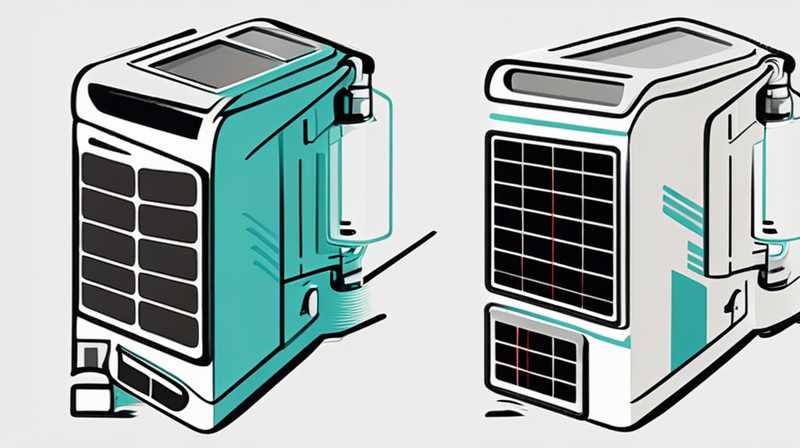
1. REPLACING A BROKEN SOLAR PC TUBE IS A TASK THAT REQUIRES CAREFUL ATTENTION TO DETAIL AND A METHODICAL APPROACH. 2. THE INITIAL STEP INVOLVES TURNING OFF THE POWER AND WATER SUPPLY TO AVOID ANY RISK. 3. FOLLOWING THIS, REMOVE THE BROKEN TUBE BY UNDOING THE FIXINGS. 4. INSTALL A NEW TUBE BY SECURING IT PROPERLY AND RECONNECTING ALL NECESSARY COMPONENTS. 5. FINALLY, TEST THE SYSTEM TO ENSURE IT FUNCTIONS CORRECTLY.
1. PREPARATION AND SAFETY MEASURES
Before embarking on the journey to replace a broken solar PC tube, one must prioritize safety. Switching off the power supply is paramount to prevent any electrical hazards. Moreover, draining the water from the system is equally essential. This precautionary measure helps avoid any spills or accidents.
Next, gather all necessary tools and materials before commencing work. Essential tools typically include wrenches, screwdrivers, and pliers, while a replacement tube and seals should be prepared in advance. Taking the time to set up a clean workspace contributes to efficiency and minimizes confusion during the task.
Once tools and materials are at hand, a thorough inspection of the current setup will reveal any additional issues that may need addressing. Remember to document each step of disassembly to ease the reassembly process in later phases. Having a systematic approach not only facilitates efficiency but also reduces the likelihood of missing crucial components.
2. REMOVING THE BROKEN TUBE
With preparations complete and safety measures in place, focus shifts to the removal of the faulty component. Carefully detach any mounting brackets or fasteners that secure the broken tube. These elements might vary in design, with some requiring specific tools for removal.
As the tube is taken out, exercise caution to prevent any damage to neighboring components or the overall structure. If the tube is connected to any electrical wires or water lines, ensure that these are handled delicately to avoid disruptions. Once the broken tube is removed, inspect the surrounding area for any signs of damage or wear that may necessitate repairs before installing the new unit.
It is beneficial to clean the area thoroughly before proceeding to installation. Removing debris, dust, or remnants of old seals creates a conducive environment for the new tube, ensuring a tight and reliable fit. Additionally, ensuring that the sealing surfaces are smooth and free of imperfections can prevent future leaks.
3. INSTALLING THE REPLACEMENT TUBE
After ensuring the workspace is clean and inspecting surrounding areas, the next task is to position the new solar PC tube. Align the new tube with the connections and fittings properly, ensuring that all seals line up. A misalignment can lead to performance issues and potential leaks.
Once properly aligned, gently fasten the tube into place, making sure not to overtighten and risk damage. Secure any mounting brackets and ensure that all electrical connections are restored efficiently. At this juncture, it’s crucial to reference the manufacturer’s guidelines to verify compatibility and installation best practices.
After installation, examine all connections carefully. Any oversight could lead to significant operational challenges or damage to the solar system.
4. TESTING THE SYSTEM POST-INSTALLATION
With the new tube in place and securely fastened, it’s time to verify the functionality of the system. Start by reconnecting the water supply and carefully checking for any immediate leaks. A thorough inspection will allow for prompt identification of any issues that may arise as the system is pressurized.
After the water is reconnected, switch on the power supply and closely monitor the unit. Observing the operation for at least several minutes will help identify irregular behaviors or leaks that might be indicative of improper installation.
Should any problems arise during this testing phase, it is essential to shut off the system immediately and reassess all connections. This step can save both time and resources, providing an opportunity to rectify any mistakes or oversights quickly.
5. MAINTENANCE AND LONGEVITY OF SOLAR TUBES
Once the replacement process has been finalized, establishing a routine maintenance schedule will be vital for the longevity of the solar PC tube. Regular inspections can help prevent unforeseen breakdowns and keep the system running efficiently.
Documenting maintenance tasks provides a roadmap for future reference, allowing one to track improvements and identify trends over time. This proactive approach not only extends the life of the solar tube but also enhances overall system efficiency.
Moreover, an awareness of how environmental factors can impact performance can help inform maintenance practices. For example, debris accumulation, algae growth, or physical damage from weather elements are potential risks that can impede functionality. Regular cleaning and protection against environmental threats should be integral to any maintenance plan.
FREQUENTLY ASKED QUESTIONS
1. WHAT TYPES OF SOLAR PC TUBES ARE AVAILABLE?
Solar PC tubes are primarily categorized into two types: vacuum and non-vacuum systems. Vacuum tubes are designed to create a thermal barrier, providing better insulation and energy efficiency. Non-vacuum tubes, while often more affordable, may not perform as efficiently, especially in colder climates.
The choice depends on specific needs, including climate conditions and budget constraints. Evaluating the efficiency ratings and potential energy savings associated with each type can guide users in selecting the most suitable option for their homes.
Additionally, from a practical perspective, installation requirements can vary significantly between tube types. Some may necessitate specialized tools or professional assistance to install properly.
2. HOW LONG DOES A SOLAR PC TUBE LAST?
The lifespan of solar PC tubes generally ranges between 5 to 15 years, depending on various factors such as usage, maintenance, and environmental conditions. Proper care plays a crucial role in prolonging the life of solar components.
Factors like exposure to harsh weather, regular maintenance, and the quality of materials will ultimately dictate longevity. For instance, areas with high humidity or extreme temperatures may see a shorter life span due to additional wear and tear from the environment.
Regular inspections and timely repairs can help mitigate some of these environmental impacts and maintain optimum functionality.
3. HOW CAN I ENSURE THE PROPER FUNCTIONING OF MY SOLAR PC TUBE?
Ensuring the optimal performance of your solar PC tube involves several proactive steps. Regular cleaning to remove dust and debris, as well as periodic inspections for signs of wear or damage, are critical for maintaining peak efficiency.
Moreover, monitoring the system for any irregularities and addressing issues promptly can prevent minor problems from escalating into major failures. A solid maintenance routine combined with awareness of environmental factors is necessary for enhancing system reliability.
Additionally, users are encouraged to engage with local professionals for annual check-ups, ensuring that the system is functioning efficiently. Having expert insights can also help identify potential improvements in setup or usage practices.
In summary, understanding how to replace a broken solar PC tube involves meticulous preparation, careful execution, and routine maintenance to ensure optimal performance. With diligence, users can preserve both the efficiency and functionality of their solar systems for years to come.
Original article by NenPower, If reposted, please credit the source: https://nenpower.com/blog/how-to-replace-a-broken-solar-pc-tube/
