
To replace a broken solar lamp, follow these steps: 1. Assess the Damage, 2. Select a Replacement, 3. Remove the Broken Unit, 4. Install the New Lamp, 5. Test the New Lamp. Assessing the damage involves determining whether the broken solar lamp can be repaired or if a replacement is necessary. If the lamp is damaged beyond repair, selecting an appropriate replacement is essential. Ensure that the new lamp matches the existing hardware, such as mounting requirements and light output. Once the new lamp is selected, safely remove the broken unit from its previous location. Installing the new lamp requires following manufacturer instructions to ensure proper functionality. After installation, it’s crucial to test the new unit to confirm it operates effectively, ensuring it is correctly positioned to receive sunlight for optimum performance.
1. ASSESSING THE DAMAGE
Estimating the extent of damage to a solar lamp is an essential step before any further actions can be taken. When dealing with a solar lamp, common issues can arise, including a broken bulb, faulty wiring, or battery failure. Each issue demands a specific approach to determine whether effective repair is feasible or if complete replacement is the smarter choice.
Firstly, inspect the solar panel and body for cracks or scratches that might impede functionality. If the solar panel is unscathed, the lamp might still function with some minor repairs, such as replacing the battery or bulb. Conversely, if the panel is broken, seeking a replacement unit altogether would be wise. Troubleshooting can reveal if the internal components, such as LED bulbs or circuitry, also require attention. Identifying the root cause of malfunction is paramount for a proper resolution.
2. SELECTING A REPLACEMENT
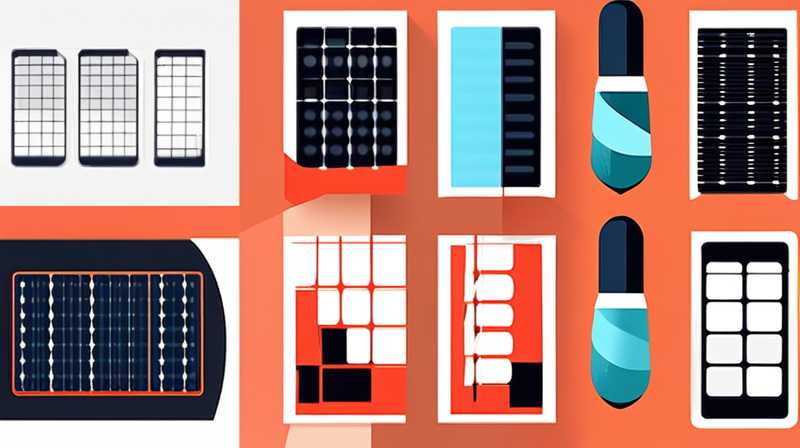
The market offers a plethora of solar lamp options, which makes selecting a replacement unit both exciting yet daunting. To make an informed choice, it is crucial to consider various factors such as style, brightness, and durability. Style preferences range from traditional lanterns to modern garden lights; selecting one that complements your existing décor is essential for aesthetic coherence.
When it comes to brightness, it’s important to understand the lumens rating of solar lamps. Higher lumens equate to a brighter light, suitable for illuminating larger areas. Additionally, one should consider the lamp’s battery capacity, as this impacts the duration of light in the evening. A durable design is vital; materials that withstand weather conditions extend the lifespan of the lamp. Comprehensive research leads to a successful investment in both functionality and design.
3. REMOVING THE BROKEN UNIT
Removing an existing, malfunctioning solar lamp can be straightforward but demands attention to certain details to avoid damage to the mounting area or surrounding landscape. The first measure is to gently unscrew or detach any components, including the solar panel if it’s an integrated model. Proper removal may also involve cutting or disassembling non-removable parts carefully.
Prioritizing safety is vital during this step. Wear gloves and goggles, as shards or debris may cause injury. Following a meticulous approach ensures a smoother transition to the installation of a new unit. Once disassembled, clean the area where the old lamp was situated to prepare for the introduction of a replacement unit. This process involves removing any debris or residue left over, promoting an ideal foundation for the new solar lamp to stand correctly.
4. INSTALLING THE NEW LAMP
Once the old unit has been successfully removed, transitioning into the installation phase requires thorough attention to detail, as proper set-up ensures longevity and efficient operation. Initially, consult the manufacturer’s guidelines, as each model may come with unique installation requirements. Begin by securing the base or mounting bracket to the ground or selected fixture.
Ensure that the lamp is level and stable; this reduces the likelihood of malfunction due to tilting or dislodging in harsh weather conditions. After installation, connect any necessary electrical components, if applicable, carefully adhering to voltage specifications. Pay careful attention to positioning the solar panel towards an unobstructed view of sunlight to maximize energy absorption. The height of installation also plays a role, as lifting the lamp to a higher vantage point can enhance illumination area.
5. TESTING THE NEW LAMP
Following installation, testing the new solar lamp is crucial to ensure it operates as intended. Begin by observing if the solar panel is receiving sufficient sunlight during the day, as this directly influences its ability to recharge effectively. It can take some time for solar lights to fully charge upon first installation.
Monitor the lamp’s performance during the evening; after dusk, gauge how brightly it illuminates the designated area. If any inconsistencies arise, adjustments may be necessary. Make sure the solar panel is correctly oriented and that nothing obstructs sunlight entry, such as nearby foliage or structural elements. In instances where performance fails to meet expectations, consulting with the manufacturer can provide insights into potential solutions. Careful observation will yield the best outcomes, enjoying the full benefits of the newly installed solar lamp.
FREQUENTLY ASKED QUESTIONS
WHAT IS THE AVERAGE LIFESPAN OF A SOLAR LAMP?
The average lifespan of a solar lamp varies significantly depending on several factors, including quality, usage, and environmental conditions. Generally, a solar lamp can last anywhere from three to twenty years. High-quality models featuring durable materials and superior solar panels offer longevity closer to the upper range. Battery life also plays a critical role; rechargeable batteries may require replacement every two to three years, depending on how frequently the lighting system is used. Additionally, adverse weather conditions, such as extreme heat or cold, can affect durability. Proper maintenance, such as cleaning the solar panel every few months, optimizes the lamp’s lifespan, yielding better performance and a longer-lasting experience.
CAN BROKEN PARTS OF A SOLAR LAMP BE REPLACED INDIVIDUALLY?
Yes, many components of solar lamps can be replaced individually, which is both economical and environmentally friendly. Commonly replaceable parts include bulbs, batteries, and solar panels. When a solar lamp ceases to function, identifying the specific malfunction helps determine if a component substitution is viable. For instance, replacing a burnt-out LED bulb can restore the lamp’s functionality quickly. However, not all units allow for easy disassembly or replacement, depending on the design and manufacturing quality. Thus, it’s advisable to consult the product manual for guidance on which components can be effectively replaced without compromising the overall structure. This not only saves costs but also reduces waste, contributing positively to sustainability.
HOW DO I MAINTAIN MY SOLAR LAMP FOR OPTIMAL PERFORMANCE?
Maintaining a solar lamp can significantly enhance its efficiency and extend its lifespan. Regular cleaning of the solar panel is crucial, as dirt and debris can impede sunlight absorption, limiting charging capacity and overall performance. Use a soft cloth or sponge with water and mild soap to gently wipe the panel clean. In addition, inspect the batteries regularly and consider replacing them every couple of years, as they may lose charging capability over time. Positioning the lamp away from obstructions like overhanging branches or fixtures can also optimize sunlight exposure, thereby enhancing the unit’s ability to gather energy. Lastly, checking for any physical damage or loose connections assists in identifying and rectifying issues before they lead to complete malfunctions.
Integrating all the aforementioned steps and considerations helps guarantee a successful procedure for replacing a broken solar lamp. Analyzing the existing situation allows for an informed decision about whether to repair or replace. Selecting the right model not only enhances the aesthetic appeal of the area but also ensures superior functionality catering to your outdoor lighting needs. Proper installation and alignment with manufacturer guidelines create a foundation for optimal performance yielding satisfaction in your investment. Testing ensures the new unit operates as expected; continual maintenance and attention extend the life and efficacy of the solar lamp further. This approach not only promotes sustainability through reduced wastefulness but also contributes to an eco-friendly lifestyle that aligns with modern environmental values. Taking pride in a well-functioning solar lamp provides both practical benefits and a pleasing ambience for outdoor spaces.
Original article by NenPower, If reposted, please credit the source: https://nenpower.com/blog/how-to-replace-a-broken-solar-lamp/
