
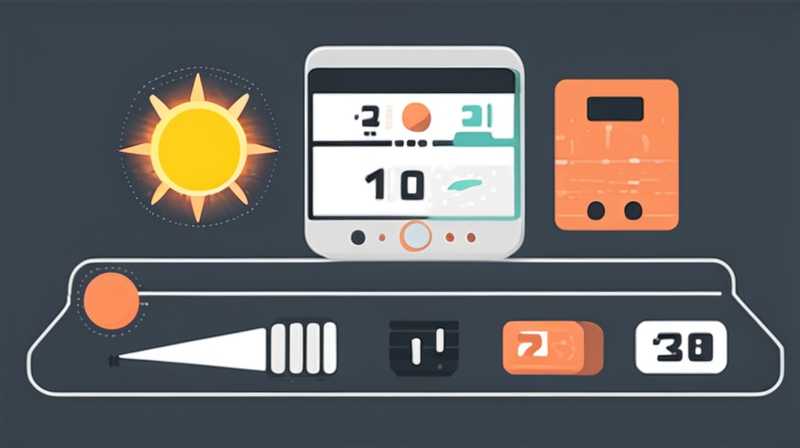
To effectively address the query regarding the process of repairing a solar electronic scale, it is essential to understand several key components involved in this task. 1. Identify the issue, 2. Gather necessary tools, 3. Disassemble the scale, 4. Replace or repair faulty components, 5. Reassemble the scale, 6. Test the functionality.
The first step in any repair task involves diagnosing the specific problem at hand. In the case of a solar electronic scale, possible issues may include failure to power on, incorrect readings, or physical damage to the unit. This diagnosis typically requires observation, testing the solar panel for functionality, and assessing internal components such as circuit boards and the display mechanism.
In instances where the issue stems from the solar panel, a thorough examination is crucial to determine if the panel is receiving adequate sunlight or if it is damaged. If it is deemed malfunctioning, it may need replacement or repairs involving soldering or adjusting connections. Furthermore, cleaning the solar panel and ensuring that it is not obstructed by debris or other objects can significantly enhance its performance.
If the solar panel proves functional, the next step is to explore other potential faults. Checking battery connections, examining the scale’s circuitry, and testing the load cell for accuracy are vital processes. Load cells are responsible for converting weight into electrical signals; thus, any discrepancies here might lead to incorrect weight readings. It’s recommended to utilize a multimeter to test the continuity and strength of these connections.
Once a thorough diagnosis has been conducted, gathering the appropriate tools is paramount. A standard toolkit for electronic repairs will typically include a screwdriver set, small pliers, a multimeter, soldering equipment, and possibly replacement components such as batteries or circuit boards specific to the scale’s design. Ensuring that the scale is powered down and disconnected from any power source will enhance safety during this repair process.
DISASSEMBLY OF THE SCALE,
The disassembly phase involves carefully opening the electronic scale without causing any additional damage. Often, the scale will have a series of screws, which can be hidden beneath rubberized pads or stickers. Gently removing these pads will unveil the screws, allowing for unscrewing with appropriate tools. Care must be taken to handle components delicately to avoid any further malfunction.
Inside, various components are connected, including the circuit board, battery compartment, and display screen. Identifying and noting the arrangement of these components will assist during reassembly. Each piece should be carefully disconnected, preferably labeled if necessary, to ensure proper reinstallation.
When disassembling, observers may encounter different types of fasteners or connectors that require unfastening with specific tools. This step is crucial as forced removal can lead to sheltering of essential components, which might warrant further repairs down the line.
REPAIR OR REPLACEMENT OF COMPONENTS,
With the scale disassembled, focus turns to the identified issues. It involves visual inspections for burnt marks or loose connections on the circuit, as well as checking for corrosion, especially in battery compartments. If a faulty component is pinpointed, it may necessitate replacement. Replacement components should match the specifications of the original parts to ensure compatibility and reliability.
When soldering new connections or components, using appropriate techniques is essential. This can include adding flux to aid solder flow and ensuring connections maintain durability under stress. Alternatively, if the scale uses plug and play components, replacement is relatively straightforward without the need for soldering.
In the case where disrepair is due to external damage, such as cracks or bent parts, using adhesive to secure broken sections or replacing entire casings may be required. Each repair or replacement action should be considered with regard to the functionality, aesthetics, and longevity of the scale.
REASSEMBLY OF THE SCALE,
Upon addressing all problematic components and ensuring each component is either repaired or replaced, attention turns towards reassembly. During this phase, following the notes taken during disassembly is vital. Each component must be reconnected in the correct order to ensure functionality.
Agility and care are integral to this step, as rushing through reassembly can lead to missed connections or improperly secured parts, which could lead to further issues later. After the components are correctly reinstated, screws should be tightened appropriately to avoid any loose parts but care should be taken not to over-tighten which may cause damage to plastic casing or internal components.
Once securely reassembled, the next crucial step is testing the device. Initially, check if the scale powers on correctly. Assessing if the display functions accurately and if the solar panel collects adequate sunlight should be the next priority. If issues persist, further troubleshooting may be required.
TESTING FUNCTIONALITY,
The final assessment involves accurate testing of the scale’s precision and reliability after repairs. Utilizing calibration weights can determine whether the readings are aligned with expected values. This calibrated testing ensures that not only can the scale weigh correctly but that it does so consistently across various weight ranges.
If discrepancies are noted, returning to the assembly and ensuring all connections are tight, and revisiting the load cell functionality is crucial. Employing a multimeter during this process will provide precise readings of electrical continuity and functionality throughout the circuit. If all tests pass, the electronic scale should be considered fully operational.
Frequently Encountered Queries
SOLAR PANEL REPAIR TECHNIQUES?
Repairing a malfunctioning solar panel on an electronic scale can involve a few techniques, depending on the problem identified. If the issue is related to physical damage, replacing the solar panel might be necessary. Look for corrosion on connectors or cracks in the panel surface. Advanced users may opt to solder connections or clean corrosion from contacts. When dealing with within- and outside-obstruction issues, cleaning the panel’s surface, ensuring it is free from dirt or shade, can often restore functionality.
HOW TO CALIBRATE A REPAIRED SCALE?
Calibration of a repaired solar electronic scale is essential to ensure accurate measurements. Begin by placing known weights on the scale one at a time. If the readings do not align with the specified weights, adjustments may need to be made via any available calibration button or through internal mechanisms. Reference the manufacturer’s guidelines to correct discrepancies. Persistent issues despite calibration may indicate further internal problems.
WHAT TO DO IF THE SCALE DOES NOT POWER ON POST-REPAIR?
If the solar electronic scale fails to power on after repairs, the first task is to check that the solar panel is receiving sufficient light. Next, ensure the internal battery connections are firmly attached and verify that the battery is charged. Inspect internal components to further diagnose electrical or connectivity issues. Tools such as a multimeter can be invaluable in tracing the flow of power throughout the scale’s circuitry.
In a robust endeavor to repair a solar electronic scale, understanding each aspect of the device, from its solar panel to the intricate circuitry, is paramount. Achieving successful repairs not only relies on technical acumen but also demands patience and attention to detail. Each step of the process—diagnosing issues, rendering repairs or replacements, and carefully reassembling the unit—contributes to the ultimate integrity of the scale.
Within the realm of electronics, such repairs may seem challenging; however, every user can acquire the requisite knowledge and skills through dedicated study or practice. Understanding the components of your solar electronic scale heightens the likelihood of successful interventions, transforming a non-functional device into a fully operational asset once again. Whether for personal use or as an opportunity for ongoing learning, repairing a solar electronic scale provides insight into the fascinating mechanics of solar power and electronic measurement systems.
Moreover, it promotes sustainability, minimizing waste while extending the lifespan of crucial devices that enhance everyday activities. Embracing these repair techniques empowers individuals, fostering not only self-reliance but also a greater appreciation for the interconnectedness of technology and daily tools. The journey undertaken while repairing a solar electronic scale, from diagnosis through to execution and testing, not only yields a successful outcome but cultivates a deeper understanding of the roles these devices play in contemporary life.
Original article by NenPower, If reposted, please credit the source: https://nenpower.com/blog/how-to-repair-solar-electronic-scale/
