
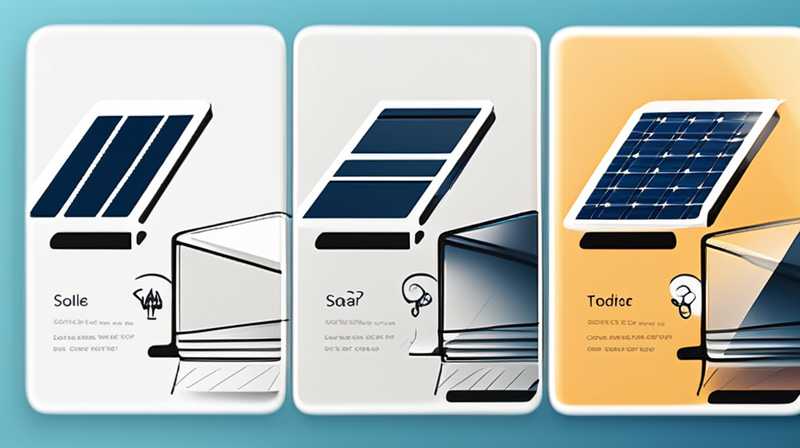
To effectively remove a solar tempered glass cover, it is essential to proceed with caution and proper methodology, ensuring that both the glass and the underlying solar panel remain undamaged. Understanding the necessary steps can mitigate risks associated with this process. 1. Assess the installation method used for the glass cover, 2. Gather appropriate tools such as suction cups, gloves, and safety goggles, 3. Carefully lift the tempered glass without applying excessive force, 4. Ensure a safe and clean workspace to prevent accidents. The process involves careful planning and safety precautions oriented towards preserving the integrity of the solar panel beneath the glass.
1. ASSESSING THE INSTALLATION
Before embarking on the delicate task of removing a solar tempered glass cover, a thorough understanding of how the glass has been installed is crucial. This glass is typically secured either by frames or adhesives that may differ in difficulty when it comes to removal. Recognizing the installation method protects both the solar panel and the user while facilitating a more systematic removal process.
Additionally, identifying whether the glass is merely resting on the panel or if it is sealed with adhesives or clasps enhances the likelihood of a successful extraction. The process of detaching tempered glass from any adhesive material can be significantly more challenging, as it requires specific techniques to avoid damaging the underlying components. Therefore, careful evaluation of the type of setup can help one plan efficiently for the removal.
2. GATHERING THE APPROPRIATE TOOLS
The next step involves gathering the essential tools required for the task ahead. Certain tools, such as suction cups, gloves, and safety goggles, should be included in this toolkit. Suction cups assist in securely gripping the glass without the need to directly handle it using bare hands, which can lead to slipping or pressure mishaps. Gloves are imperative to protect the hands from any potential accidents or glass shards, while safety goggles provide eye protection against any unforeseen breakage or debris flying during the removal process.
Furthermore, it is advisable to have a utility knife or a heat gun on hand, especially if the glass cover is adhered firmly to the surface of the solar panel. A heat gun can help soften adhesive materials without compromising the structural integrity of the glass or the solar panel. These preparations not only ensure safety but also pave the way for a smoother, more effective removal process.
3. REMOVING THE GLASS
Upon gathering the necessary tools, one can proceed to the actual removal phase. Begin by inspecting the edges of the tempered glass cover for any visible connections such as frames, clips, or adhesive lines. If any clips are holding the glass in place, these should be carefully unfastened before applying suction cups for lifting. Employing suction cups at multiple points around the perimeter can distribute the weight accordingly, mitigating the risk of breakage.
If adhesive is present and proving to be a hindrance, gently running a utility knife along the edge can help to weaken the bond. Applying heat strategically with a heat gun can aid in loosening any strong adhesive, allowing for safer manipulation of the glass cover. Proper technique at this stage is critical, as hastily forcing the glass can result in unintended damage.
4. ENSURING A SAFE WORKSPACE
Establishing a secure and organized workflow is pivotal when dealing with fragile materials such as tempered glass. Prior to commencing the removal, identify a spacious area free from hazards, which will allow for calm and safe handling of the glass. Ensure ample lighting is available to clearly visualize the entire setup, as this minimizes the risk of errors or accidents while working.
Moreover, having a soft surface underneath can catch any unwanted falls or slips, reducing the risk of shattering the glass. Keeping tools and equipment within easy reach averts unnecessary strain or distraction during the removal process. Attention to the environment not only makes the task smoother but significantly lowers the chances of injuries.
5. HANDLING THE REMOVED GLASS
Once the tempered glass cover has been successfully detached from the solar panel, handling it with care is vital. One should avoid placing any unnecessary pressure on it to prevent cracks or breaks. Ensuring it is set down flat or supported can help maintain its integrity during transportation or storage.
Should the glass need to be disposed of, it is advisable to do so following local regulations regarding glass recycling. Confirming that the glass does not contain materials that require special handling remains essential throughout the entire process. Responsible disposal contributes to waste reduction and environmental preservation.
6. REASSEMBLING OR REPLACING
In the event that the goal involves replacing the glass cover rather than simply removing it, proper attention to installation protocols is necessary. Following manufacturer’s instructions or employing best practices for securing new glass ensures durability and functionality after the process. Additionally, sealing the new cover with high-quality adhesive or utilizing a compatible frame may yield the best outcomes.
Before finalizing the installation, one should conduct a thorough inspection of the solar panel for any potential damage that may have occurred during the removal process. Taking time to address any issues related to the solar panel will further extend the lifespan and effectiveness of the solar energy system. It is highly recommended to ensure that every component is in optimal condition before completing the setup.
FREQUENTLY ASKED QUESTIONS
HOW LONG DOES IT TAKE TO REMOVE A SOLAR TEMPERED GLASS COVER?
The duration for removing a solar tempered glass cover varies based on multiple factors, including the type of installation, the condition of the adhesive, and the experience level of the person performing the task. On average, the process may take anywhere from one to three hours. If the glass is poorly adhered, this could extend the time, particularly if heat application is necessary to loosen stubborn adhesive bonds. Conversely, if the setup involves simple clips or frames that allow for rapid detachment, the time frame may thus be significantly reduced.
Moreover, intricate setups requiring additional steps for preserving both the glass and the solar surfaces can require more time. It is advisable to allocate ample leeway in scheduling, anticipating challenges that may arise during the removal. Ensuring a methodical approach can ultimately save time and prevent damage, making a careful assessment and preparation vital to an efficient removal process.
IS IT SAFE TO REMOVE A SOLAR TEMPERED GLASS COVER BY MYSELF?
While many individuals possess the skills necessary to undertake the removal of a solar tempered glass cover independently, safety precautions should never be overlooked. Taking this task on solo can indeed be safe, provided that proper protocols are followed meticulously. Protective gear, including gloves and safety goggles, is crucial to minimize risks associated with broken glass.
Nevertheless, if one is not confident in their abilities or is faced with complex installations, seeking assistance from a professional might be advisable. Involving a professional not only guarantees adherence to best practices but also safeguards the integrity of the solar panel itself. Ultimately, prioritizing safety and assessing personal skill levels will dictate whether this responsibility should be handled solo.
WHAT SHOULD I DO IF THE GLASS BREAKS DURING REMOVAL?
In the unfortunate event that the glass shatters during removal, immediate and decisive action is paramount. First and foremost, cease any further attempts to handle the damaged piece, as sharp shards can lead to serious injuries. Instead, ensure to put on protective gear, such as gloves and goggles, to shield against potential harm.
After equipping oneself with protective barriers, begin by methodically clearing away large fragments of glass. Utilize a broom or vacuum cleaner to eliminate smaller shards and reduce the risk of injury. Subsequently, assess the solar panel for any damage incurred during the incident, ensuring that all components remain functional. Once the area is secure and clean, consider contacting a professional for assistance with both the disposal of the broken glass and repairs to any affected components of the solar system.
The endeavor of detaching a solar tempered glass cover necessitates precision and respect for the fragility of the materials involved, along with a commitment to safety. The approach focuses heavily on evaluation, preparation, and careful execution to ensure that nothing is compromised during the removal process. Understanding the methods and expected outcomes increases the likelihood of success, making one more equipped for future projects of a similar nature. Respecting the two key considerations of environmental sustainability and personal safety plays a crucial part in ensuring the project’s overall effectiveness. Investing time in training, while assembling optimal tools, establishes a user-focused strategy capable of yielding proficient results in an area requiring both skill and finesse. Adopting a responsible and informed viewpoint not only enhances functionality within renewable energy but also endorses the progressive aim of promoting a sustainable future.
Original article by NenPower, If reposted, please credit the source: https://nenpower.com/blog/how-to-remove-the-solar-tempered-glass-cover/
