
An old-fashioned solar light tube can be crafted with a few essential materials and a straightforward approach. 1. Select appropriate materials, ensure light diffusion, and establish a sturdy base. Utilize items such as PVC pipes, reflective materials, and a transparent dome to capture and distribute sunlight effectively. 2. Construct the tube, create an efficient dome, and secure the installation for optimal sunlight collection. The reflective materials will enhance light diffusion while ensuring that the structure stays anchored to prevent displacement.
- SELECTION OF MATERIALS,
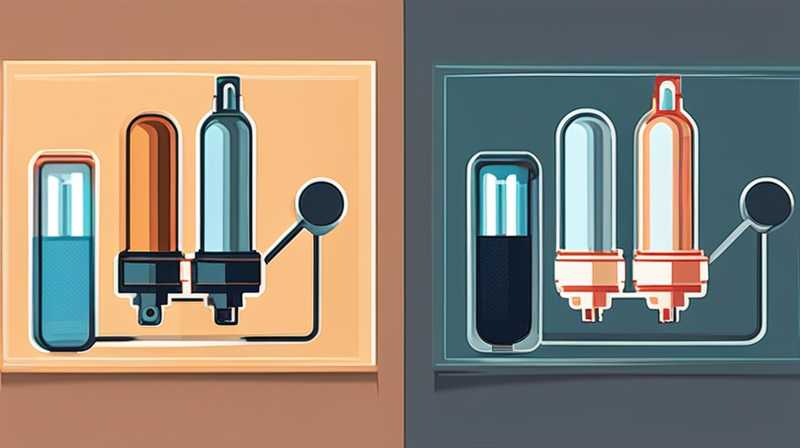
Crafting a solar light tube necessitates a thoughtful selection of materials to guarantee its effectiveness and longevity. One must consider the role that each component plays in optimizing light collection and diffusion. The primary structure typically involves a PVC pipe, which grants durability and a suitable reflective surface. The diameter of the pipe can vary based on the surrounding area and intended light output, but common sizes are usually between 4 to 6 inches wide.
When it comes to the reflective material, aluminum foil proves to be an outstanding choice due to its high reflectivity and easy availability. To ensure that the light tube captures as much sunlight as possible, apply this material meticulously along the inner surface of the PVC pipe. An added layer of finesse could involve using a specialized reflective paint designed for maximum light reflection, which could further enhance the overall efficiency of the tube.
For the top of the tube, a transparent dome or lens is required to facilitate sunlight entry while protecting from environmental elements. Acrylic or polycarbonate sheets can serve this purpose well. These materials are not only durable but also exhibit excellent light transmission properties. It is essential to ensure that the chosen dome fits snugly on top, preventing any dust or rain from infiltrating and disrupting the light path.
- TUBE CONSTRUCTION,
The actual assembly of the solar light tube involves several laborious steps, which, when executed carefully, culminate in an efficient light collector. Start by measuring the chosen length of PVC pipe based on the desired height and angle at which you want to collect sunlight. It can be beneficial to experiment with different lengths to see which achieves the best results in your specific environment.
Next, cut the PVC pipe with a saw to create clean edges. Ensure that the cuts are precise and smooth to prevent any unwanted light leakage. After cutting, take time to carefully apply the reflective material, placing it with accuracy along the inner sides of the tube. It should remain taut and secure, creating a smooth interior surface for light to bounce off efficiently. If you’re using aluminum foil, it’s recommended to use spray adhesive that is both strong and heat resistant to prevent sagging over time.
In the assembly phase, be diligent in attaching the transparent dome securely to the top of the PVC tube. Utilize caulk or a suitable adhesive to create an airtight seal around the edges. This step represents a critical component of the project as it prevents moisture from entering the pipe while maintaining the integrity of light entry.
- INSTALLATION FOR LIGHT COLLECTION,
Once the solar light tube is constructed, it’s time for the installation process to begin. This phase involves determining the optimal location for your tube to collect sunlight effectively throughout the day. The installation site should ideally be an area that receives direct sunlight without obstruction from trees, buildings, or other structures.
Position the tube at an angle that aligns with the sun’s trajectory during peak hours. Once a suitable location is determined, dig a hole deep enough to instate the PVC pipe securely. It’s advisable to place small gravel or stones at the bottom of the hole to provide drainage possibilities, ensuring that water does not accumulate around the base of the tube.
Furthermore, you should be prepared to anchor the structure securely. Use concrete or compact soil to stabilize the tube effectively, preventing any potential movement during strong winds or inclement weather. After securing the installation, consider testing the light collection capability. On sunny days, ensure that the tube indeed efficiently brings light into the designated area and adjust its angle as necessary.
- MAINTENANCE OF THE LIGHT TUBE,
Once the old-fashioned solar light tube is functioning and providing light, regular maintenance is crucial to ensure its longevity and effectiveness. Over time, dirt and debris can accumulate on the transparent dome, reducing the amount of light entering the tube. To counter this, periodically inspect the installation, and clean the dome with a soft cloth and a gentle detergent to remove any buildup that could inhibit its performance.
Moreover, it’s essential to check the integrity of the reflective material along the inner surface of the PVC pipe. If you notice any areas that have started to peel or lose their reflective quality, it may be prudent to reapply adhesive and fresh reflective material to maintain optimal light diffusion.
In extreme weather conditions, moisture can sometimes penetrate the top seal. Ensure that the caulk or adhesive remains intact and reseal any problem areas promptly. This continuous care is vital to preserving the functionality of your solar light tube and maximizing its energy-efficient operation over time.
FREQUENTLY ASKED QUESTIONS
WHAT IS A SOLAR LIGHT TUBE?
A solar light tube, or solar tube skylight, is an efficient lighting solution designed to capture sunlight and funnel it into an interior space. It utilizes a reflective tube to direct light from outside through a transparent dome while minimizing heat gain or loss. These tubes can often extend several feet into a building, providing bright, natural illumination without the need for electrical power. This eco-friendly alternative is not only a sustainable way to light your home, but it also drastically reduces energy consumption associated with conventional lighting.
HOW DO YOU INSTALL A SOLAR LIGHT TUBE?
The installation process for a solar light tube involves careful planning and execution. First, select a location that will maximize sunlight exposure. The materials needed typically include a PVC pipe, a transparent dome, and reflective material. Following the construction of the tube, the PVC needs to be firmly anchored with concrete or compacted soil. Start by digging a hole for the pipe and ensure that the end of the tube is angled properly toward the sun for optimal collection of light. After installation, regular checks and maintenance, such as cleaning the dome, should be performed to ensure continued performance.
WHAT ARE THE BENEFITS OF USING A SOLAR LIGHT TUBE?
Solar light tubes offer numerous advantages compared to traditional lighting methods. They provide bright, natural light, significantly reducing the reliance on electricity, which results in lower energy bills. Furthermore, they do not emit heat, thus preventing additional cooling costs and maintaining comfortable indoor temperatures. Since these tubes utilize renewable energy, they contribute to a sustainable environment by reducing carbon footprints. Additionally, their versatility in placement allows them to be used effectively in various settings, making them a practical choice for illuminating homes or commercial spaces.
Maximizing the benefits and sustainability of an old-fashioned solar light tube can be achieved through thoughtful craftsmanship and meticulous maintenance. The careful selection and assembly of materials are critical to the functionality of the tube, and ensuring a proper installation will provide effective light collection. By addressing potential maintenance issues proactively, one can enjoy the benefits of renewable, natural light for years to come, resulting in cost savings and a positive environmental impact.
Original article by NenPower, If reposted, please credit the source: https://nenpower.com/blog/how-to-make-an-old-fashioned-solar-light-tube/
