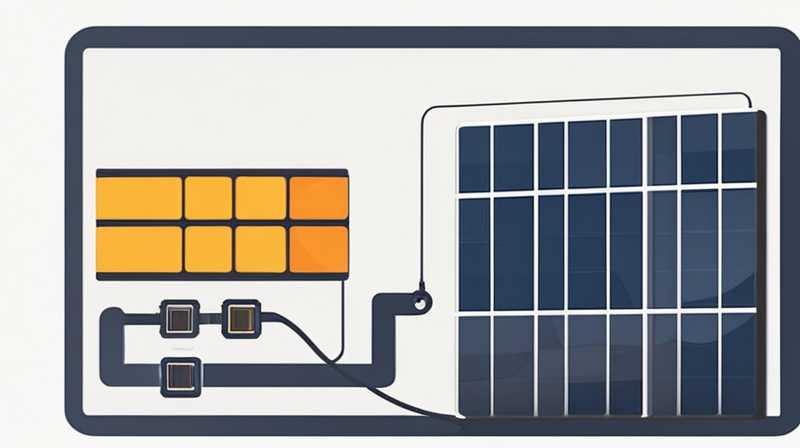
To correctly install wires on solar panels, first, gather all necessary materials and tools for the task, ensuring safety measures are in place. Then, familiarize yourself with the specific wiring diagram for your solar panel system. Proper installation is crucial for ensuring efficiency and safety. Follow these essential steps: 1. Safety measures are paramount, 2. Gather tools and materials effectively, 3. Understand the system layout clearly, 4. Secure connections tightly, 5. Test functionality before finalizing.
In detail, understanding safety measures is vital. Before starting, ensure power is turned off to avoid electric shock. Wear safety equipment like gloves and goggles, especially while working with electrical components. Any solar panel installation should prioritize safety to prevent accidents or damage. Additionally, familiarize yourself with local electrical codes, as adherence to these regulations is necessary for legal compliance and safety assurance.
1. IMPORTANCE OF PROPER WIRING IN SOLAR PANEL INSTALLATION
Wiring serves as a conduit for electricity generated from solar panels to other components within the system. Correct wiring enhances energy efficiency, safety, and overall performance. When wires are arranged improperly, there can be significant energy losses or even hazards due to overheating and potential fire risks.
Recognizing the importance of a reliable layout is crucial. Wiring must be weather-resistant and safeguarded against environmental damage. Poorly installed wires may become susceptible to wear and tear over time, decreasing the lifespan of the solar panel system and compromising its energy output. Selecting the right wiring material is essential in mitigating risks and ensuring durability over years.
2. GATHERING NECESSARY TOOLS AND MATERIALS
The installation process begins with the right tools and materials. Basic tools such as wire strippers, screwdrivers, and crimping tools are essential. Additionally, selecting high-quality wiring that is suitable for solar applications is equally important. For instance, UV-resistant wires ensure longevity even under harsh sun exposure.
In parallel, don’t overlook securing the appropriate type of connectors. MC4 connectors are standard for solar applications. These connectors provide secure and reliable connections between panels and other system components. The selection of materials contributes significantly to system efficiency, leading to improved energy generation.
3. PLANNING THE INSTALLATION PROCESS
A detailed plan serves as the backbone for effective wiring installation. Lay out the intended wiring diagram and ensure it aligns with the solar system’s design. Understanding the configuration of each component helps to optimize performance and prevent errors during installation.
Consideration must also go towards cable routing. Avoiding sharp edges and excessive bends maximizes the lifespan of your cables. Planning for future expansions is a wise choice; hence leave extra length in your wires when possible. This foresight prevents complications during any future upgrades or repairs.
4. WIRE INSTALLATION TECHNIQUES
When commencing the installation, precision is key. Begin by stripping the ends of the wires carefully, ensuring no copper strands are damaged. The exposed length of the wire should match your connecters precisely for stable attachment. A secure connection is vital; loosen connections can lead to increased resistance and heat generation.
Soldering can be an effective method for joining wires, providing a strong electrical connection. Ensure a clean surface for solder joints as contaminants can affect conductivity. A great alternative is crimping connectors; they provide reliable attachments that withstand environmental stresses. Whichever method is chosen, employing high precision is imperative for a successful outcome.
5. TESTING CONNECTIONS AND ENSURING FUNCTIONALITY
After completing the installation, testing the setup is necessary. Utilize a multimeter to measure voltage and ensure each component functions properly. This step verifies that all connections are secure and the overall system is performing as expected.
Running a comprehensive functionality test allows for the identification of any issues promptly. If irregularities are noted, return to examine the affected areas. Addressing problems early on prevents complications down the road, ensuring a robust solar power installation.
6. MAINTENANCE AND LONGEVITY OF WIRING SYSTEMS
Once installed, attention must be given to the maintenance of the wiring system. Regular inspections can identify potential wear or damage to wires long before they become problematic. Maintaining clear routes for wiring helps avoid physical damage caused by surroundings, such as tree branches or accumulated debris.
Additionally, cleaning solar panels and their wiring should not be overlooked. Dust and grime can accumulate over time, reducing overall system efficiency. Keeping both panels and wiring clear optimizes performance, ensuring maximum energy output from the solar installation.
7. COMMON MISTAKES TO AVOID DURING INSTALLATION
Having knowledge of typical pitfalls can save time and effort during installation. Failing to follow manufacturer instructions leads to many issues. Each solar system may have specific requirements based on its components; overlooking these can compromise the entire setup.
Another often-overlooked aspect is cable management. Improperly secured wires can lead to tangling, physical damage, or exposure to harsh conditions. Ensuring that all wiring is neatly arranged and secured not only facilitates maintenance but also encourages integrated system efficiency.
FREQUENTLY ASKED QUESTIONS
WHAT TOOLS DO I NEED FOR SOLAR PANEL WIRING?
To install wires on solar panels, various tools are essential. Firstly, wire strippers allow for the precise removal of insulation from wires, enabling clean connections. Additionally, screwdrivers, both flathead and Phillips, are critical for securing connections and aligning components appropriately. A crimping tool is also necessary for affixing connectors firmly onto wires, ensuring a reliable and enduring electrical bond. Carrying a multimeter is recommended for testing voltage and ensuring proper functionality throughout the installation process. Accruing these tools aids in achieving an effective and efficient solar panel wiring setup.
HOW DO I ENSURE MY SOLAR PANEL WIRING IS SAFE?
Safety during the installation of solar panel wiring can be ensured by following several best practices. Initially, it is crucial to work with the system’s power turned off, eliminating the risk of electric shock. Wearing protective gear such as gloves and goggles provides additional safety, particularly when handling various components. Regular inspections of wiring can catch physical damages early, preventing mishaps caused by wear and deterioration. Furthermore, familiarizing oneself with local electrical codes and adhering to manufacturer equipment instructions ensures compliance and safety adherence throughout the installation process. Prioritizing these aspects leads to a secure solar wiring setup.
HOW OFTEN SHOULD I CHECK MY SOLAR PANEL WIRING?
The frequency of inspections for your solar panel wiring can depend on several factors, including environmental conditions and installation quality. Generally, conducting a thorough inspection every six to twelve months is advisable. This routine inspection allows for any wear and tear or potential damages to be identified early and rectified promptly. Particularly during extreme weather conditions, or following severe storms, a visual inspection can help ensure no physical damage propagates unnoticed. Additionally, checking wiring after considerable system upgrades or repairs is wise to verify appropriate connections and functionality. Maintaining this schedule ultimately aids long-term performance and durability.
Emphasizing the importance of proper installation and maintenance of wiring on solar panels cannot be overstated. Engaging in meticulous planning, gathering the right tools, and implementing thorough steps enables one to ensure optimal operation and longevity of the solar setup. Each segment of the installation process contributes significantly to the overall efficiency. Thoroughly testing and regular inspections are equally vital, preventing minor concerns from evolving into more significant issues that might compromise the entire solar system. Following manufacturer guidelines and complying with local codes secures that both safety and performance standards are met. Engaging these practices ultimately leads to a fruitful solar energy experience, allowing both financial and environmental benefits to be reaped successfully. Through consistent attention and care, one ensures that the solar power system not only meets current energy demands but is also prepared for future challenges.
Original article by NenPower, If reposted, please credit the source: https://nenpower.com/blog/how-to-install-wires-on-solar-panels/


