
To install three solar lights, one must follow several systematic steps to ensure optimal functionality, aesthetics, and performance. 1. Select an appropriate location for optimal sunlight exposure, 2. Assemble the solar lights according to manufacturer instructions, 3. Secure the lights in place while ensuring stability, 4. Test the lights to guarantee they operate effectively. Focusing particularly on optimal sunlight exposure, it is critical to recognize that solar lights rely on sunlight energy stored in their batteries during daylight hours. Thus, placing them in locations that receive a substantial amount of direct sunlight throughout the day enhances their effectiveness at night, leading to longer-lasting illumination.
1. UNDERSTANDING SOLAR LIGHTS
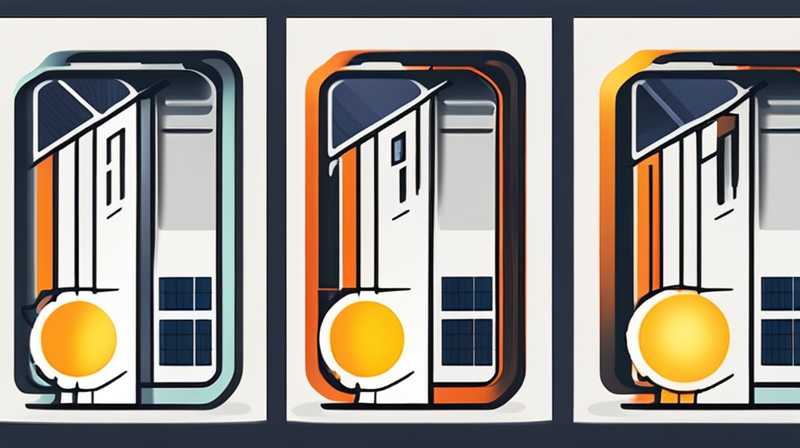
Solar-powered lighting systems have seen a significant surge in popularity due to their eco-friendly nature and ease of installation. These devices harness energy from the sun via photovoltaic cells, which convert sunlight into electricity. Understanding the components and functionality of solar lights is essential for anyone looking to install them effectively.
Typically, solar lights consist of a few main elements: a solar panel, a rechargeable battery, LEDs, and a sensor. The solar panel captures sunlight and converts it into electrical energy, which is then stored in the rechargeable battery. When night falls, the stored energy powers the LEDs, illuminating the area. The presence of sensors can further enhance functionality, as they can detect ambient light levels and automate the lighting process, turning the lights on and off as necessary.
When considering installation, it is also critical to account for the type of solar lighting desired, as they come in various styles, such as pathway lights, wall-mounted fixtures, and decorative garden lights. Understanding the specific needs for illumination and aesthetic appeal can influence the selection process.
2. SELECTING THE LOCATION
Proper placement of solar lights is pivotal to their effectiveness. Choosing locations that receive an abundance of sunlight throughout the day will maximize energy absorption, which leads to better performance during nighttime. This section discusses various factors to consider when selecting ideal spots for installation.
Firstly, avoid areas shaded by trees, buildings, or overhangs. Such obstructions can significantly reduce the sunlight that solar panels receive, resulting in insufficient energy being stored in the batteries. A good rule of thumb is to locate solar lights at least 2-3 feet away from any shadow-casting structures to ensure maximal exposure.
Secondly, consider the purpose of the lighting. For instance, if the goal is to illuminate a pathway, lights should be spaced evenly along the path, ideally four to six feet apart. Conversely, if the goal is to accentuate landscaping or architectural features, placement might focus on highlighting specific areas, like garden beds or entryways. Employing these strategic placements leads to an optimized lighting experience.
3. ASSEMBLING SOLAR LIGHTS
After selecting an appropriate location, the next step involves assembling the solar lights. Reviewing the manufacturer’s instructions thoroughly is essential for identifying the necessary tools and the assembly process. Most solar lights are designed to be user-friendly; however, ensuring all components are correctly installed contributes significantly to functionality.
Generally, assembly involves attaching the solar panel to its pole and securing it in place. Pay close attention to how the solar panel positions; it should face directly toward the sky to capture sunlight efficiently. Moreover, some models may have adjustable heads that allow users to angle the lights to cover a broader area or focus directly on specific spots, maximizing their effectiveness.
It is pivotal to be mindful of the battery configuration as well. In many instances, solar lights come with pre-installed batteries. However, in some cases, users may need to install or replace batteries after assembly. Ensure the batteries are fully charged before placing the lights in their designated spots, as this can present an immediate functionality test.
4. SECURING LIGHTS IN PLACE
With assembly complete, securing the lights is the next important step. Ensure a stable installation to prevent malfunctions, such as tilting or falling caused by environmental factors like wind or rain. The method of securing will depend on the specific type of solar lights chosen.
For lights designed for soft ground or gardens, typically, the unit can be pushed into the soil. Utilize the stakes included in the packaging if available, as these can provide greater stability. Ensure to press down firmly to create a secure base. It is advisable to check the ground conditions prior to installation, as excessively hard or rocky surfaces may require alternative mounting supplies or methods.
Conversely, wall-mounted solar lights will necessitate drilling holes for screws or anchors into the wall’s surface. Careful measurement is necessary, particularly to ensure that the lights are installed at heights conducive to illuminating the desired area effectively. Employing a level during installation guarantees that the lights will not lean, preserving both their aesthetic and functional attributes.
5. TESTING FOR FUNCTIONALITY
The final step in the installation process involves thoroughly testing each solar light to ensure optimal functionality. Testing guarantees the proper function of both the panel and the lighting system. Upon completion of the installation, allow ample time for the lights to charge during daylight hours before performing functionality tests at night.
Once evening arrives, check whether the lights activate automatically as intended. If any lights do not operate, inspect the installation for any misplaced or obstructed batteries or solar panels. Regular maintenance checks are necessary; cleaning the solar panels of dirt or debris provides enhanced energy absorption while checking the batteries ensures they are in working condition.
Further, remember to monitor the lights over the initial weeks after installation. Seasonal changes can impact sunlight exposure, which may influence the performance of solar lights. If any issues arise, such as dimming or exhaustive lighting cycles, reassess both their placement and condition to ensure they are receiving adequate sunlight.
FAQs
HOW LONG DO SOLAR LIGHTS LAST?
Solar lights typically have a lifespan of 3 to 5 years, depending on their design and the quality of the components used. Factors such as environmental conditions, the quality of the solar panels, batteries, and LEDs significantly impact how long they last. Regular maintenance, including cleaning the solar panels to remove dust and debris, can enhance longevity and efficiency. After the expected lifespan, users can consider replacing batteries (if applicable) or the entire unit, depending on the degradation noted. Investing in high-quality solar lights can also result in better longevity and improved performance.
CAN SOLAR LIGHTS WORK IN CLOUDY WEATHER?
Yes, solar lights can still operate even during cloudy or overcast conditions; however, their efficiency may diminish. Solar panels perform at reduced capacity when exposed to indirect sunlight. It is vital to remember that solar lights are designed to store energy from the sun, so extended periods of poor weather might result in shorter illumination times. To optimize performance, try to place solar lights in areas where they can receive the most sunlight possible, even on less-than-ideal days. Battery storage capacity generally compensates for brief cloudy spells, allowing for effective operation.
DO I NEED TO FULLY CHARGE SOLAR LIGHTS BEFORE USE?
While it is not absolutely necessary to fully charge solar lights prior to initial use, doing so can enhance their performance and operational efficiency. Most manufacturers recommend allowing solar lights to charge for a full day in direct sunlight before testing them. This practice ensures that the batteries are adequately filled with energy, resulting in maximum potential for nighttime illumination. Subsequent to the initial installation, future charging cycles will typically occur naturally by virtue of the presence of sunlight, assuming the lights are appropriately placed without any obstructions.
Ensuring successful installation involves several key steps that potently enhance the performance of solar lights. From selecting the right location with optimal sunlight to the careful assembly and securing of lights, these elements contribute significantly to the functionality and aesthetic appeal of outdoor spaces. Proper maintenance and testing continue to play a pivotal role in achieving persistent illumination powered by the sun. Subscribers and installers alike should remain vigilant about how these units adapt to seasonal changes in weather and light exposure. Investing time in appropriate research and preparation will yield beneficial results, allowing for a seamless experience with solar lighting systems that could enhance both safety and ambiance.
Original article by NenPower, If reposted, please credit the source: https://nenpower.com/blog/how-to-install-three-solar-lights/
