
To effectively install a solar tube joint, one must follow a series of precise steps that ensure optimal performance and efficiency of the solar system. 1. Preparation is essential for a smooth installation, 2. Ensure proper measurements and fittings are acquired, 3. Tools required include a level and sealing materials, 4. Follow the manufacturer’s installation instructions carefully. The most critical aspect involves ensuring the integrity and tightness of connections, as any weakness could lead to energy loss or system failure. This requires attention to detail and a thorough understanding of solar tube mechanics.
1. UNDERSTANDING SOLAR TUBE JOINTS
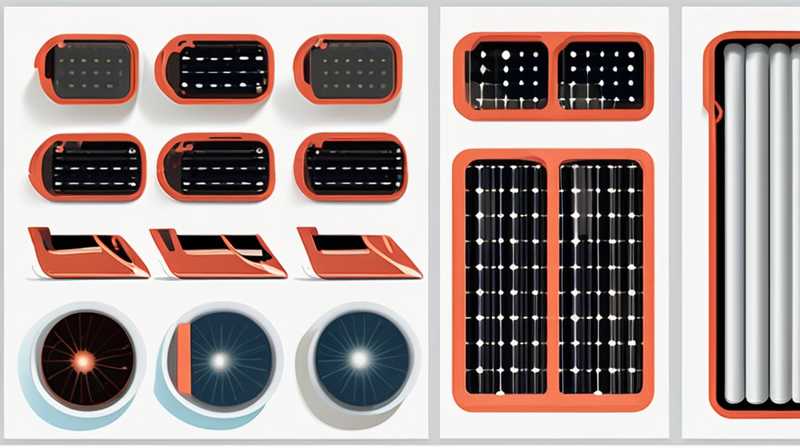
Solar tube joints serve as crucial components connecting sections of tubing that facilitate the movement of solar energy. Knowledge of different varieties of solar tube joints is essential for effective installation. Materials used in manufacturing these joints can vastly impact longevity and functionality.
The predominant types of joints include fixed, adjustable, and union joints. Each serves distinct purposes, influencing how solar tubes fit together and operate under various environmental conditions. Fixed joints, for instance, provide a permanent connection, suitable for applications where no adjustments are needed post-installation. Adjustable joints allow users to realign tubes as necessary, which is valuable for maintenance or when the sun’s angle changes significantly with seasons.
Moreover, unions serve as connectors between pipes, enabling easy disassembly for repairs or replacements. Understanding these various joints helps in appropriately planning the installation process.
2. PREPARATORY STEPS
Before engaging in the installation, thorough preparation is paramount. Firstly, ensuring that all tools and materials are in good condition and readily available simplifies the entire procedure. Essential tools include a level, a saw for cutting tubes, measuring tape, and appropriate sealing agents. Using high-quality materials guarantees durability.
Secondly, assessing the layout and determining the positioning of solar tubes reduces the risk of complications later. It is advisable to draw a schematic illustrating the intended placement. This not only assists in visualizing the installation but also serves as a reference to ensure that all components align correctly without obstruction.
Finally, checking local regulations regarding solar panel installation is vital. Certain regions may have specific guidelines or require permits to proceed with such installations. Failing to adhere to local policies can prolong the process and lead to unnecessary complications.
3. INSTALLATION PROCESS
Beginning the actual installation requires a step-by-step approach to ensure precision. The first step involves aligning the solar tubes in the predetermined position. Use a level to confirm that they are appropriately aligned, as any misalignment can compromise the system’s efficiency.
After ensuring alignment, the next task is to prepare the tube joints for assembly. Clean each end of the tubes thoroughly, removing any debris or dust that could interfere with the connection. Applying the sealant before joining the tubes will enhance the watertight integrity.
Once prepared, carefully slide the joint over the ends of two solar tubes, ensuring that both ends are snugly fitted. It’s important to avoid excessive force that could damage the tubes. Re-check alignment after the initial fitting of the joint and make adjustments as necessary before securing everything in place.
Once satisfied with the positioning, use clamping mechanisms or twisting motions (if applicable) to fully secure the joints and create a robust connection.
4. TESTING AND FINAL ADJUSTMENTS
After the initial installation, testing the connections is imperative to verify functionality. Water testing provides a direct way to check for leaks. Once complete, run water through the system, and observe closely for any signs of leakage. Address any issues immediately to avoid future complications.
Adjusting the angle of the solar tubes might also be warranted, maximizing exposure to sunlight. Utilize adjustable joints if necessary for optimal positioning, thus enhancing efficiency. Continuous monitoring is crucial, particularly after the initial installation, to detect any unforeseen issues.
Regular maintenance should involve checking the condition of the joints and seals, especially after adverse weather conditions. Keeping detailed logs of any observations also allows for easier troubleshooting should problems arise later.
FREQUENTLY ASKED QUESTIONS
WHAT TYPES OF SOLAR TUBE JOINTS ARE AVAILABLE?
Solar tube joints come in various types, each designed for unique applications. Notable types include fixed joints, adjustable joints, union joints, and slip joints. Fixed joints are ideal for permanent solutions where alignment is critical, while adjustable joints offer flexibility, enabling adjustments after installation. Union joints facilitate easy disconnection, which is invaluable for repairs and maintenance. Understanding the purpose of each joint type ensures a successful installation tailored to specific requirements.
HOW DO I ENSURE A WATERTIGHT SEAL IN MY INSTALLATION?
Ensuring a watertight seal requires meticulous attention to detail during the installation process. Begin by ensuring that all joint surfaces are clean and free from grime or residue, as contaminants can compromise the seal. Utilize high-quality sealants designed explicitly for solar applications, as these are formulated to withstand exposure to sunlight and varying temperatures. Applying a consistent layer of sealant before joining sections minimizes the risk of leaks, ensuring a reliable and durable connection. Conduct water tests post-installation to verify seal integrity, promptly addressing any identified leaks to ensure long-term performance.
CAN I INSTALL SOLAR TUBE JOINTS MYSELF, OR SHOULD I HIRE A PROFESSIONAL?
While many enthusiasts opt for DIY installations, determining whether to undertake the project depends on several factors. Individuals with a solid understanding of plumbing or solar energy systems can often install solar tube joints effectively. However, for those lacking expertise, hiring a professional ensures a higher level of precision and safety. Professionals offer experience and knowledge that can greatly minimize the risk of errors, ultimately leading to better performance of the solar system. Evaluating personal skills against complexity should guide the decision to proceed independently or seek expert assistance.
Ensuring successful installation of solar tube joints requires careful planning and execution. The process involves several key steps, each critical to optimally integrating the solar system and achieving desired energy efficiency. A comprehensive understanding of the types of joints available guides appropriate selections for specific applications. Proper preparation leads to a smooth installation process, with all tools and materials readily available. Testing the integrity of the connections is crucial, as is implementing consistent maintenance and adjustments over time. Overall, whether choosing a DIY approach or seeking professional help, attention to detail will significantly impact the long-term performance and reliability of the solar installation. Establishing a meticulous system of checks and balances ensures sustainability and efficiency, making solar energy a viable and dependable choice for many users. Embracing renewable energy through effective installations sets the stage for a more sustainable energy future. Adapting to evolving technologies and maintenance practices ensures systems remain functional and efficient for years to come.
Original article by NenPower, If reposted, please credit the source: https://nenpower.com/blog/how-to-install-the-solar-tube-joint/
