
To install the rubber sleeve in a solar tube effectively, one must undertake several essential steps that ensure proper fitting and function. 1. Understanding the components, including the solar tube and rubber sleeve, is vital. 2. Preparation of the installation area is critical for a seamless process. 3. Proper alignment while securing the sleeve prevents potential leaks or failures. 4. Testing the installation after completion ensures everything functions optimally. This multi-step approach will be explained in greater detail throughout the article.
1. UNDERSTANDING THE COMPONENTS
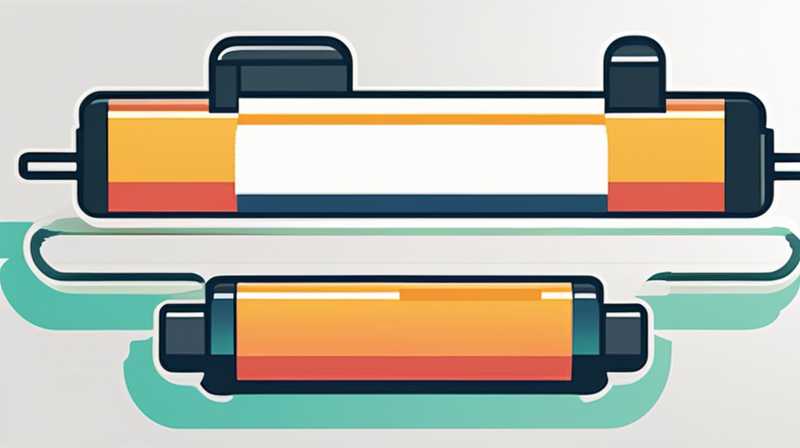
Grasping the essence of the solar tube and the rubber sleeve enables a smooth installation process. The solar tube operates by capturing sunlight through its dome, which is facilitated by the reflective surface inside the tube. This design allows for maximum light transmission. The rubber sleeve acts as a crucial component, sealing the interface between the solar tube and the surrounding structure, effectively preventing energy loss and ensuring longevity.
Moreover, the material of the rubber sleeve is engineered to withstand various environmental conditions. High durability and resiliency against temperature fluctuations are essential characteristics, as these factors could significantly affect the tube’s performance. A robust sleeve not only enhances the efficacy of heat retention but also mitigates issues related to water leakage and structural degradation over time.
2. PREPARATION OF THE INSTALLATION AREA
Before initiating the actual installation of the rubber sleeve, deliberate preparation of the area is paramount. The workspace should be clean and devoid of any debris that could impede the installation process. Clear away any obstructions around the solar tube’s entry point to guarantee unobstructed access for the installation activities.
Once the area is cleared, a thorough inspection of the solar tube and its immediate surroundings is advisable. Identifying potential issues—such as existing damages or misalignments—is beneficial. If any irregularities are detected, rectifying them prior to installation will facilitate a smoother overall procedure. Additionally, having the necessary tools and materials within arm’s reach contributes to an efficient workflow, minimizing interruptions during installation.
3. PROPER ALIGNMENT
Achieving proper alignment during the installation of the rubber sleeve plays a crucial role in the overall success of the project. Each component must fit snugly without excessive force, which could compromise either the tube or the sleeve. Begin by positioning the sleeve around the edge of the solar tube carefully, ensuring it maintains a uniform gap throughout its circumference.
Furthermore, checking the alignment from multiple angles is prudent. Utilizing a level or measuring tool ensures that the installation adheres to specifications. Misalignment may result in inefficiency and could potentially lead to costly repairs in the future. A well-aligned rubber sleeve not only enhances energy efficiency but also prolongs the lifespan of the solar tube system, translating to increased performance over time.
4. SECURING THE SLEEVE
Having established proper alignment, the next phase involves securing the rubber sleeve in place. Utilizing appropriate fastening materials or adhesives is essential for maintaining the integrity of the connection. These materials should be designed to withstand environmental challenges, including moisture levels and temperature variations.
Applying the adhesive should be performed with precision. A consistent and even layer will allow for uniform bonding, resulting in a more durable seal. Once applied, pressing the sleeve firmly against the tube for the recommended duration is crucial for achieving the desired bond strength. Following the manufacturer’s instructions on curing times and conditions ensures optimal results.
5. TESTING THE INSTALLATION
After the rubber sleeve is secured successfully, conducting a thorough test is vital to ascertain the effectiveness of the installation. Begin by inspecting the entire assembly for any visible gaps or misalignments that could compromise function. Carefully examine the interface zones for any inconsistencies that could indicate improper sealing.
Subsequently, simulating operational conditions can provide significant insights into performance. If applicable, introducing water or air flow through the system can help identify potential leaks or weaknesses. Observing the performance under actual usage scenarios can confirm whether the installation is secure and functioning according to specifications. This proactive approach guarantees that any potential issues are identified and addressed before they manifest into more significant problems.
FREQUENTLY ASKED QUESTIONS
WHAT TOOLS DO I NEED FOR INSTALLING A RUBBER SLEEVE IN A SOLAR TUBE?
A selection of specialized tools is required for the installation of a rubber sleeve in a solar tube. Essential tools include a screwdriver, adhesive applicator, utility knife, and measuring tape. Depending on the specific installation environment, supplemental tools such as a level or a caulking gun may also be beneficial. Each tool serves a unique purpose; for instance, the utility knife allows for precise trimming of excess material from the rubber sleeve, ensuring a snug fit.
Before commencement, it’s advisable to gather these tools to minimize interruptions. Additionally, using proper safety gear—like gloves and goggles—ensures personal safety during the installation process. Having the right tools and preparing adequately will contribute to a more efficient and successful installation experience, leading to better results in the long term.
HOW LONG DOES IT TAKE TO INSTALL A RUBBER SLEEVE IN A SOLAR TUBE?
The duration of installing a rubber sleeve in a solar tube can vary based on multiple factors. Typically, the process can take anywhere between one to three hours. This time frame accounts for preparation, alignment, securing, and testing the sleeve. Factors such as individual experience level, specific project requirements, and environmental conditions can influence the total time needed.
For instance, if the installation occurs in a challenging location with limited access, the project may take longer to complete. Additionally, if unforeseen issues arise during the preparation phase—such as damaged components—they may extend the installation time. Nonetheless, careful planning can streamline the process, allowing for a more efficient work pace and minimizing delays.
WHAT COMMON MISTAKES SHOULD I AVOID DURING INSTALLATION?
Various mistakes can derail the installation of a rubber sleeve in a solar tube. One prevalent error involves neglecting proper alignment; incorrect positioning can result in ineffective sealing, leading to leaks and reduced efficiency. Another common mistake includes using inappropriate adhesive or fastening materials that do not withstand environmental conditions, which can compromise the durability of the installation.
Additionally, rushing through preparations can lead to oversight in identifying pre-existing issues surrounding the installation site. It’s paramount to thoroughly inspect and address any inconsistencies prior to securing the sleeve. By avoiding these pitfalls and engaging in a meticulous, informed approach, the likelihood of achieving a successful installation significantly increases.
In summary, the installation of a rubber sleeve in a solar tube necessitates a detailed approach encompassing several stages, from understanding the components to conducting effective testing post-installation. Preparation of the workspace and achieving proper alignment are vital; adequate sealing ensures the system operates effectively. A commitment to thorough testing solidifies the installation’s integrity. Subsequent maintenance and inspections further optimize the solar tube’s performance, aligning with energy efficiency goals and sustainable practices. Properly implementing these procedural steps enhances user experience, ensuring the system’s long-term functionality and energy output, effectively contributing to overall energy goals. Understanding the intricacies involved not only enriches the process but also promotes confidence in handling future installation projects effectively.
Original article by NenPower, If reposted, please credit the source: https://nenpower.com/blog/how-to-install-the-rubber-sleeve-in-the-solar-tube/
