
To install split solar lights in the garden, follow these essential steps: 1. Choose an ideal location, 2. Gather the necessary tools, 3. Prepare the installation area, 4. Mount the solar light components, 5. Test the functionality. Choosing an appropriate location is critical, as it directly influences the efficiency of the solar lights. Ideally, select spots that receive ample sunlight throughout the day, ideally west-facing or south-facing areas. This placement will enable the solar panels to charge effectively, thereby enhancing the performance of the lights at night.
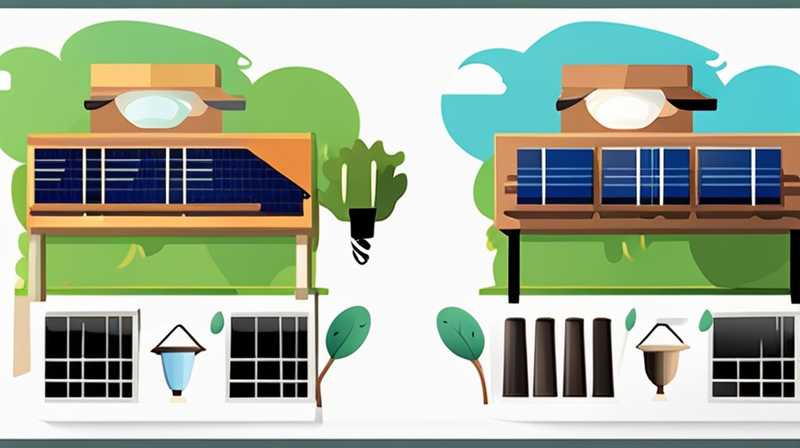
1. CHOOSING AN IDEAL LOCATION
Determining the right spot for solar lights is paramount for optimal performance. Areas receiving maximum sunlight exposure for most of the day are ideal; typically, west or south-facing regions offer the most light. Consider the landscape, such as trees or buildings that may cast shadows, which can inhibit sunlight absorption. Avoid placing lights in areas that are frequently covered by objects, as this can significantly reduce their efficiency.
Furthermore, consider adjacent structures that may obstruct visibility. The positioning of the lights should not only support energy generation but also enhance the aesthetic appeal of your garden. For instance, placing lights along pathways, around flower beds, or near seating areas can create inviting spaces. It’s not merely about functionality; aesthetics should also factor into your placement decision.
2. GATHERING NECESSARY TOOLS
Securing the appropriate tools beforehand can streamline the installation process. For most installations, you will require a shovel for digging, a measuring tape for precise distances, a level to ensure alignment, and possibly a hammer for stakes. Ensure that all tools are readily accessible to avoid interruptions during the installation.
In addition to physical tools, having the right solar lights is crucial. Select lights with robust solar panels and efficient LED bulbs to maximize illumination. Look for models with higher lumens if you desire brighter light output. Investigating user reviews and checking warranty details can also be beneficial in selecting quality products, ensuring longevity and performance under different weather conditions.
3. PREPARING THE INSTALLATION AREA
Once the lights have been chosen and appropriate tools gathered, prepare the installation area. Clear any debris, such as leaves or branches, from your selected locations. This unencumbered plan will assist solar panels in absorbing optimal sunlight. Removing any potential hazards minimizes the chance of damaging the components during installation.
In some cases, the ground may need to be leveled to ensure the lights are flush with the ground. If the ground is too hard, you may need to soften it with water or use a mechanical tool to break it up before placing any stakes or fixtures. Taking these preparatory steps will not only secure the lights better but will also improve their overall safety and longevity once installed.
4. MOUNTING THE SOLAR LIGHT COMPONENTS
After adequately preparing the area, the next step is mounting the solar light components. Most split solar lights are designed for straightforward assembly. Typically, they consist of two parts: a solar panel and the light itself. Begin by aligning the solar panel, ensuring it receives direct sunlight, and secure it at an appropriate angle that maximizes exposure throughout the day.
The light fixture can be staked into the ground or mounted onto a post, depending on the model. For models requiring stakes, gently push them into the ground and ensure they are stable. A well-installed light should be level and not wobble, as movement can lead to disconnections in wiring or damage in adverse weather conditions. Checking alignment will ensure your lights not only look great but also function as intended.
5. TESTING FUNCTIONALITY
Functionality testing should take place post-installation to ensure the systems operate as expected. Wait for the sun to set or cover solar panels to simulate darkness to see if the lights illuminate. If they do not turn on, assess your installation; ensure all components are correctly connected and that the solar panels are correctly aligned to receive adequate sunlight.
Once the lights are illuminated, evaluate their brightness and coverage. Adjust their positioning if necessary; their performance may vary in different locations. Ensuring that the lights meet your expectation offers peace of mind, knowing that not only are they functional, but they will also provide the ambiance or safety you are aiming for in your garden.
FREQUENTLY ASKED QUESTIONS
WHAT SHOULD I CONSIDER WHEN SELECTING SOLAR LIGHTS?
When selecting solar lights, key factors include battery capacity, brightness (measured in lumens), solar panel quality, durability, and design. Battery capacity directly impacts how long the lights can remain illuminated at night. Choosing lights with higher lumens ensures sufficiently bright illumination. Opting for high-quality solar panels guarantees efficient charging even on cloudy days. Also, consider the material used in the light fixture for durability to withstand various weather conditions. Finally, aesthetics matter as you want the lights to complement your garden’s design.
HOW DO I MAINTAIN MY SOLAR LIGHTS?
Regular maintenance can extend the life of solar lights significantly. Cleaning the solar panel is essential, as dust and debris can impair charging efficiency. Use a soft cloth or sponge to wipe off dirt and grime periodically. Additionally, check all connections to ensure they are secure. If you notice diminished brightness, it could be a sign the batteries need replacing, which typically occurs every 1-3 years depending on use. Finally, inspect for any damage caused by weather or pests, and replace parts as necessary to keep your lights functioning optimally.
CAN SOLAR LIGHTS WORK IN CLOUDY WEATHER?
Yes, solar lights can still function in cloudy weather, but their performance may decline. Solar panels are designed to capture both direct sunlight and indirect light. While overcast skies reduce sunlight intensity, most solar lights can still charge adequately during the day. However, for lights in areas with minimal sunlight exposure, consider models that come with enhanced battery capabilities or consider alternative lighting sources for additional brightness in extended periods of cloudy weather.
The successful installation of split solar lights in your garden is achievable by following a systematic approach that emphasizes planning, preparation, and execution. Ensuring the right location not only maximizes the suns’ efficiency but also enhances the overall aesthetics of the garden. Gathering necessary tools and selecting high-quality solar lights sets the stage for a streamlined installation process. It is essential to clear and prepare the area adequately; this mitigates disruption and ensures a stable installation. Careful mounting of the components guarantees durability and aids functionality. Testing provides assurance that the investment fulfills its intended purpose in your outdoor spaces. Additionally, addressing frequently asked questions clarifies common concerns and allows for thoughtful investment. Therefore, investing time in choosing the right location, tools, and maintaining the lights goes a long way in ensuring effective performance and enhancing your garden’s atmosphere. When executed thoughtfully, split solar lights can serve not only as a functional solution for lighting but also as an aesthetic enhancement that brings beauty and safety to your outdoor spaces.
Original article by NenPower, If reposted, please credit the source: https://nenpower.com/blog/how-to-install-split-solar-lights-in-the-garden/
