
1. To install solar ranger lights, follow these essential steps: 1. Select an optimal location, 2. Prepare the mounting surface, 3. Install the solar panel, 4. Connect the lights, and 5. Test the functionality. The location is crucial as it directly impacts the efficiency and charging capability of the solar lights. The ideal placement is an area that receives ample sunlight throughout the day, ensuring that the solar panel can harness sufficient energy to power the lights effectively. Be sure to check for any obstructions that may cast shadows during peak sunlight hours.
1. SELECT AN OPTIMAL LOCATION
Before initiating the installation of solar ranger lights, the selection of a prime location is paramount. This involves assessing the area where you intend to mount the lights. Direct sunlight access is critical, as solar lights require sunlight for effective charging. Areas unobstructed by trees, buildings, or any other structures are ideal. Consider the potential changing seasons; foliage may block sunlight in summer but not in winter.
Another factor to consider is the purpose of the illumination. If it is for security, positioning lights near entry points may be beneficial. For path lighting, ensure the lights are spaced sufficiently to provide consistent coverage along walkways. Evaluate both daytime and nighttime visibility; this helps to determine how effectively the lights will illuminate the space once installed.
2. PREPARE THE MOUNTING SURFACE
Once an ideal location has been determined, the next step involves preparing the mounting surface. Assess the ground condition—whether it is soft soil, a concrete slab, or wooden structures can significantly affect installation techniques and anchors needed for the mounting brackets. If installing into soil, it may be helpful to use a post hole digger to create proper depth to insert anchors securely.
For surfaces like concrete or wood, it is crucial to select the appropriate type of screws or anchors that will provide stability under various weather conditions. Utilizing a drill may be necessary for creating pilot holes in concrete, ensuring a clean and efficient installation. Make sure the area remains clear of debris, which could hinder the mounting process and ultimately compromise the durability of the installation.
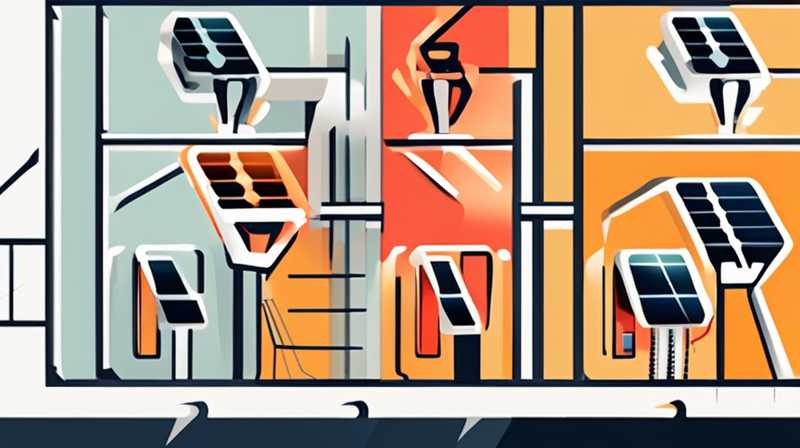
3. INSTALL THE SOLAR PANEL
Following the preparation of the mounting surface, attention shifts to installing the solar panel. The solar panel is essential for converting sunlight into energy; thus, its proper placement enhances productivity. Affix the solar panel securely, considering the orientation. Ideally, the solar panel should be tilted slightly towards the sun to maximize exposure.
Utilize the manufacturer’s instructions, focusing on assembly details specific to the product. It is important to maintain a clear angle, avoiding flat installations which could result in reduced efficiency. Adjust the panel to face south (in the Northern Hemisphere) or north (in the Southern Hemisphere) for optimal sun exposure during daylight hours.
4. CONNECT THE LIGHTS
With the solar panel successfully installed, the next phase involves connecting the lights themselves. Carefully review any wiring instructions included with the solar ranger lights, as improper connections can result in malfunction or safety hazards. Connect each light to the solar panel, ensuring that the wiring layout adheres to the diagram provided.
Take care to secure all connections tightly while avoiding over-tightening, which can damage sensitive components. If applicable, adjust brightness settings or sensors prior to final installation. Some models come with motion sensors for added security, while others may have adjustable brightness to conserve energy. Double-check all connections to ensure no wires are exposed, which can pose a risk of short-circuiting.
5. TEST THE FUNCTIONALITY
After all components are securely in place, conduct a thorough test to ensure functionality. Observe the solar ranger lights over a few hours, particularly as daylight transitions into night. It is important to check whether the lights illuminate as expected and whether any adjustive measures are needed regarding angle or intensity.
If the lights do not operate properly, revisit the connection points and solar panel alignment. Patience is key, especially when assessing performance during varied weather conditions. Once satisfied with the installation and performance, it’s wise to document the setup in case future adjustments are necessary.
FREQUENTLY ASKED QUESTIONS
HOW LONG DO SOLAR RANGER LIGHTS LAST?
The longevity of solar ranger lights primarily depends on the materials used and the quality of the solar components. Generally, these lights can last anywhere from 3 to 10 years, depending on usage and environmental conditions. Regular maintenance can enhance their lifespan, including cleaning solar panels to ensure optimal charging and replacing batteries when needed. Some high-end models offer replaceable battery options, which can lengthen the usable life significantly, allowing for adjustments based on performance.
HOW MUCH SUNLIGHT DO SOLAR lights NEED?
Solar lights typically require 6 to 8 hours of direct sunlight for adequate charging. During this time, solar panels absorb sunlight, converting it into electrical energy stored in internal batteries. It is essential to position the lights in areas that receive unobstructed sunlight for as long as possible. Recognizing seasonal changes is vital; for instance, shorter winter days may provide less sunlight, so monitoring light duration is necessary to optimize performance.
CAN SOLAR RANGER LIGHTS BE USED IN WINTER?
Yes, solar ranger lights can indeed be utilized in winter months. However, performance may vary due to shorter daylight hours and potential snowfall that might obstruct solar panels. Maintaining clear solar panels free from snow or debris ensures maximum sunlight absorption. It is advisable to select models designed for colder climates, as these units can be more effective at withstanding lower temperatures.
IN SUMMARY
The installation of solar ranger lights encompasses several critical steps: selecting a suitable area, preparing the mounting surface, installing the solar panel, connecting the lights, and rigorously testing the entire setup. Each step is vital to ensure the efficiency and effectiveness of the lights. It is also advantageous to take into account the location’s specific conditions, planned usage, and seasonal variability. Throughout this process, careful attention to detail ensures a successful installation. Once fully functional, these solar lights offer an eco-friendly alternative to traditional lighting methods while providing the added benefit of energy independence. For anyone considering enhancing outdoor lighting capabilities without high energy costs, solar ranger lights pose a compelling option. By following the outlined procedures, individuals can install these lights confidently and effectively, embracing both sustainability and functional elegance in their outdoor spaces.
Original article by NenPower, If reposted, please credit the source: https://nenpower.com/blog/how-to-install-solar-ranger-lights/
