
Installing solar panels on your roof involves several essential steps and considerations that ensure an effective and sustainable energy solution. 1. Assess your roof’s suitability, 2. Choose a reliable solar system, 3. Obtain any necessary permits, 4. Follow installation guidelines. Among these, assessing your roof’s suitability is crucial; it requires checking the structure for weight-bearing capability, orientation for sun exposure, and potential shading from trees or buildings. A thorough evaluation can influence the efficiency and output of the solar system significantly.
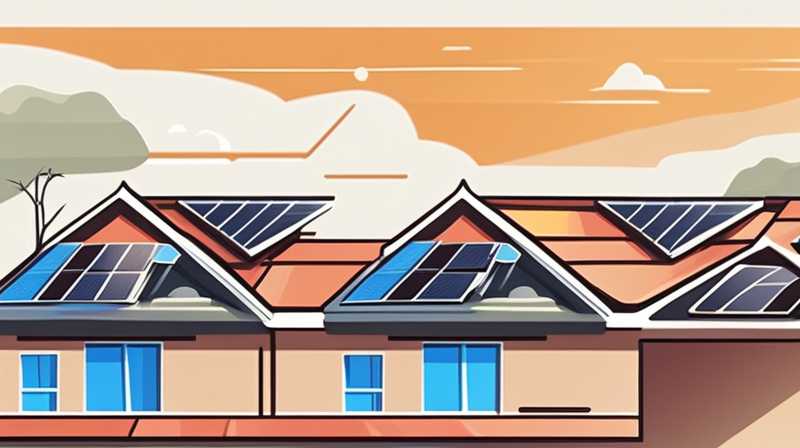
1. ASSESSING ROOF SUITABILITY
Before diving into the complexities of solar panel installation, one must conduct a comprehensive evaluation of the roof. Roof material and condition are pivotal factors. Different roofing materials, such as asphalt shingles, metal, or tiles, each have distinct characteristics that can affect the installation process. For instance, metal roofs are generally lightweight and compatible with solar systems, allowing for easier installation. In contrast, older tiles may require more robust mounting solutions, which can increase installation costs.
In addition to materials, the physical condition of the roof plays a significant role. An aging roof with cracks or potential leaks may necessitate repairs before solar panel installation. Taking the time to address these issues is vital, as improper installation on a compromised roof could lead to costly damage or reduced efficiency down the line. Furthermore, assessing the roof’s angle and orientation toward the sun must not be overlooked. South-facing roofs typically receive the most sunlight, making them ideal for solar panel installation.
2. CHOOSING A SOLAR SYSTEM
After thoroughly assessing the roof, the next step revolves around selecting an appropriate solar system. There are different types of solar panels available, such as monocrystalline, polycrystalline, and thin-film panels. Each of these has distinct advantages and disadvantages related to efficiency, cost, and longevity. Monocrystalline panels are generally the most efficient and space-saving but often come with a higher price tag. Polycrystalline panels, while less efficient, can be more budget-friendly, making them appealing for those on a tighter budget.
Beyond the panels themselves, one must also consider the inverter. This essential component converts the direct current (DC) generated by the solar panels into alternating current (AC) for use in homes. String inverters and microinverters represent the two main options. String inverters are simpler and usually less expensive; however, they can limit performance if one panel is shaded. Microinverters, on the other hand, allow each panel to operate independently, maximizing energy production even if some panels are obstructed.
3. OBTAINING NECESSARY PERMITS
Navigating local regulations and obtaining the necessary permits is a critical aspect often overlooked. Requirements can vary widely based on location, thus investigating local zoning laws and building codes is essential. Some municipalities may necessitate specific permits prior to installation, especially if the project involves structural modifications. Engaging local authorities early in the process can streamline the procedure and help avoid potential complications or fines.
In addition, utility companies may provide specific guidelines regarding grid connections, especially if one plans to install a grid-tied system. Understanding the interconnection policies and net metering options available can influence the decision-making process. These policies might allow homeowners to sell excess energy back to the grid, further improving the financial benefits of going solar.
4. FOLLOWING INSTALLATION GUIDELINES
With permits in hand and the solar system chosen, the next step consists of the actual installation. It is crucial to adhere to manufacturer guidelines and local installation best practices to ensure the longevity and efficiency of the solar panels. Proper mounting techniques are vital; they significantly impact the performance and safety of the system. Typically, this involves securing brackets to the rafters and ensuring they are waterproofed correctly to prevent leaks.
Many homeowners opt to hire professionals for the installation process. While a DIY approach can reduce costs, it also requires a significant understanding of roofing, electrical systems, and local regulations. Hiring trained experts mitigates risks associated with improper installation and ensures that all safety measures are in place. It’s also worth mentioning that professionals often provide warranties on their work, offering peace of mind for homeowners.
FAQs
WHAT ARE THE COSTS ASSOCIATED WITH INSTALLING SOLAR PANELS?
The expenses linked to solar panel installation can vary significantly based on factors like system size, labor costs, and panel type. On average, residential solar installations can range from $15,000 to $30,000 before any incentives. This price encompasses not only the panels and inverter, but also labor and any necessary equipment. While it may appear steep initially, various federal and state incentives—like tax credits—can substantially reduce the overall cost. Additionally, financing options are proliferating, allowing homeowners to pay for the system over time rather than all at once. This restructured payment approach can alleviate immediate financial burdens and lead to noticeable savings on energy bills, furthering the appeals of solar energy investments.
HOW LONG DOES IT TAKE TO INSTALL SOLAR PANELS?
The installation timeline for solar panels is influenced by multiple factors, including system size and the complexity of the roof. Typically, a residential installation can take anywhere from one to three days. This timeline encompasses the physical installation of the panels, inverter setup, and electrical connections. However, it’s critical to factor in preliminary tasks like planning, securing permits, and arranging inspections, which can take several weeks or even months based on local bureaucracy. While waiting for permits and other administrative steps may seem part of a drawn-out process, the actual installation is usually a relatively quick affair, facilitating near-immediate access to clean energy once completed.
WHAT MAINTENANCE DO SOLAR PANELS REQUIRE?
Once installed, solar panels are generally low-maintenance, but periodic upkeep is still required to optimize performance and longevity. Routine inspections and cleaning are essential components of maintenance. Panels should be inspected regularly for dust, debris, or any signs of damage that could impede efficiency. Typically, a light rinse with water during rainy seasons can suffice in keeping them clean. However, in areas with heavy pollen or dust, professional cleaning services might be necessary. Furthermore, monitoring system performance is paramount; homeowners should regularly check energy output through monitoring systems or utility bills to ensure that the panels are functioning optimally.
The journey of installing solar panels is multifaceted and demands careful consideration at each stage. Understanding your roof’s suitability, selecting the appropriate solar system, navigating through permitting processes, and adhering to installation best practices are integral to achieving an efficient solar energy solution. By prioritizing these elements, homeowners can not only enhance their energy independence and reduce their carbon footprint but also maximize the financial benefits associated with renewable energy. Planning thoughtfully and engaging knowledgeable professionals can lead to a successful and rewarding solar energy transition.
Original article by NenPower, If reposted, please credit the source: https://nenpower.com/blog/how-to-install-solar-panels-on-your-roof/
