
To install a solar monitoring rack, it is crucial to ensure proper placement, secure mounting, and accurate connections. 1. Select appropriate location, 2. Assemble mounting components, 3. Affix monitoring rack securely, 4. Connect monitoring system. The selection of a site with ample sunlight exposure is essential, as it maximizes efficiency and data accuracy. When assembling the mounting components, attention to detail ensures stability and longevity. A secure attachment of the monitoring rack prevents possible damage or misalignment. Connecting the monitoring system involves careful wiring to ensure data integrity and reliable performance.
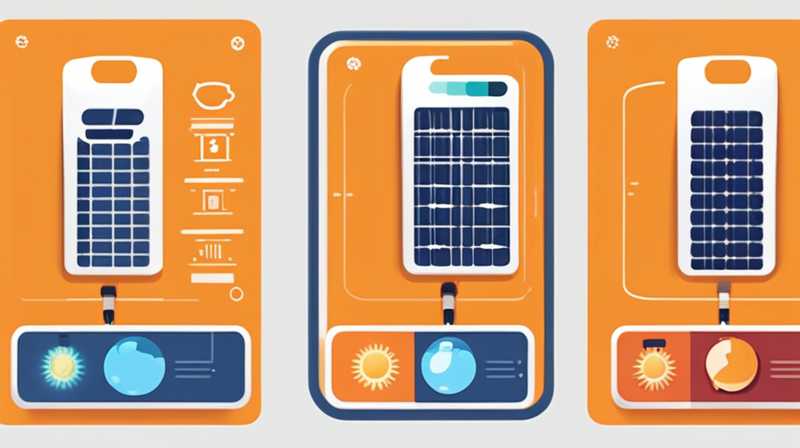
INSTALLATION OF SOLAR MONITORING RACK
1. SELECTING AN APPROPRIATE LOCATION
Choosing the right site for a solar monitoring rack is fundamental for effective solar energy management. Sunlight exposure and the absence of obstructions are critical factors. It is important to select a position that receives optimal sunlight throughout the day, minimizing shadows from trees, buildings, or other structures. Progressively, different geographic locations may offer varied sunlight availability, which should be assessed in detail, along with weather patterns, to decide the most suitable spot.
The orientation of the rack also plays a pivotal role. Positioning the monitoring rack at an angle that aligns ideally with the sun’s path can significantly enhance performance. An inclination that matches the geographical latitude might allow for maximum solar exposure. Additionally, consideration of local climate conditions should guide the choice of materials used for the rack, ensuring durability against environmental stressors like wind or precipitation.
2. ASSEMBLING MOUNTING COMPONENTS
Once a suitable location is established, the next step is the assembly of the mounting components. Understanding the types of mounting systems—fixed, adjustable, or tracking—is vital for appropriate selection. Each system has distinct mechanics and benefits. For example, a fixed system provides stability at a set angle, while a tracking system follows the sun’s path, potentially increasing energy capture significantly.
When assembling the components, meticulous attention to the manufacturer’s instructions is imperative. Each constituent must be correctly oriented to avoid issues during installation. Using quality fasteners and construction materials helps in constructing a robust support structure. Upon successful assembly, verify that all elements fit snugly and are free from any potential points of friction or weakness. This action is essential for long-term operation and effectiveness.
3. AFFIXING MONITORING RACK SECURELY
With the components ready, proceeding to affix the monitoring rack securely becomes essential. Utilizing appropriate hardware such as bolts, screws, and brackets guarantees stability against environmental factors. It is critical to ensure that each connection is strong enough to withstand wind forces, heavy precipitation, or snow accumulation. Various mounting techniques may be employed, including ground-mounted or roof-mounted systems, depending on the pre-decided location.
Furthermore, ensuring level positioning of the rack cannot be overstated. Utilizing a spirit level during installation guarantees that all angles are uniform. A misaligned rack can lead to inaccurate data collection and reduce the efficiency of solar panels. Any corrective actions taken during this phase contribute to the overall integrity of the installation. A properly secured monitoring rack not only functions well but also prolongs the lifespan of both the rack and the monitoring equipment attached.
4. CONNECTING MONITORING SYSTEM
The final phase of this process is connecting the monitoring system to the solar setup. This involves linking sensors, data loggers, and communication devices effectively. It is crucial to follow the schematics provided with the monitoring equipment to ensure accurate wiring. Each connection should be carefully inspected to avoid potential disruptions in data transmission.
It’s also advisable to test the connections before finalizing the entire setup. Conducting initial readings helps identify any immediate issues, allowing for quick rectification. Furthermore, once the connections are established, employing a monitoring platform increases accessibility to performance data, enabling effective analysis. A well-connected monitoring system serves as the brain of the solar installation, providing essential real-time metrics needed to optimize energy production and troubleshoot any concerns promptly.
FREQUENTLY ASKED QUESTIONS
HOW LONG DOES IT TAKE TO INSTALL A SOLAR MONITORING RACK?
The duration of installing a solar monitoring rack generally depends on several factors, such as the complexity of the installation, the site’s condition, and the equipment being installed. On average, a straightforward installation of a basic monitoring rack can take anywhere from four to eight hours. This estimate includes the time needed for selecting the right location, assembling the components, affixing the rack, and connecting the monitoring system.
In more complex scenarios, such as using advanced tracking systems or integrating multiple sensors, the installation process might extend to one or two days. It’s also essential to account for preparation time, including site assessments, gathering necessary tools, and any local permitting processes. Ultimately, while some projects can be completed relatively quickly, others necessitate more extensive planning and execution, factoring in all aspects of the installation and ensuring that every component functions optimally.
WHAT EQUIPMENT IS REQUIRED FOR INSTALLING A SOLAR MONITORING RACK?
Several essential tools and equipment are necessary for the successful installation of a solar monitoring rack. At the forefront are the basic tools, including drills, wrenches, screwdrivers, saws, and measuring tapes, which facilitate the assembly of mounting components. Proper mounting hardware, such as bolts, nuts, and brackets, is crucial for ensuring secure affixation of the rack.
In addition to standard tools, specific equipment related to the monitoring system itself is required. This may include sensors, data loggers, connectors, and communication devices. Moreover, utilizing protective gear such as gloves, goggles, and harnesses ensures safety throughout the installation process. It is also beneficial to have a power meter or multimeter on hand for testing connections post-installation, confirming that each component operates effectively to gather requisite performance data seamlessly.
CAN A SOLAR MONITORING RACK BE INSTALLED BY ONE PERSON?
While it is technically feasible for an individual to install a solar monitoring rack alone, doing so is generally not advisable due to safety concerns and the complexity of the task. Having assistance, particularly during the lifting and securing phases, can greatly minimize the risk of accidents. Two or more people collaborating can ensure that the rack is held steady while components are being fastened together and adjusted for alignment.
Cooperation is particularly helpful when navigating challenging terrain or positioning equipment at awkward angles. Furthermore, having a second pair of eyes can enhance the accuracy of measurements and ensure each step adheres to the standards for safe and effective installation. All in all, while a solo effort might be possible, enlisting help makes the process safer and more efficient, fostering a better overall outcome.
In summation, the installation of a solar monitoring rack entails a meticulous process that can significantly enhance the efficacy of solar energy systems. Careful selection of location, precise assembly of components, secure affixation of the rack, and accurate connections to the monitoring system are paramount. Each of these steps contributes to effective data collection and optimal performance, ensuring that the installed solar setup operates efficiently over time. By investing in quality materials and closely adhering to best installation practices, individuals and organizations can maximize energy yield and improve the management of solar resources. Proper monitoring allows for real-time evaluation of system performance, enabling operators to make data-driven decisions, troubleshoot issues promptly, and adapt to changing solar availability. Ultimately, the successful implementation of a solar monitoring rack not only bolsters the reliability of solar installations but also paves the way for sustainable energy production, ushering in a cleaner, greener future that preserves environmental integrity for generations to come.
Original article by NenPower, If reposted, please credit the source: https://nenpower.com/blog/how-to-install-solar-monitoring-rack/
