
To successfully install solar light tubes on the roof, one must undertake a systematic approach, ensuring that the installation enhances natural lighting within the interior spaces while maximizing efficiency. Detailed exploration of this task reveals that proper planning, equipment selection, and installation techniques are paramount.
1. INTRODUCTION TO SOLAR LIGHT TUBES
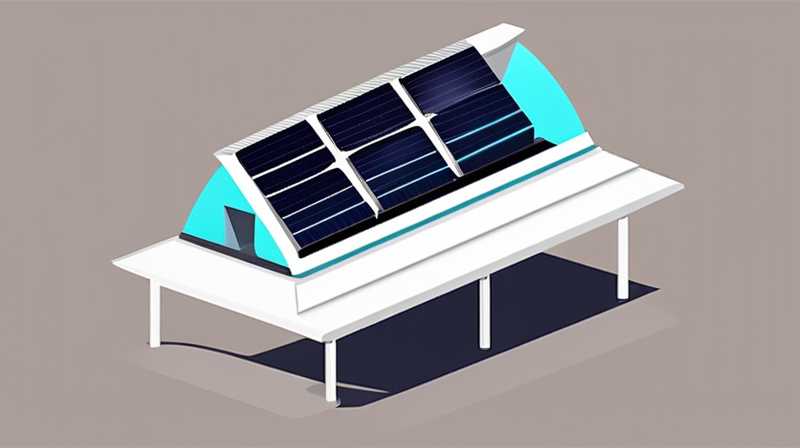
Solar light tubes, often referred to as solar tubes or tubular skylights, capture sunlight through a dome-shaped collector installed on the roof. 1.1. Functionality of Solar Light Tubes: These tubes employ a mirrored interior to channel daylight into living areas, reducing reliance on artificial lighting and improving energy efficiency. They are particularly advantageous in spaces lacking direct access to windows and are increasingly regarded as a sustainable alternative for modern homes.
1.2. Benefits of Using Solar Light Tubes: The installation of solar light tubes can lead to substantial energy savings, potentially lowering utility bills. Furthermore, they contribute positively to indoor air quality, as adequate natural light can reduce the feeling of confinement associated with artificial lighting. Many homeowners have reported enhanced mood and productivity in spaces illuminated by solar light tubes, making them a sought-after feature in many building renovations.
2. PREPARATIONS FOR INSTALLATION
Thorough preparation is crucial before embarking on the installation of solar light tubes. 2.1. Determining the Location on the Roof: The initial step involves selecting an ideal position on the roof, which must be free from obstructions such as tree branches or neighboring buildings that could block sunlight throughout the day. This positioning should also consider the interior layout to ensure optimal light distribution.
2.2. Gathering Required Tools and Materials: Prior to installation, it’s essential to gather all necessary tools and materials. This may include a roofing saw, measuring tape, a drill, screws, insulation materials, and the solar light tube kit. It’s advantageous to purchase high-quality materials that ensure durability and long-lasting performance. Having everything on hand minimizes unnecessary delays during the installation process.
3. INSTALLATION PROCESS
The actual installation process for solar light tubes demands attention to detail and adherence to safety protocols. 3.1. Cutting the Roof Opening: The first significant task involves marking and cutting an opening in the roof where the solar tube will pass through. Accurate measurements are imperative, as a poorly cut hole may lead to significant air leaks and moisture problems.
3.2. Securing the Flashing Kit: Once the opening is prepared, the next step involves securing the flashing kit around the opening. This kits serves as a waterproof barrier that channels water away from the roof structure, preventing potential leaks. Proper flashing installation is pivotal because it safeguards the roof’s integrity and prevents damage from rain or snow.
4. TUBING INSTALLATION
Following the preparation of the roof opening and installation of the flashing, attention shifts to the tubing itself. 4.1. Installing the Reflective Tube: The reflective tube, which is the core component of solar light tubes, needs to be inserted into the opening. Care should be taken to ensure that the tube is securely attached to both the flashing and the interior ceiling. This ensures the channel for light is uninterrupted and maximizes efficiency.
4.2. Insulating and Sealing: To prevent energy loss, it’s crucial to insulate any gaps between the tube and the roof. Appropriate insulation materials should be applied along with sealing agents to create a snug fit. This not only boosts energy efficiency but also acts as a barrier against moisture intrusion, which can lead to mold growth within the building.
5. INTERIOR INSTALLATION AND FINISHING TOUCHES
Once the roof portion is securely installed, the focus shifts to the interior side of the solar light tube. 5.1. Ceiling Trim Installation: The next phase requires attaching the trim ring around the ceiling opening. This decorative piece enhances the aesthetic appeal of the installation while serving as a transition between the tube and the ceiling surface.
5.2. Final Adjustments and Testing: After the trim is in place, it is vital to verify that the installation functions optimally. This involves making any necessary adjustments to ensure that maximum light is channeled into the living space. Moreover, testing for any air leaks is essential, and addressing any concerns before recognizing the job as complete is crucial for long-term functionality.
6. MAINTENANCE AND LONG-TERM CARE
To ensure the effectiveness and durability of solar light tubes, a maintenance plan should be established. 6.1. Cleaning the Domes: Regular cleaning of the dome is necessary to remove dust, debris, or snow, which can hinder sunlight penetration. Using a gentle cleaning solution and a soft cloth can maintain clarity and effectiveness.
6.2. Inspecting for Damage: Periodic inspections should be conducted to check for potential damage or wear. This includes assessing the integrity of the flashing and the reflective tubing. If any damage is detected, timely repairs can mitigate larger issues down the line, preserving the efficiency and functionality of the solar light tubes.
FAQs
WHAT ARE SOLAR LIGHT TUBES?
Solar light tubes are innovative systems designed to capture and channel natural sunlight into buildings. They consist of a dome installed on the roof that collects daylight, which then travels through a reflective tube into the interior spaces. Solar light tubes provide an alternative to traditional skylights, offering an unobtrusive way to bring light into areas lacking windows. They can significantly reduce electricity bills by minimizing the need for artificial lighting during daylight hours.
The installation of solar light tubes involves placing a dome on the roof, cutting a hole to fit the tube, and ensuring that the assembly is secure and insulated against air leaks and moisture intrusion. This allows homeowners to enjoy increased natural light without compromising energy efficiency, making them a valuable addition to modern architecture.
HOW MUCH LIGHT CAN SOLAR LIGHT TUBES PROVIDE?
The amount of daylight solar light tubes can provide varies based on multiple factors, including tube size, installation angle, and geographic location. Typically, a standard solar light tube can deliver brightness equivalent to approximately 300 to 500 watts of electric light during peak sunlight hours, effectively illuminating rooms throughout the day. Moreover, their reflective nature ensures light disperses evenly across the room, reducing shadows and enhancing brightness.
Unexpected weather conditions may also impact the performance of solar light tubes, with cloudy days yielding less light than sunny ones. However, even on overcast days, these installations still allow a significant amount of natural light to enter. In general, consumers can expect a noticeable enhancement in indoor lighting quality due to daylight tube installations.
ARE SOLAR LIGHT TUBES WORTH THE INVESTMENT?
Investing in solar light tubes often proves to be a financially sound decision, particularly due to their energy efficiency benefits. By significantly reducing the need for electric lighting, these installations can lower energy bills, leading to substantial savings over time. In addition, solar light tubes require minimal maintenance and possess a long lifespan, often exceeding 20 years, thus offering a solid return on investment.
Furthermore, these installations increase the property’s appeal and resale value, as sustainability and energy efficiency have become key considerations for many homebuyers. The environmental impact is also noteworthy, as utilizing natural light reduces reliance on non-renewable energy sources. Ultimately, the benefits of solar light tubes frequently outweigh the initial costs, making them a wise investment choice for homeowners looking to enhance their living spaces sustainably.
SUMMARY OF KEY POINTS
Installing solar light tubes on roofs involves systematic planning and execution. 1. Choose an optimal location, 2. Gather essential tools, 3. Cut a proper roof opening, 4. Secure the flashing kit, 5. Install the reflective tube, and 6. Take care of interior finishing touches. For successful installation, attention to detail and adherence to safety protocols are indispensable. Additionally, regular maintenance of solar light tubes ensures their continued efficiency and functionality, leading to enhanced indoor lighting and meaningfully lower energy costs.
FINAL THOUGHTS ON INSTALLING SOLAR LIGHT TUBES
The journey towards installing solar light tubes on a roof is characterized by careful planning and detailed execution. Begin by selecting a suitable location, ensuring that potential obstructions are considered to maximize sunlight exposure. The preparation phase is critical; gathering all the necessary tools and materials helps prevent any interruptions during the process. Proper installation involves cutting the roof opening with precision, securing the flashing kit effectively, and insulating the reflective tube properly to mitigate energy loss.
As the installation progresses, attention must be given to the interior finishes, which not only affect aesthetics but also functional lighting efficiency. Regular maintenance is equally crucial, ensuring that the solar tubes continue to perform optimally over the years. Ultimately, the addition of solar light tubes can transform living spaces, offering natural illumination that enhances mood, productivity, and the overall energy efficiency of the home. By investing in such installations, homeowners support sustainable living practices while enjoying the immediate benefits of reduced electricity consumption. Through diligent execution and maintenance, solar light tubes can be a valuable asset within any residential or commercial setting.
Original article by NenPower, If reposted, please credit the source: https://nenpower.com/blog/how-to-install-solar-light-tubes-on-the-roof/
