
To install solar electric panels successfully, it’s essential to follow the proper steps and adhere to specific guidelines. 1. Obtain necessary permits, 2. Choose the right location, 3. Install solar mounting system, 4. Connect the solar panels, 5. Set up the inverter, 6. Perform an electrical inspection. Among these steps, obtaining necessary permits is often the most critical and detailed part of the process. Solar installation regulations vary by region, so understanding local laws and acquiring permits can prevent legal issues and ensure a smooth installation.
A thorough review of community guidelines and regulations will provide insight into required documents and fees. These may include application forms, health and safety regulations, and compliance with zoning laws. Adherence to these requirements is crucial not only for avoiding fines but also for ensuring that the installed system meets safety standards and functions correctly in the long run.
1. UNDERSTANDING SOLAR ENERGY SYSTEMS
To appreciate the installation process, grasping the fundamentals of solar energy is vital. Solar energy systems convert sunlight into electricity, utilizing photovoltaic (PV) cells found in solar panels. When sunlight strikes these cells, it generates direct current (DC) electricity. This electricity must then be converted into alternating current (AC) to be used in residential and commercial buildings.
The technology behind solar panels has significantly advanced, leading to increased efficiency and reduced cost. Modern panels can convert more sunlight into electricity than their predecessors. Consequently, it’s crucial to select the right type of solar panels, based on factors like efficiency ratings, durability, and warranty periods. Selecting the appropriate panel type can lead to optimal energy production and cost savings over time.
2. ASSESSING ROOFTOP SPACE AND SOLAR ACCESS
Before embarking on the installation journey, it is imperative to evaluate your rooftop space for solar access. Factors such as shading, angle, and orientation of the roof significantly influence solar energy production. Ideally, solar panels should be positioned to maximize exposure to sunlight throughout the day, typically facing south in the Northern Hemisphere and north in the Southern Hemisphere.
Additionally, the structural integrity of the roof needs to be assessed. Roofs that are older or require repairs should be addressed before installing solar panels. A professional assessment may be necessary to ensure that the roof can support the weight and installation requirements of the solar system. Identifying potential obstacles such as trees, antennas, or other structures that could create shadows on the panels is also essential to ensure maximum sunlight absorption throughout the day.
3. OBTAINING THE NECESSARY PERMITS
Navigating the permitting process is considered a crucial step in installing solar electric panels. Each region may have different requirements based on zoning laws, building codes, and utility regulations. As such, it’s beneficial to consult local government websites or offices to gather information specific to your area.
In many cases, applicants must provide detailed plans for the proposed solar installation, along with other documentation, to comply with local building codes. This may include electrical plans, structural engineering assessments, and proof of ownership or lease agreements. In some areas, homeowner associations may impose additional regulations, making it essential to consult them as well. Understanding these nuances before laying the groundwork for installation can aid in avoiding delays or unexpected complications down the line.
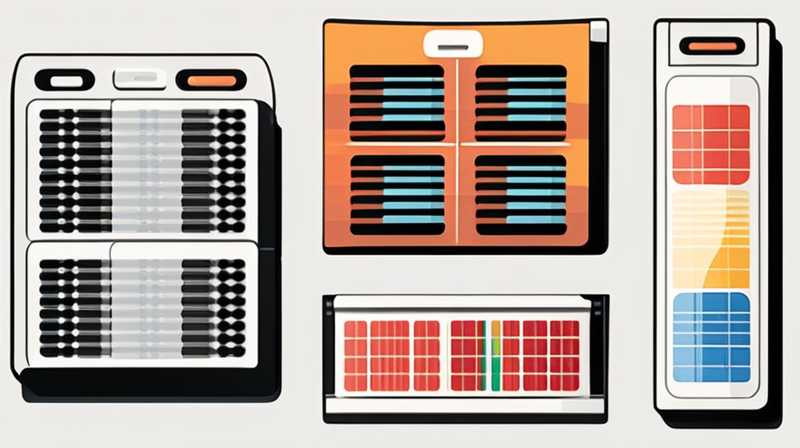
4. SELECTING THE RIGHT SOLAR EQUIPMENT
Choosing the appropriate solar equipment is paramount for an effective installation. Solar panels, inverters, racking systems, and battery storage options must all be carefully selected based on energy needs and budget constraints. Understanding the specifications and operational compatibility of these components is essential for ensuring a cohesive and efficient solar energy system.
When it comes to solar panels, looking at efficiency ratings, warranties, and cost per watt provides a solid framework for decision-making. Similarly, inverter selection can influence the efficiency of your solar system, as inverters are responsible for converting DC electricity into usable AC electricity. Careful analysis of tech specifications and manufacturer reputation plays a vital role in selecting durable and high-performing components that align with your energy goals.
5. PREPARING FOR INSTALLATION AND MOUNTING SYSTEM
Before the actual installation begins, thorough preparation is paramount. A site assessment will solidify your plan, which includes identifying attachment points for the solar mounting system. This mounting system is fundamental, as it secures solar panels to the roof and allows for their optimal orientation.
There are various types of mounting systems, including fixed mounts and adjustable mounts. Choosing the right one is influenced by factors such as roof pitch and the architectural style of the building. Skilled installation is vital to ensure that the mounts are securely affixed and can withstand wind and weather conditions. Furthermore, proper sealing around penetrations made for mounting will help in preventing water leaks and damage to the roof.
6. ENGAGING IN THE INSTALLATION PROCESS
Once preparations are complete, the actual installation can commence. It is recommended to hire certified solar installers, as their expertise ensures that installation complies with all local codes and standards. The process involves several essential steps, from positioning panels to connecting wiring.
Installing the solar panels usually involves lifting heavy equipment onto the roof and securing them in place using the selected mounting system. Conduits for electrical wiring need to be installed, linking the solar panels to the inverter. This phase requires meticulous attention to detail, as any missteps could lead to inefficiencies or safety hazards. Ensuring that wiring is properly secured and protected from environmental elements is critical to sustaining system longevity and performance.
7. ELECTRICAL CONNECTION AND INVERTER INSTALLATION
Following the placement of the solar panels, the next course of action is connecting them to the electrical system. The inverter plays a pivotal role in converting the DC electricity produced by the solar panels into AC electricity, making it usable for home appliances. The placement of the inverter should be in a shadier area to minimize heat exposure, which can affect its efficiency.
Connecting the inverter to the grid must adhere to local guidelines and regulations, ensuring safety and compliance. An electrical professional may be required at this stage to conduct wiring checks and examining the overall system setup. Having the right connections reduces the risks of circuit overloads, which can lead to system failure or safety hazards.
8. FINAL INSPECTIONS AND TURNING ON THE SYSTEM
After the installation has been completed, rigorous inspections are vital to confirm that all components meet safety and operational standards. Many jurisdictions require a final electrical inspection conducted by local building inspectors before the system can be turned on. This inspection typically evaluates wiring connections, grounding, and the functionality of the overall system.
Post-inspection, the solar energy system can be connected to the grid, allowing for the generation of electricity. In some areas, net metering policies may enable homeowners to receive credits for excess energy produced, adding financial incentives to the upfront costs. Testing the system for proper functionality ensures a seamless transition into using solar energy while minimizing interruptions in electric service.
FREQUENTLY ASKED QUESTIONS
HOW LONG DOES IT TAKE TO INSTALL SOLAR PANELS?
The timeline for installing solar panels can vary widely based on several factors. Generally, the installation of the panels themselves can take anywhere from one to three days, depending on the size of the system and the complexity of the installation. Prior to installation, additional time can be required for planning, obtaining permits, and preparing the site.
The permitting phase often depends on local regulations and bureaucratic processes, which can take from a few days to several weeks. Additionally, unexpected weather issues or scheduling conflicts may extend this timeline. On average, expecting the entire process—from planning to activation— could take anywhere from a few weeks to several months. Consulting with a professional solar installer can provide a more accurate estimate tailored to individual circumstances.
WHAT ARE THE COSTS ASSOCIATED WITH SOLAR PANEL INSTALLATION?
The costs of installing solar panels can fluctuate significantly based on a variety of factors. On average, the price for a residential solar system can range from $15,000 to $30,000 before any incentives or rebates. Factors influencing cost include the size of the system, type of solar panels selected, and complexities pertaining to the installation site.
Additional costs such as permits, inspections, and potential upgrades to electrical systems can contribute to the overall expense. Fortunately, many governments provide incentives, tax credits, or rebates to offset installation costs, making solar energy more accessible. Researching local and federal incentives can provide substantial financial benefits, ultimately lowering the return on investment timeframe for potential solar customers.
WHAT MAINTENANCE IS REQUIRED FOR SOLAR PANELS?
Solar panels are generally low-maintenance systems, but some degree of upkeep will ensure optimal efficiency. Routine maintenance may involve cleaning the panels and inspecting electrical connections to determine any wear or damage. Dust, debris, or snow accumulation can hinder solar energy absorption, requiring periodic cleaning depending on environmental conditions.
In addition to cleaning, checking electrical components, such as the inverter, once or twice a year for malfunctions or unexpected behavior is advisable. Many manufacturers offer warranties lasting twenty-five years; however, proactive maintenance can extend the operational lifespan of solar panels. Engaging professional services for inspections and maintenance ensures that the systems function at peak performance.
In summary, understanding every facet of solar panel installation—from zoning to final connections—is essential for a successful project. Each stage presents opportunities to optimize the system’s efficiency and function. It is critical to weigh the options carefully when navigational process challenges arise. If tackled methodically, solar installations can excel in delivering renewable energy solutions that are both fiscally prudent and environmentally responsible. Engaging with professionals throughout the process is advisable, as they deliver valuable insights and expertise that can refine the overall experience and choices made. As solar technology continues to advance, the potential for sustainability grows ever more compelling, encouraging individuals to embrace solar energy for their power needs. The journey may seem convoluted at times, but the benefits of solar energy—savings on energy bills, reduction of carbon footprints, and independence from fossil fuels—clearly offset initial challenges.
Original article by NenPower, If reposted, please credit the source: https://nenpower.com/blog/how-to-install-solar-electric-panels/
