To successfully install a solar aerator, consider the following steps: 1. Understand the components and their roles, 2. Choose a suitable location for installation, 3. Follow the manufacturer’s instructions for assembly, 4. Ensure proper solar panel alignment for efficient energy capture, 5. Conduct thorough testing after installation. Understanding these steps and their importance can significantly impact the longevity and efficiency of the aeration system. For instance, a well-chosen location with adequate sunlight exposure will enhance the solar panel’s performance, impacting the overall functioning of the aerator. This article will provide a comprehensive guide covering the entire process of installation.
1. UNDERSTANDING SOLAR AERATORS
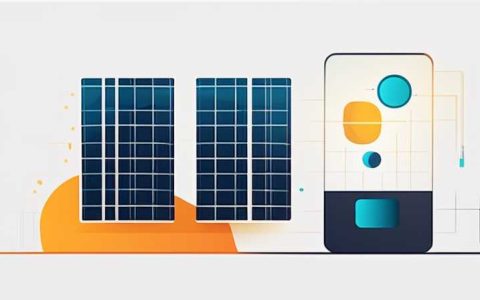
Solar aerators serve a vital function in maintaining the health of ponds and water bodies. They harness the power of solar energy to drive air into the water, raising oxygen levels that are crucial for aquatic life. Understanding their components is essential, including the solar panel, air pump, and airstones. The solar panel converts sunlight into electrical energy, which powers the air pump that creates bubbles dispersed through airstones.
The benefits of using solar aerators are numerous. They are eco-friendly and require minimal maintenance compared to fossil fuel-powered aerators. Moreover, they operate silently, making them ideal for residential areas. Environmental considerations are paramount; by opting for solar-powered systems, users contribute to reducing carbon footprints and promoting sustainability. This choice offers a dual advantage of enhancing water quality while respecting nature.
2. CHOOSING THE RIGHT LOCATION
Selecting a strategic location for installing a solar aerator involves assessing both sunlight exposure and water conditions. A site should offer ample sunlight, ideally receiving unobstructed sun for most of the day. Tall trees or buildings can cast shadows that hinder solar panel efficiency, making it essential to plan with these factors in mind.
Additionally, consider the proximity to the water body. The hose length of the aerator may dictate how far the aerator can be positioned from the pond. Ensuring a seamless connection minimizes the risk of air leakage and optimizes performance. Moreover, factors like wind direction can influence the placement of both the solar panel and the aerator. Choosing an appropriate location ensures maximum operational efficiency.
3. ASSEMBLING THE COMPONENTS
Following the appropriate manufacturer’s instructions for assembly and installation guarantees the aerator operates optimally. Ensuring that each component is connected securely is paramount. Start by assembling the solar panel; attach it securely to the provided frame or mount, ensuring it’s angled correctly to capture maximum sunlight.
Next, connect the air pump and airstones. Utilizing high-quality tubing can prevent any air leaks that would diminish performance. It is also advisable to use clamps to secure the tubing where necessary, especially in areas that may experience movement or pressure changes due to water flow. A thorough inspection of all connections before operation can prevent malfunctions and enhance reliability.
4. ALIGNING SOLAR PANELS
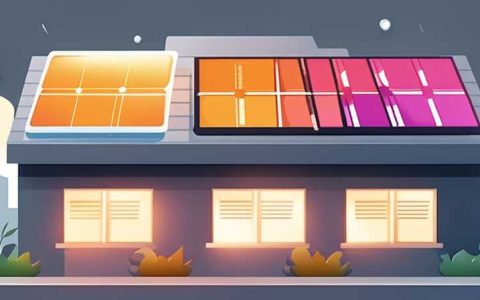
Aligning solar panels properly is critical for maximizing energy absorbance. The optimal angle for most regions is usually between 30° to 45°, tilted toward the sun. Depending on your geographic location, adjustments might be necessary to account for seasonal variations in sunlight.
Additionally, consider seasonal changes. In summer, sunlight is more direct, whereas, in winter, a flatter angle may be more beneficial to capture low sun rays. Properly aligning the solar panels not only increases their efficiency but also extends their lifespan by preventing damage from excessive exposure or improper placement.
5. TESTING AND MONITORING
Conducting thorough tests once the aerator is set up helps ensure that the entire system functions as intended. Initial testing should check the oxygen levels in the pond after a few hours of operation, confirming that the aerator is indeed circulating air effectively. Monitoring changes in water quality will also provide insight into how well the unit performs over time.
After installation, it is crucial to maintain a regular monitoring schedule. Look for any signs of wear and tear on the components, particularly the airstones and tubing, as algae can develop and impair performance. Regular inspections will prolong the life of your system and ensure that it remains an effective part of your pond management.
FREQUENTLY ASKED QUESTIONS
WHAT BENEFITS DO SOLAR AERATORS OFFER?
Solar aerators provide various environmental and economic advantages. Primarily, they contribute to improved oxygen levels in water bodies, allowing aquatic life to thrive. By using renewable energy, these systems operate with virtually no ongoing operational costs beyond the initial purchase.
Moreover, they reduce dependency on fossil fuels, aligning with global sustainability efforts. Their silent operation enhances the quality of life for nearby residents, as there is no intrusive noise associated with traditional gas-powered units. Furthermore, solar aerators offer ease of installation and maintenance, adding to their appeal for both residential pond owners and larger aquatic facilities.
HOW LONG DOES IT TAKE TO INSTALL A SOLAR AERATOR?
The time frame for installing a solar aerator can vary based on familiarity with the components and the complexity of the system. Generally, the installation process can be completed in a few hours.
This includes the time needed for selecting a suitable location, assembling components, and ensuring everything is connected properly. Those new to such installations may require additional time to read and understand the manufacturer’s manuals. Allowing a full day for the process, including testing and potential adjustments, could be beneficial, especially during the first installation.
WHAT MAINTENANCE DOES A SOLAR AERATOR REQUIRE?
Regular maintenance is essential to maintain the aerator’s efficiency over time. Begin by routinely cleaning the solar panels to ensure they are free from dust and debris, which can obstruct sunlight and degrade performance. Inspect the airstones and tubing for any signs of clogging or wear. Algae growth around these components can impede air flow, so periodic cleaning is necessary.
In addition, be vigilant about checking connections for leaks and securing any fixtures that may have loosened over time. Regular maintenance not only prevents malfunction but also extends the longevity of the equipment, ensuring that it remains effective over the years.
Establishing a solar aerator installation represents a significant step toward enhancing aquatic health and promoting eco-friendliness. By selecting the right components, location, and maintenance strategies, users can ensure a smoothly operating system. Thorough research and proper installation will yield notable benefits, such as increased oxygen levels and improved water quality over time. Solar aerators exemplify modern sustainability technology, making use of accessible natural resources while promoting ecological balance. As it stands, investing in such systems positions individuals and communities toward a greener future, benefiting both local environments and personal aesthetics. By leveraging solar technology, the movement toward healthier aquatic systems is within reach, translating to thriving ecosystems for generations to come.
Original article by NenPower, If reposted, please credit the source: https://nenpower.com/blog/how-to-install-solar-aerator/


