
To successfully install a solar inverter, several critical steps must be undertaken to ensure optimal performance and safety. 1. Preparation, 2. Selecting the Right Components, 3. Installation Process, 4. Testing and Commissioning. Preparation is paramount, which includes assessing your power needs, understanding local regulations, and selecting the appropriate inverter type for your solar system.
Preparation
Optimally installing a solar inverter begins with comprehensive preparation. Prior to commencing installation, it is essential to carefully evaluate the power requirements of the household or business, which involves analyzing historical electricity consumption patterns, determining peak usage times, and identifying how much energy can be generated from the solar array based on geographic location and sunlight exposure. Adequate preparation also encompasses examining local regulatory requirements. Many areas enforce specific guidelines surrounding solar installations, including permits, grid connection rules, and adherence to safety codes. Ensuring compliance with these regulations not only facilitates a smoother installation process but also minimizes the risk of costly fines or project delays.
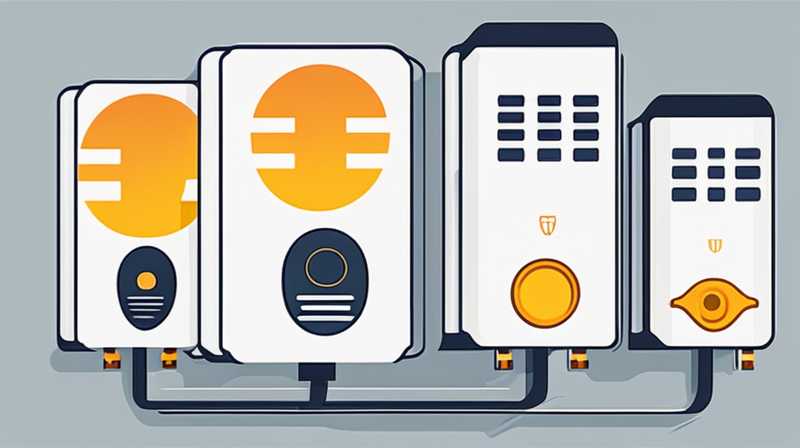
Selection of the right components is equally vital. Various types of solar inverters exist, including string inverters, microinverters, and power optimizers. The specific requirements of the solar installation—such as system size, type of solar panels, and specific performance forecasts—should guide this choice. For instance, string inverters are typically affordable and suitable for systems with minimal shading. In contrast, microinverters may be more effective for complex systems with varying shading or orientations due to their capability to optimize the performance of individual panels independently. Choosing quality components—like high-performance solar panel monitoring systems—can also significantly impact the overall efficiency and longevity of the solar setup.
INSTALLATION PROCESS
The actual installation of the solar inverter involves several key procedures to guarantee safety and achieve desired performance levels. Proper physical placement of the inverter is highly crucial; it should be near the solar array and the electrical breaker panel to reduce power losses and ensure the ease of wiring. The designated area must also be well-ventilated and free from potential obstructions, which could impede heat dissipation and subsequently affect the inverter’s operational efficiency.
Once the location has been selected, the first step typically involves mounting the inverter securely to the wall or on a designated rack designed to withstand environmental factors. Additionally, proper wiring techniques must be employed during the installation phase. This means utilizing appropriate wiring sizes and types to handle the power generated by the solar panels while minimizing voltage drop. Always follow the manufacturer’s installation guidelines and adhere to electrical codes when connecting the inverter to both the solar modules and the local electrical grid to ensure optimal functionality and safety.
WIRING CONNECTION
Once the inverter is securely mounted, the next critical step includes making necessary wiring connections. This involves connecting the DC power from the solar panels to the inverter, ensuring polarity is correctly maintained. The inverter needs to convert the DC (direct current) electricity produced by the solar panels into AC (alternating current) electricity, which can be used for household appliances. A well-organized and neat wiring setup significantly enhances the overall efficiency of the solar power system.
After completing the DC connections, attention must turn to the AC side of the wiring. Here, the inverter must connect to the electric panel within the home or building, typically using a dedicated circuit breaker for added safety. Proper labeling of all wiring connections can greatly assist in future maintenance and troubleshooting processes. Furthermore, grounding is imperative to guarantee that any voltage fluctuations or surges are safely managed.
TESTING AND COMMISSIONING
Upon finishing the installation, rigorous testing of the solar inverter’s functionality is necessary. This encompasses checking all connections for correctness and ensuring the system is functioning adequately before formally commissioning the solar energy installation. Verification of the inverter’s setting, including voltage and current ratings, should occur to ensure compliance with predefined specifications. A successful test may also involve confirming that real-time data monitoring is functioning effectively, which provides valuable insights into the inverter’s performance and total energy production.
After confirming the system’s operational status, the final phase involves commissioning the equipment when connected to the grid. This typically requires engagement with your local utility provider to verify that all conditions are satisfied, enabling the officially connected solar energy system to contribute power back to the grid should existing regulations permit such arrangements. Continued performance monitoring during the initial period post-installation is recommended, allowing for swift adjustment of variables in case of potential issues.
SOLAR INVERTER MAINTENANCE
While solar inverters are designed for durability, preventive maintenance plays a critical role in ensuring longevity and optimal performance. Regular inspections should focus on checking for any visual damages, loose connections, or signs of overheating around the inverter’s environment. Cleaning the inverter and surrounding components can significantly affect system efficiency; dirt, dust, and debris can obstruct airflow and heat dissipation, consequently leading to overheating and potential failure.
Scheduled maintenance should also include software updates. Many modern solar inverters come equipped with monitoring software that can provide alerts concerning system performance and operational anomalies. Keeping the inverter’s firmware updated can enhance the system’s functionality and efficiency while safeguarding against vulnerabilities.
FREQUENTLY ASKED QUESTIONS
1. WHAT IS THE DIFFERENCE BETWEEN STRING INVERTERS AND MICROINVERTERS?
String inverters and microinverters serve the same fundamental purpose—converting DC electricity generated from solar panels into AC electricity usable in homes. However, their operational methodologies differ significantly. String inverters are typically more straightforward and cost-effective for larger solar systems with panels that receive uniform sunlight. These inverters connect multiple panels in “strings,” optimizing for the lowest-performing panel in the string. Conversely, microinverters operate on a panel-by-panel basis, maximizing efficiency by optimizing each solar panel individually. They excel in installations where panels may receive uneven sunlight due to shading from trees or buildings, thereby enhancing overall energy production.
2. HOW LONG DOES IT TAKE TO INSTALL A SOLAR INVERTER?
The duration required to install a solar inverter can vary depending on multiple factors, including installation complexity and system size. Generally, most installations can be completed within a single day, providing that sufficient planning and preparation have taken place prior to the installation date. Simpler systems or those using string inverters often see quicker installation times compared to more intricate setups employing multiple microinverters. Additional factors such as weather conditions, the experience level of the installation team, and the scheduling of necessary inspections also influence the overall installation timeline.
3. HOW OFTEN SHOULD A SOLAR INVERTER BE CHECKED FOR MAINTENANCE?
The frequency of maintenance checks on a solar inverter is crucial for optimal performance. Regular inspections are recommended at least once or twice a year to ensure all components are functioning correctly. This framework allows for the timely identification of potential issues such as loose connections or overheating problems, which can compromise efficiency. During these checks, dust, dirt, and debris should be cleared from the inverter and surrounding areas to promote optimal airflow and cooling. Regular monitoring through software interfaces can also alert homeowners to operational inconsistencies, allowing for immediate action.
FINAL REMARKS
Thoroughly understanding and executing the installation of a solar inverter is instrumental in ensuring energy efficiency and durability of the solar power system. Engaging in meticulous planning, selecting renewable components, adhering to local installation guidelines, and performing regular inspections are all integral steps that contribute to successful solar inverter implementation. Each phase plays a significant role in harnessing the power of solar energy and achieving energy independence. With technological advancements making solar energy increasingly accessible, way is paved for a more sustainable future. Making informed decisions and following structured procedures is key to tapping into the boundless potential of solar technologies and realizing considerable environmental and economic benefits.
Original article by NenPower, If reposted, please credit the source: https://nenpower.com/blog/how-to-install-a-solar-inverter/
