
To effectively disassemble a solar street light panel, follow these steps: 1. Safety Precautions, 2. Required Tools, 3. Step-by-Step Process, 4. Reassembly Tips. It’s essential to prioritize safety by wearing gloves and goggles, as well as ensuring the solar panel is not connected to any electrical source. Use the appropriate tools, like screwdrivers and wrenches, to avoid damaging the components. Understand the step-by-step disassembly process thoroughly to ensure proper handling without damaging the solar panel or its features. Lastly, knowing how to correctly reassemble the pieces is crucial for maintaining functionality.
1. SAFETY PRECAUTIONS
When approaching the task of disassembling a solar street light panel, immediacy in terms of safety cannot be understated. Prior to commencing the procedure, individuals must ensure that all electrical sources are disconnected. If a solar panel is still connected to its electrical systems, this poses a significant risk of electric shock. Additionally, employing personal protective equipment (PPE) is vital. Gloves can protect the hands from sharp edges, while goggles safeguard the eyes from debris during disassembly.
Beyond PPE, it is also prudent to work in a well-ventilated space or outdoors. The presence of dust and small particles can impact health, especially when manipulating older panels that may have accumulated debris over time. Identifying an appropriate workspace ensures one can maneuver freely and utilize tools without hindrance. Furthermore, individuals should be mindful of the panel’s weight and design, which could lead to strain or injury if not handled correctly. Enacting these preventative measures will create a safer environment for the disassembly process.
2. REQUIRED TOOLS
Before embarking on the disassembly journey, securing the correct tools is paramount. Essential tools include a flathead screwdriver, Phillips screwdriver, adjustable wrench, and a sturdy pair of pliers. The variety of tools ensures that all fasteners and components are addressed correctly. Each tool serves a specific function: screwdrivers for removing screws, and wrenches for loosening bolts that hold the assembly together.
Beyond hand tools, it is advantageous to have a soft cloth or suitable mat on hand. This can protect the solar panel surface from scratches and damage as components are disassembled. Additionally, a container or magnetic tray will assist in organizing small parts like screws and bolts to prevent misplacement. Proper organization of these components simplifies the reassembly phase. Understanding the purpose and proper use of each tool enhances efficiency while minimizing the risk of error. Inadequate tools or poor organization can lead to complications, thereby prolonging the disassembly process unnecessarily.
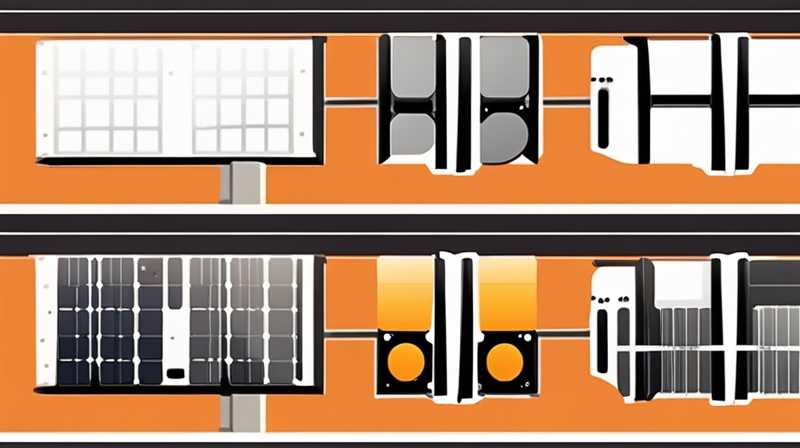
3. STEP-BY-STEP PROCESS
Disassembling a solar street light panel requires adherence to a methodical yet flexible approach. The initial stage involves carefully assessing the specific model of the solar panel, as discrepancies in design can influence how components are connected. Identifying the screws, bolts, and other fasteners that need removal lays the foundation for a successful disassembly. Understanding the panel’s configuration allows for a smoother transition into the actual disassembly phase.
After visual inspection, begin with the removal of any external covers or frames. Some panels feature protective coverings that guard the solar cells. These typically attach via screws or clips that require gentle manipulation. As each piece is removed, be notably cautious not to apply excessive force, as this can lead to unintentional breakage. Once external elements are detached, focus shifts to unscrewing the solar panel from its mounting bracket. This stage often involves loosening multiple screws and careful detachment to avoid straining electrical connections located at the back of the panel.
4. ELECTRICAL CONNECTIONS
Upon removal from its mounting bracket, attention should pivot to the electrical connections. Usually, wires connecting the solar panel to the controller or battery require special focus. Disconnecting these wires necessitates caution; it is advisable to take pictures or make notes on the connections for reference during reassembly.
Protecting the integrity of these electrical connections is crucial to ensure functionality upon reinstallation. Once the wiring is documented, proceed to gently detach the connectors from the panel. This process requires careful handling to avoid damaging sensitive components. Once the electrical connections are successfully separated, the solar cells are now fully isolated and ready for any necessary maintenance or repair.
5. COMPONENT INSPECTION AND MAINTENANCE
With the solar cells isolated, this stage provides an optimal opportunity for thorough inspection and maintenance. Inspecting for dirt buildup, cracks, or other forms of damage can extend the lifespan of the solar panel. Most commonly, dirt accumulation on the solar cells can hinder efficiency and may need cleaning. Utilizing a combination of distilled water and mild soap can effectively remove grime without causing additional damage.
Additionally, checking for physical damages, such as cracked solar cells or corroded connectors, can ensure operational integrity upon reassembly. Taking the time to assess and address any identified issues will ensure that the solar panel functions optimally when reinstalled. Furthermore, performing general maintenance can involve checking the alignment of solar cells, ensuring they are still secure within the panel frame. Completion of this stage not only prepares the components for reassembly but also enhances overall performance.
6. REASSEMBLY TIPS
Once all inspections and necessary maintenance procedures have been finalized, reassembly becomes the next focal point. Reinstalling solar panel components is often more complex than disassembly, necessitating careful attention to the order of operations. Utilizing the earlier notes or photographs taken during disassembly will be greatly beneficial. The initial step is to reattach any electrical connections, making sure that they are properly aligned with the corresponding connectors. Ensuring tight connections here prevents future operational failures.
After reconnecting the electrical components, reposition the solar panel back onto its mounting bracket or frame. Take care to align it properly, as misalignment can lead to inefficient performance. Once firmly positioned, the next step involves securing all screws or bolts, ensuring a snug fit without overtightening, which can cause possible thread stripping or panel damage.
FAQs
WHAT TOOLS ARE NECESSARY FOR DISASSEMBLING A SOLAR STREET LIGHT PANEL?
The disassembly of a solar street light panel involves a few essential tools. First, a set of screwdrivers, including flathead and Phillips varieties, is crucial for removing screws from different components. Next, an adjustable wrench assists with loosening and tightening bolts that hold the assembly together securely. Beyond these, a sturdy pair of pliers may be necessary for handling wires or clips.
Additionally, organizing tools and components aids efficiency. Having a soft cloth or mat prevents scratching the panel during disassembly, while a magnetic tray or storage container for small screws ensures that nothing goes missing during the process. By preparing thoroughly with the appropriate tools, individuals can smoothly navigate the disassembly process while minimizing risk to themselves and the solar panel.
HOW CAN I SAFELY REMOVE THE ELECTRICAL CONNECTIONS IN A SOLAR STREET LIGHT PANEL?
Safely detaching electrical connections from a solar street light panel requires a calculated approach. Initially, it is important to disconnect the panel from any power source to eliminate shock risk. Before removing wires, take note or capture photographs of how connections are arranged. This documentation helps ensure correct reconnections when reassembling the panel.
When ready to remove connections, carefully disconnect any plugs by pulling on the connector rather than the wires to prevent damage. For wired connections, gently unscrew or release any clips while ensuring no excessive force is applied. Handling these components delicately prevents accidental breakage, thereby preserving the panel’s functionality. By following these steps, individuals can efficiently and safely remove electrical connections for maintenance or repair.
WHAT SHOULD I DO IF I FIND DAMAGE DURING THE INSPECTION OF MY SOLAR PANEL?
If damage is discovered during the inspection phase of a solar street light panel, it’s vital to attain a proper understanding of the issue before proceeding. Minor issues, such as dirt accumulation, can usually be addressed with mild soap and water for cleaning. However, if cracks or components show signs of corrosion, additional steps are required.
For cracked solar cells, it’s advisable to consult with a professional for repair or replacement options. Attempting DIY repairs on sensitive solar technology can lead to further problems if not executed correctly. For any significant electrical damage, such as frayed wires or faulty connectors, it’s best to consult with an expert to ensure safe operations going forward. Identifying and addressing damage effectively can ultimately extend the lifespan and performance of the solar panel.
Efficient disassembly of a solar street light panel involves proper safety measures, tools, and a systematic approach ensuring each step is executed with care. Initial preparations including safety and tool organization lay the foundation for a smooth process. Methodical disassembly allows for thorough inspection and maintenance, addressing any issues before reassembly. Adherence to reassembly protocols re-establishes integrity and functionality. The importance of monitoring the condition throughout the lifespan cannot be overstated, contributing to sustained performance and efficiency of solar energy solutions.
Original article by NenPower, If reposted, please credit the source: https://nenpower.com/blog/how-to-disassemble-the-solar-street-light-panel/
