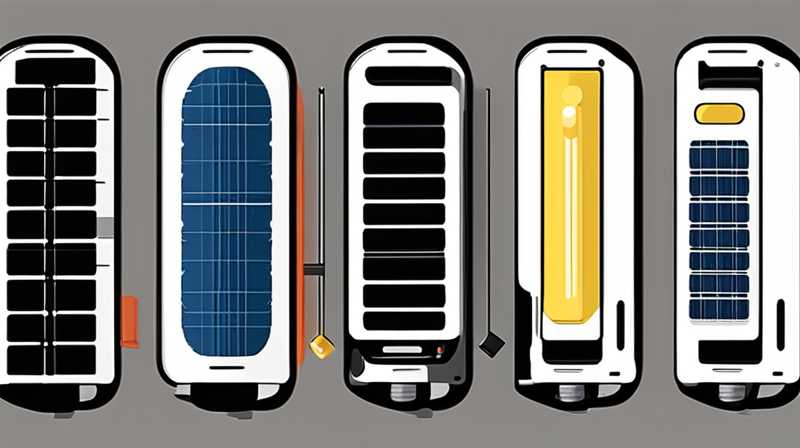
To effectively disassemble a solar charging lamp cover, follow these essential steps: 1. Gather Necessary Tools, 2. Inspect the Lamp Structure, 3. Remove Screws or Clips, 4. Carefully Separate Components. The process largely depends on the specific design of the solar lamp; however, the majority of models tend to utilize screws or clips. It’s crucial to work methodically to avoid damaging any fragile parts during disassembly.
TOOLS REQUIRED FOR DISASSEMBLY
Before commencing the disassembly of a solar charging lamp cover, ensure that the appropriate tools are on hand. Typically, a set of screwdrivers, pliers, and potentially a utility knife will suffice. Using specialized tools can facilitate the process, reducing the risk of accidental damage. For instance, plastic spudgers are beneficial when prying apart plastic components relatively safely without marring their surfaces.
Moreover, having a well-lit workspace is pivotal to identifying small screws and intricate components effectively. If the model possesses intricate sections, consider a magnifying glass for better visibility of small details during disassembly. The effort invested in preparedness will pay dividends in the efficiency of the task.
ANATOMY OF A SOLAR CHARGING LAMP
Understanding the structure of the solar charging lamp is essential when considering disassembly. A typical unit contains essential components: the solar panel, the battery compartment, the LED lights, and the cover. The cover functions primarily to protect the internal elements from environmental hazards while allowing light to permeate through.
In various models, the cover might be designed using clear plastic or glass, exhibiting durability while also being lightweight. Being aware of these aspects helps in determining the care needed when dismantling, as imprecise handling can lead to irreparable damage, particularly to the cover or the solar panel.
DISASSEMBLY PROCESS
The actual act of taking apart a solar charging lamp cover must be undertaken with caution to maintain the integrity of the unit. First, identify any visible screws around the perimeter of the lamp cover. Prioritize removing these fasteners using a compatible screwdriver. Pay close attention to the size and type of screws, keeping them organized for reassembly.
Second, should your model use clips, gently pry these open using pliers or a flat tool. Excessive force can result in cracking or breaking clips. It’s beneficial to provide slight pressure while working your way around the cover to ensure even release without damaging the surrounding casing.
ENDING THE DISASSEMBLY
Upon successfully removing the cover, ensure all internal elements are intact. Inspect the battery compartment to assess the battery’s condition. This is also an opportune moment to clean accumulated dirt or debris inside the lamp, enhancing its functionality. While reassembling, reverse the earlier steps and ensure all components fit snugly without forcing any parts together.
MAINTENANCE TIPS AFTER DISASSEMBLY
Post-disassembly maintenance can significantly enhance the lifespan of the solar lamp. Regular cleaning of the solar panel and cover is paramount to ensure optimal light absorption. Utilize a soft cloth to gently wipe the exterior surfaces, removing grime that could hinder performance.
Additionally, check the battery’s health frequently. If the battery shows signs of wear or diminished capacity, consider replacing it. Sound maintenance practices safeguard the lamp’s functionality, keeping it efficient in converting solar energy for illumination when needed.
FREQUENTLY ASKED QUESTIONS
HOW OFTEN SHOULD I DISASSEMBLE MY SOLAR LAMP?
Disassembly typically need not be frequent unless a problem arises. However, quarterly checks are prudent. This enables users to inspect for damage, clean internal components, and replace batteries when necessary. If the lamp shows decreased performance, immediate action might be warranted.
CAN I USE ANY TYPE OF TOOL FOR DISASSEMBLING MY SOLAR LAMP?
While using various tools is possible, it is recommended to utilize appropriate tools specifically designed for delicate electronic disassembly, such as precision screwdrivers and plastic pry tools. Improper tools can damage screws or the lamp’s casing. Adhering to the right tools will facilitate smoother disassembly and reassembly.
WHAT SHOULD I DO IF I BREAK A PART DURING DISASSEMBLY?
Should a component break during disassembly, assess the damage to determine if it can be repaired or if it requires replacement. Often, specialty parts can be sourced online from manufacturers or third-party suppliers. For minor damage, consider adhesive solutions; for significant breaks, though, replacing the part may be the safest route to ensure functionality.
FINAL THOUGHTS ON DISASSEMBLING A SOLAR CHARGING LAMP COVER
Disassembling a solar charging lamp cover is expediently achieved with the right tools and knowledge, provided one adheres to safety and proper methodology. By preparing adequately and understanding the lamp’s structure, you not only simplify the process but also reduce potential risks associated with damage. The effort expended on this exercise yields benefits that prolong the gadget’s lifespan and reliability, ensuring that it operates at peak performance for years to come.
Moreover, taking the time to engage in regular maintenance and having a plan for disassembly allows users to manage their solar charging lamps competently. The importance of cleaning and inspecting components reaffirms the need for diligent care and attention to detail.
By following the outlined steps and embracing a cautious approach, individuals can confidently navigate the disassembly of a solar charging lamp cover, ensuring that the unit remains functional, efficient, and ready for use in outdoor settings. As the reliance on solar-powered solutions increases, understanding how to maintain and care for these lamps becomes an invaluable skill set essential for preserving their functionality in an era where sustainability is paramount.
Original article by NenPower, If reposted, please credit the source: https://nenpower.com/blog/how-to-disassemble-the-solar-charging-lamp-cover/


