
1. Disassembling the solar cell box from string lights requires attention to specific steps and tools, including: 1. Understanding the components involved, 2. Utilizing appropriate tools, 3. Following safety protocols, 4. Carefully reassembling components to avoid damage.
To effectively disassemble the solar cell box from string lights, it is essential to approach the task with methodical precision and a clear understanding of the parts involved. This process may differ slightly depending on the make and model of the string lights, but several core principles generally remain constant.
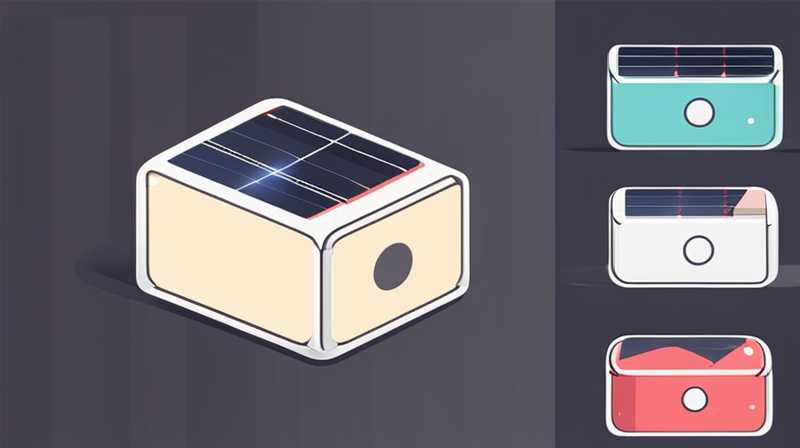
Components to Consider
The solar cell box typically consists of a solar panel, a rechargeable battery, a control circuit, and various connectors. Each of these elements plays a crucial role in the function of the string lights, meaning proper disassembly and reassembly are vital to preserve their integrity. Understanding which components are relevant is critical for successfully removing the solar cell box without causing any damage.
Tools Required for Disassembly
For disassembly, a set of basic tools is necessary. A screwdriver, preferably with interchangeable heads, pliers, and potentially a small knife or utility blade will be crucial. Additionally, anti-static tools may be beneficial, especially if the unit has electronic components that are sensitive to static electricity.
Safety Considerations and Precautions
Working with electrical components can pose risks; therefore, specific precautions should be considered. Disassembling solar-powered equipment may lead to exposure to electrical shock. Before beginning, ensure that the lights are turned off and, if possible, disconnected from any power sources. Wearing protective gloves and eyewear can help minimize the risk of injury or accidents during the process.
1. UNDERSTANDING THE SOLAR CELL BOX STRUCTURE
Understanding the structure of the solar cell box is fundamental to successful disassembly. The box’s design usually includes key components such as a solar panel, a rechargeable battery, and a small circuit board. Each of these needs individual attention to ensure they can be reassembled correctly.
The solar panel collects sunlight, converting it into electrical energy for charging the battery. Knowing how this panel is mounted within the housing of the solar cell box is crucial, as there may be clips or screws that hold it in place.
The rechargeable battery usually sits directly beneath the solar panel in most designs. Depending on the construction, it may require unseating from its compartment and handling with care. The impedance of the battery must be recognized, as some types might swell if improperly stored.
2. GATHERING THE NECESSARY TOOLS
The straightforward task of disassembly can become complicated without the appropriate tools. A standard screwdriver set should include a flat-head and a Phillips head. The screwdriver is essential for loosening screws that hold the components in place.
Pliers of various types (needle-nose or standard) can assist in removing clips and gripping components that are difficult to handle. In some cases, if adhesive is used to secure parts together, a utility knife could serve to gently cut through any tape or adhesive materials.
An added safety measure is to gather anti-static tools, especially if one anticipates working with any sensitive electronic components. These tools can help mitigate the risk of static discharge, which might otherwise damage the integrated circuits within the device.
3. DISASSEMBLY STEPS
Beginning the disassembly process necessitates following a sequence of careful steps. Following a structured methodology minimizes risks of causing irreversible damage to components and ensures the overall success of the task.
Initial Preparations
Before any physical disassembly begins, ensure the work area is well organized and clean. Proper lighting can make discerning features easier, leading to effective removal of screws without accidental drops where they can become lost.
Removing the Outer Housing
Locate and remove any screws on the exterior of the solar cell box. Most designs include visible screws on the back or bottom panel. After unscrewing, gently pry apart the housing using a flat-head screwdriver or similar tool, bearing in mind that clips may also be securing it.
4. HANDLING INDIVIDUAL COMPONENTS
Once the outer housing is removed, focus shifts to handling the individual components. Care should be taken to isolate each part methodically to prevent confusion.
Dealing with the Solar Panel
The solar panel may be adhered with glue or fixed with screws. If screws are present, remove them first, and set them aside safely for reassembly. If adhesive exists, carefully use a utility knife to ensure the adhesive bonds do not damage the panel’s surface. Handle the panel by its edges to avoid risking cracks to the glass.
Removing the Rechargeable Battery
The next step involves removing the battery. Not all designs have quick-release connectors; some may require desoldering. Before detaching the battery, take note of the wiring schematics to ensure correct reassembly. If using soldering, ensure adequate practice and safety protocols are followed.
5. REASSEMBLY OF COMPONENTS
After the disassembly process, attention turns to reassembly. Each component should be fitted as it was removed; organization at this stage is imperative. Follow the reverse order of disassembly closely to ensure proper functionality upon completion.
Reattaching the Components
Start with the rechargeable battery, ensuring it is appropriately connected—this can include aligning connectors or re-soldering if necessary. Next, fit the solar panel back into its compartment, attaching screws or replacing adhesive as required.
Finalizing the Assembly
With all components securely in place, align the outer housing pieces carefully. Ensure all clips are engaged or that screws are replaced into their original positions. After assembly is complete, perform a functional test to verify that all components are operational. Make sure the lights respond to solar charging while connected to direct sunlight.
6. COMMON CHALLENGES AND SOLUTIONS
During the disassembly process, individuals may encounter various challenges. Addressing these challenges proactively can enhance the disassembly experience and minimize frustrations.
Dealing with Stubborn Screws
Stubborn screws can hinder progress. If encountering difficulty, applying penetrating oil might ease removal. Letting it sit for several minutes may assist in loosening the bonding. A proper tool selection also comes in handy—if a screw is stripped, employing an extraction bit could facilitate its removal.
Mitigating Risks to Sensitive Components
Disassembling components close to sensitive elements poses risks. Ensuring a controlled environment free of excessive moisture or dust can prevent accidental short-circuits or damage to the electronic systems. Wearing gloves while handling can also reduce the occurrence of residue transfer to the components, preserving their condition.
7. MAINTENANCE TIPS FOR LONGEVITY
After successfully disassembling and reassembling the solar cell box, focus can then turn to preventive maintenance measures. These ensuring longevity and optimal performance of the solar string lights require continued attention.
Cleaning the Solar Panel
Keep the solar panel clean by removing any dirt or debris that may collect on its surface. A clean panel maximizes sunlight absorption, improving overall efficiency. Using a soft microfiber cloth is advisable, alongside a gentle glass cleaner that does not cause damage.
Inspecting Connections
Checking connections periodically helps identify any wear or corrosion that might affect performance. If connectors appear loose, tightening them is a crucial step in maintaining functionality. Proactive adjustments can prevent a broader range of issues later on, ensuring the solar string lights perform as intended.
FREQUENTLY ASKED QUESTIONS
WHAT IS THE MOST COMMON REASON FOR MALFUNCTION IN SOLAR STRING LIGHTS?
The most prevalent cause of malfunctions in solar string lights often arises from battery failure. Over time, rechargeable batteries can deteriorate due to excessive charging cycles or poor environmental conditions. These factors can lead to diminished capacity or complete failure. Regular inspection of the battery’s condition is vital; worn batteries must be replaced to restore the desired functionality. Additionally, moisture damage can hinder operations; therefore, ensure housing is properly sealed during performance checks.
HOW CAN I EXTEND THE LIFE OF MY SOLAR STRING LIGHTS?
To extend the lifespan of solar string lights, consistent maintenance is key. This involves regularly cleaning the solar panel, ensuring it remains free of obstructions that would inhibit light absorption. Checking connections and replacing batteries as they show signs of fatigue can also contribute to longevity. Storing lights in areas where exposure to harsh weather is minimized helps prevent damage from environmental factors. Implementing simple care practices creates a significant positive impact on the overall durability of solar string lights.
IS IT SAFE TO DISASSEMBLE SOLAR STRING LIGHTS MYSELF?
Disassembling solar string lights can safely be performed by individuals with basic understanding and tools. Although risks involve potential electrical shock, adhering to safety protocols—such as ensuring devices are disconnected from power supplies—can significantly reduce danger. Wearing gloves and ensuring a clean working environment further supports safety. Familiarity with handling delicate components also plays an essential role in preventing accidents or irreversible damage during disassembly.
Boldly summarizing the steps taken and precautions observed during disassembly solidifies understanding and reinforces best practices. Disassembling the solar cell box of string lights is a task worth undertaking with the appropriate tools, awareness of components, and careful attention to safety. Assembling knowledge regarding potential challenges allows for effective problem-solving on the fly, ultimately leading to a successful and safe disassembly process that extends the life and functionality of the solar lights in question. Proper maintenance and inspections can ensure optimal performance and enjoyment from these eco-friendly lighting solutions.
Original article by NenPower, If reposted, please credit the source: https://nenpower.com/blog/how-to-disassemble-the-solar-cell-box-of-string-lights/
