
To disassemble solar tubes effectively, one must follow a series of systematic steps, ensuring safety and efficiency throughout the process. 1. Understand the components, 2. Gather necessary tools, 3. Ensure safety precautions, 4. Follow a step-by-step disassembly method. Among these, understanding the components is crucial because it helps in identifying parts that need removal and prevents damage to the system.
UNDERSTANDING SOLAR TUBE COMPONENTS
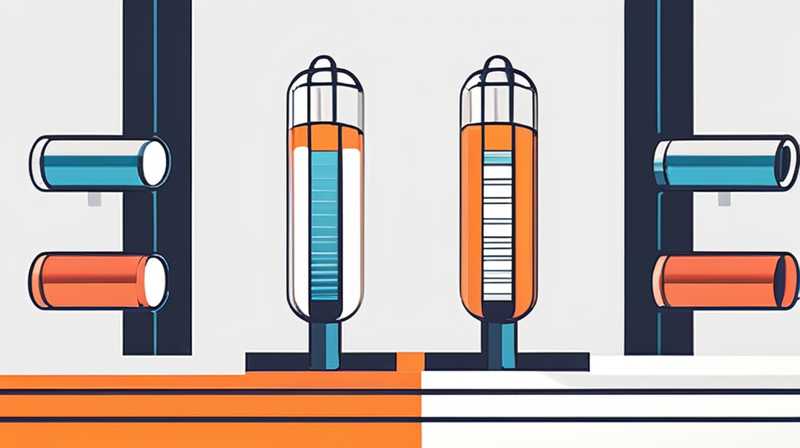
Solar tubes, also known as solar collectors, consist of several integral parts that work harmoniously to harness solar energy. The primary components include the outer tube, the inner absorber, heat pipes, and, in some cases, insulation. Recognizing these components allows for a more structured approach to disassembly.
- Outer Tube and Inner Absorber: The outer tube serves as the protective layer, while the inner absorber captures sunlight and converts it into thermal energy. Understanding how these two components interconnect is vital. When beginning the disassembly, it is essential to fully appreciate how these parts align and lock into place.
- Heat Pipes and Insulation: Heat pipes facilitate the transfer of thermal energy, while insulation helps to maintain temperature. The removal of insulation needs to be handled with care to avoid any damage to the heat pipes. Knowing the positioning and alignment of these components contributes to an effective strategy for disassembly.
NECESSARY TOOLS FOR DISASSEMBLY
Before embarking on the disassembly process, having the right tools is essential for both efficiency and safety. Some must-have tools are screwdrivers, wrenches, pliers, safety gloves, and goggles. Each tool serves a unique purpose and enhances the disassembly experience.
- Screwdrivers and Wrenches: A set of screwdrivers will allow easy access to screws that hold the components together. It’s vital to ensure that the screwdriver fits appropriately to avoid stripping the screws. Wrenches are essential for loosening any nuts or bolts that may secure the solar tubes in place.
-
Pliers, Safety Gloves, and Goggles: Pliers assist in gripping and pulling components apart. Wearing safety gloves protects against sharp edges or hot parts, while goggles shield the eyes from debris during the disassembly process. Using these tools ensures a safety-first approach is maintained throughout the task.
SAFETY PRECAUTIONS
Prioritizing safety is integral when dealing with solar tubes, as improper handling can lead to injuries. There are several precautions to observe, such as wearing protective clothing, ensuring proper ventilation, and working on a stable surface. Understanding the environment in which you are working plays a significant role in maintaining safety.
- Protective Clothing: Wearing sturdy gloves and long-sleeve shirts can prevent cuts and scrapes from sharp edges or small parts. It emphasizes the necessity of being cautious, particularly if the solar tubes contain glass or plastic components.
-
Ventilation and Stable Surface: A well-ventilated area minimizes any potential risks from vapors or dust generated during the process. Furthermore, working on a stable surface, free of clutter, reduces the chance of accidents. This environment supports focus and ensures that components can be managed easily without unnecessary distractions.
STEP-BY-STEP DISASSEMBLY PROCESS
With an understanding of the components, having the right tools set in place, and adhering to safety guidelines, the actual process of disassembling solar tubes can commence. Following a methodical approach significantly aids in achieving the target outcome without complications.
- Initial Inspection: Before initiating disassembly, conduct an inspection of the solar tube system. This step helps identify which components need to be removed first and ensures that the process will be smooth. Moreover, taking note of how everything is assembled will facilitate reassembly later if necessary.
-
Removal of Hardware: Start by unscrewing any bolts or screws securing the outer tube and every attached part. Utilize the appropriate screwdriver or wrench for this part, and do so methodically. After removing the hardware, ensure you place all removed items in a separate container to avoid misplacing them.
-
Separation of Outer and Inner Tubes: After removing hardware, gently pull apart the outer tube from the inner absorber. It is important to handle these components delicately, as applying excessive force may cause damage or breakage. If the tubes appear stuck, double-check for any remaining screws or fasteners.
-
Extraction of Heat Pipes: Following the separation of the two tubes, focus on the extraction of the heat pipes. These components will typically be secured in place with fittings that can be unscrewed or unclipped. Pay careful attention to the way these pipes are connected and photograph or document your process for reference.
-
Dealing with Insulation: If insulation has been applied, carefully remove it while minimizing damage. Insulation can vary in type, so be aware of how it has been applied or secured. If necessary, additional tools like a utility knife can assist in this process; however, caution must be prioritized to prevent causing harm to yourself or the components.
-
Final Part Removal: Lastly, remove any other supplementary components, such as brackets or additional framing that might have been part of the initial assembly. Be thorough, and ensure each part is stored safely.
IMPORTANCE OF REASSEMBLY DOCUMENTATION
After disassembly, documenting the process can be extremely beneficial. Not only does it ensure that the assembly can occur seamlessly later on, but it also offers insight into each component’s function and relationship. Taking photographs or writing detailed notes about the disassembly process can serve as a valuable reference.
- Photographic Evidence: Capture images of every step and each component’s layout. This visual memory supports the reassembly process, preventing confusion regarding how components fit back together.
-
Written Notes: Maintaining a written log of each stage of disassembly, including any difficulties encountered along the way, assists in troubleshooting or addressing potential issues later on. It can be remarkably effective and informative for future disassembly efforts or maintenance needs.
MAINTENANCE AFTER DISASSEMBLY
After disassembly, performing a thorough inspection of all components is advisable. Check for signs of wear, corrosion, or damage that might have gone unnoticed during operation. This evaluation can provide insights into necessary repairs or component replacements.
- Signs of Maintenance Needs: Look out for rust, loose connections, or changes in insulation. Addressing these concerns promptly can ensure the solar tubes remain functional and efficient for the long term.
-
Reassembly Before Reinstallation: Before putting everything back together, conduct standard maintenance practices, such as cleaning dust or debris from the components. Once all inspections and cleanings are completed, the components can be carefully reassembled using the documentation created earlier.
FREQUENTLY ASKED QUESTIONS
WHAT TO DO IF COMPONENTS SEEM STUCK DURING DISASSEMBLY?
Should components seem stuck, patience and careful investigation are vital. Begin by rechecking for any remaining screws or attachments. Utilizing a gentle pry tool can help loosen stuck areas. It is essential to avoid applying excessive force, as this may lead to unintended damage. Carefulness and thorough examination usually yield results without harming the solar tube system.
HOW OFTEN SHOULD SOLAR TUBES BE MAINTAINED?
Solar tubes should ideally undergo inspection and maintenance at least once a year. Regular checks help identify wear or necessary repairs before they escalate into significant issues. In areas with extreme weather conditions or heavy debris, increasing the frequency to twice a year is advisable. Maintenance ensures that the efficiency of solar tubes remains optimal.
CAN I DISASSEMBLE SOLAR TUBES MYSELF?
While it is possible to disassemble solar tubes independently, ensure that you are familiar with their assembly. Adequate knowledge of the components and the necessary tools beforehand is essential. If uncertainty exists or if the system requires a more delicate approach, consulting professionals may provide a more secure solution, enhancing safety in the process.
FINAL THOUGHTS ON DISASSEMBLY OF SOLAR TUBES
Successfully navigating the disassembly of solar tubes requires a multifaceted approach that encompasses understanding components, utilizing appropriate tools, observing safety protocols, and engaging in meticulous practice. Thorough preparation lays the groundwork for effective procedures, which ultimately results in an efficient disassembly process. Recognition of each part’s significance, paired with the correct tools, fosters a smoother process. Furthermore, documenting the procedure lends itself to a more straightforward reassembly phase. Maintenance should never be an afterthought during this journey, as it prolongs the lifespan of vital parts. Each component’s inspection contributes significantly to the overall functionality of the solar tube system. In all, diligence in the disassembly process not only facilitates repairs and maintenance but also enhances the knowledge of how solar tube systems operate, fostering greater care in their handling.
Original article by NenPower, If reposted, please credit the source: https://nenpower.com/blog/how-to-disassemble-solar-tubes-2/
