
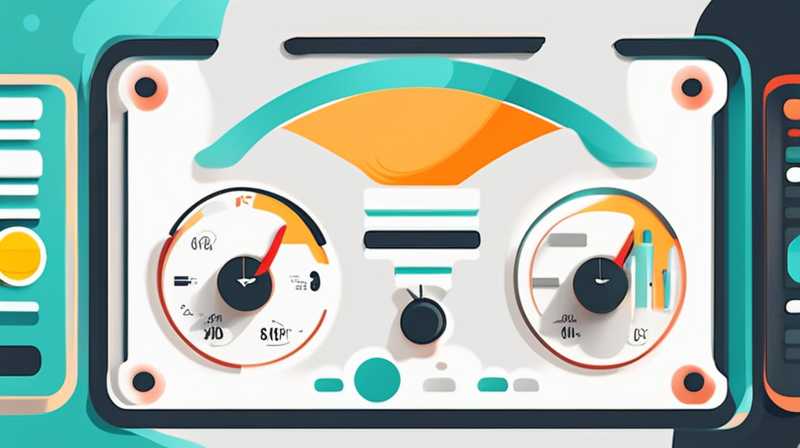
To connect a solar control instrument effectively, one must follow a series of precise steps and consider various technical factors. 1. Identify compatible interfaces, 2. Ensure appropriate wiring, 3. Configure software settings, 4. Perform calibration processes. Understanding the instrument’s specifications and the surrounding environmental conditions considerably enhances the operational efficiency of the unit.
1. IDENTIFY COMPATIBLE INTERFACES
The initial step involves recognizing the interfaces your solar control instrument employs. Various models might utilize different connection types, such as RS-232, USB, or wireless protocols. It is paramount to consult the manufacturer’s manual, as this document often contains critical information regarding compatibility with other systems or instruments.
Additionally, establishing the correct type of interface not only ensures a seamless connection but also supports the integrity of data transmission. For example, a solar control device utilizing USB ports may require different drivers compared to a wireless instrument. Therefore, understanding these requirements comprehensively is crucial for an effective setup.
Another vital aspect is the surrounding equipment or systems that the solar control instrument will interact with, such as computers or data loggers. Compatibility in this regard can prevent additional hurdles during data retrieval and analysis.
2. ENSURE APPROPRIATE WIRING
Once the interfaces are identified, the next crucial action is to focus on wiring integrity and accuracy. Proper wiring is essential to not only establish connection but also to avoid potential equipment damage. Using the recommended gauge and type of wires can significantly minimize resistance and potential heat buildup.
Moreover, it is advisable to utilize quality connectors that match the specifications laid out by the instrument’s manufacturer. Poor-quality connectors can introduce undesired resistance, leading to data loss and communication issues. Each connection point should be thoroughly inspected before proceeding to subsequent stages of the setup.
Distinguishing between different wiring systems used in solar control instruments can significantly impact efficiency. Some setups might require grounding to avoid electrical interference, particularly when multiple devices are connected in conjunction with the solar control instrument.
3. CONFIGURE SOFTWARE SETTINGS
With hardware connections established, the next significant segment revolves around software configuration. Most solar control instruments come with integrated software that allows users to tweak a variety of settings tailored to their specific applications. This often includes data logging intervals, communication settings, and threshold levels for solar exposure or control.
An essential element to consider here is that software updates may be necessary for optimal operation. Manufacturers typically provide periodic updates to enhance security, introduce new features, and fix bugs. Therefore, one should ensure that the software being used is the latest version available from the manufacturer’s official website.
Another critical step is to understand the calibration settings within the software. Proper calibration ensures that readings taken by the instrument are accurate and reliable. Typically, calibration might require a baseline measurement under controlled conditions, allowing the device to adapt to real-world operational scenarios effectively.
4. PERFORM CALIBRATION PROCESSES
Calibration cannot be overstated within the connecting procedure of a solar control instrument. After the initial setup, performing detailed calibration is necessary to ascertain the instrument’s precision. Calibration involves aligning the instrument’s readings with a known reference standard. For instance, one can employ a solar radiation meter to compare readings and adjust settings accordingly.
It’s essential to highlight that calibration is not a one-time event. Regular recalibration provides continual verification of the instrument’s accuracy, ensuring that it performs consistently over time. Establishing a standardized schedule for recalibration—be it monthly, quarterly, or annually—depends on the environmental conditions and the instrument’s usage frequency.
Moreover, environmental factors can significantly influence solar readings, such as dust accumulation on solar sensors or even atmospheric changes. Therefore, routine maintenance checks are equally necessary to uphold performance standards, further solidifying the need for continuous calibration and verification of system integrity.
FREQUENTLY ASKED QUESTIONS
WHAT ARE THE COMMON CONNECTION TYPES FOR SOLAR CONTROL INSTRUMENTS?
Various models of solar control instruments use different connection types to interface with other devices. The most prevalent connection types include RS-232, USB, Ethernet, and wireless formats like Bluetooth and Wi-Fi. Understanding these connection types is pivotal for effective deployment. RS-232 connections are commonplace for older models and require a serial port. Conversely, USB connections are more universal, accommodating newer systems across multiple platforms. Wireless connections offer flexibility, enabling data transfer without physical cables. Knowing the interfaces used by the specific model aids in ensuring the seamless integration of the instrument with the intended systems. Always refer to the manufacturer’s documentation for precise interface compatibility.
HOW FREQUENTLY SHOULD SOLAR CONTROL INSTRUMENTS BE CALIBRATED?
Calibration frequency for solar control instruments varies according to numerous factors, such as usage intensity, environmental conditions, and manufacturer recommendations. Typically, a good practice involves recalibrating instruments at least once a year. However, frequent calibration may be necessary for environments subject to dust, debris, or significant temperature variations. Prolonged usage without recalibration can lead to degraded precision, impacting the reliability of the data collected. Establishing a routine maintenance schedule can aid in sustaining operational stability. Always consider the specific guidelines provided by the manufacturer to ascertain the optimal calibration interval for the model in use.
WHAT ARE THE MOST COMMON ISSUES FACE WHEN CONNECTING A SOLAR CONTROL INSTRUMENT?
The process of connecting a solar control instrument often presents several challenges. Common issues include incompatible connection types, which can inhibit data transmission and lead to erroneous performance. Improper wiring characterized by loose contacts can also create communication failures, resulting in data inaccuracies. Furthermore, outdated software versions might lack enhanced features or optimizations, making it imperative to ensure current updates before proceeding. Environmental factors like interference from electromagnetic fields can complicate wireless connections, leading to instability. Addressing these issues requires a systematic approach, ensuring each aspect from wiring to software settings is duly checked and verified against the manufacturer’s guidelines.
In closing, establishing a successful connection with a solar control instrument necessitates meticulous attention to numerous technical facets. Following the outlined steps from discerning compatible interfaces to performing accurate calibration ensures the instrument operates optimally. Each phase significantly influences not only the immediate connectivity but also the overall performance and reliability of solar measurements. Maintaining a structured schedule for routine checks and updates addresses potential issues proactively, minimizing downtime and enhancing efficiency. By emphasizing these critical areas, individuals can maximize the effectiveness of solar control instruments and ultimately leverage the benefits of solar technology more efficiently. Overall, the pathway from setup to steady operation is undoubtedly critical, underscoring the necessity for diligence and precision throughout the entire process.
Original article by NenPower, If reposted, please credit the source: https://nenpower.com/blog/how-to-connect-the-solar-control-instrument/
