
To successfully connect the four-core wire of a solar street light, it is essential to understand the role of each wire, the tools needed for the task, and the precise steps involved in the connection process. This ensures not only functionality but also safety in installation. 1. Identifying the four cores is crucial, as they typically include positive, negative, and two wires for connecting the solar panel to the battery and the light itself, 2. Proper stripping and securing of each wire prevents accidental disconnections, 3. Utilizing the right connectors maintains a stable connection, and 4. Testing the entire system after installation guarantees optimal performance. A detail worth noting is that the positive wire usually connects directly to the battery, while the negative wire manages the return path to complete the circuit effectively. Ensuring these connections are accurate is vital for achieving the desired efficiency and reliability in solar street lighting.
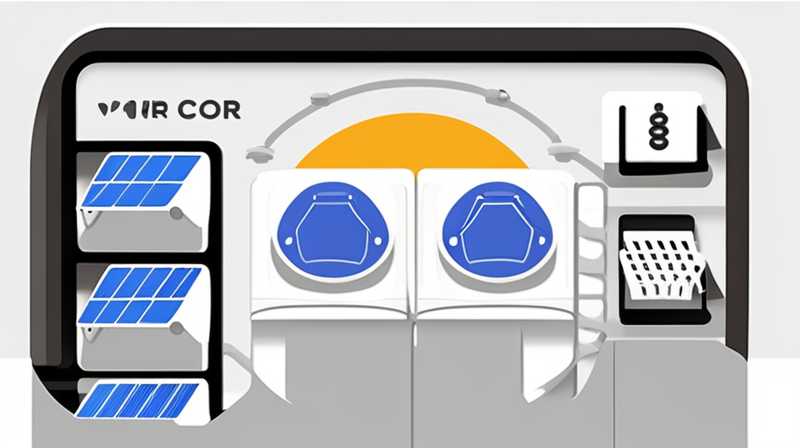
1. UNDERSTANDING THE COMPONENTS
Establishing a robust connection for a solar street light involves familiarity with its components. Each part plays a critical role in the overall system, thus understanding these roles is necessary for effective installation. The four-core wire generally consists of a positive and negative wire linked to the light and battery. The other two wires are responsible for connecting the solar panel to the battery, and it is vital that they are connected correctly to ensure that energy is transmitted efficiently.
For individuals working with solar street lighting for the first time, recognizing these components can ensure a smoother installation process. Knowing that each core has a different function will aid in preventing wiring mistakes, which can lead to malfunction or reduced efficiency. Additionally, solid knowledge of wiring standards and safety protocols is crucial to foster a safe installation environment. Each of these components must be treated with care to maintain the integrity of the entire system.
2. REQUIRED TOOLS FOR INSTALLATION
Equipping oneself with the necessary tools is essential prior to embarking on the installation of the four-core wire. Tools required for this process include wire strippers, crimping tools, connectors, electrical tape, and a multimeter for testing the connections post-installation. Wire strippers will allow you to remove the insulation from the ends of the cores without damaging the copper wire underneath, ensuring a snug fit when connected to terminals.
Having a crimping tool is another critical aspect, as it securely fastens connectors to the wires, providing a strong and lasting hold. Electrical tape, while often overlooked, can provide additional insulation and protection against environmental factors, such as moisture and dust, which may compromise the connections over time. Lastly, using a multimeter helps verify that all connections are functioning correctly and illuminated, making testing an indispensable part of the process.
3. CONNECTION STEPS
Taking a systematic approach to connecting the four-core wire ensures that the process is efficient and eliminates confusion. Always begin by laying out your wires according to their respective functions, ensuring you have ample length to secure connections. The positive wire usually connects to the red terminal of the battery, and this should be followed by connecting the negative wire to the black terminal. It is prudent to refer to the manufacturer’s guidelines during this step for definitive instructions.
Following the connection of the battery, the wires coming from the photovoltaic panel must be prioritized. Typically, the positive wire from the solar panel connects to the designated input terminal of the solar controller or the battery, while the corresponding negative wire should be connected to the ground terminal of the controller. After establishing these connections, attention must turn to the LED light connection, ensuring that the wires are extended from the battery pack and connected according to the wiring schematic provided by the manufacturer.
4. SECURING CONNECTIONS
Securing the connections is vital to ensure the longevity and reliability of the system. Utilizing connectors that provide a tight grip is essential, and crimping them securely will prevent accidents or malfunctions that could arise from loose connections. Depending on the specifications provided by the manufacturer, various types of connectors may be suitable, including spade connectors or butt connectors.
After attaching the connectors, using electrical tape can provide an additional layer of insulation. Wrapping tape around the connections helps protect them from weather conditions and insects that may compromise the integrity of the wiring. After completing these steps, taking time to thoroughly inspect all connections is crucial. Each connection should be checked for strength and security to achieve an effective setup that ensures the solar street light operates optimally.
5. TESTING THE SYSTEM
Upon completing the connections, it is critical to test the entire system to confirm it is performing as intended. Using a multimeter, examine the voltage output to ensure it meets the specifications needed by the solar street light. This testing phase helps identify any potential issues in the wiring or connections that may result in underperformance.
When performing tests, check the positive and negative terminals for continuity. If the multimeter displays a voltage that falls within the expected range, this indicates a proper connection has been established. However, if there is an absence of voltage or continuity, further troubleshooting may be necessary to identify any underlying issues. Verifying that the light turns on as expected once darkness falls is another practical approach to confirming successful installation.
FREQUENTLY ASKED QUESTIONS
HOW DO I IDENTIFY THE CORES IN A FOUR-CORE WIRE?
When approaching a four-core wire, you can identify the cores by color coding, which typically adheres to specific standards. In many cases, the wires will be color-coded as follows: Red for positive, black for negative, and any remaining colors (such as yellow and green) will handle connections between various components such as solar panels and batteries.
Additionally, most wiring schemes will have a guide or labeling indicating each core’s function, often provided with the product. If color coding is unclear or absent, consulting the manufacturer’s specifications is always advisable. This approach will guarantee the correct identification and minimize errors during installation, leading to a successful project outcome.
WHAT SAFETY PRECAUTIONS SHOULD I FOLLOW WHEN INSTALLING SOLAR STREET LIGHTS?
Safety is paramount when installing solar street lights. Prior to beginning your installation, ensure that the power source is disconnected. Working with high-voltage systems carries inherent risks, and taking precautions will help prevent electrical shocks.
Moreover, wearing personal protective equipment, such as gloves and safety glasses, can further safeguard against any potential hazards. During the wiring process, make sure tools are insulated and free from defects. Additionally, working in a well-lit, dry area reduces the likelihood of accidents or missteps, promoting an overall smoother installation process. Lastly, confirming that all connections are securely insulated once completed is essential to mitigate risks in the long run.
HOW CAN I IMPROVE THE PERFORMANCE OF MY SOLAR STREET LIGHT?
To enhance the performance of solar street lights, several factors come into play. It is essential to ensure that the solar panels are positioned correctly to receive maximum sunlight throughout the day, as this directly influences the energy harvested.
Routine maintenance, such as cleaning the solar panels to remove dust or debris, can also significantly enhance performance. Checking the battery condition and replacing it as necessary ensures reliability and proper energy storage. Furthermore, selecting energy-efficient LED lights will help maximize the luminosity while minimizing energy consumption, leading to prolonged operation time during nighttime hours.
The task of connecting the four-core wire of a solar street light is complex, requiring adherence to various guidelines and methodologies. Not only must one understand the individual components and their roles, but also the tools necessary for installation must be properly utilized. Each connection should be made with utmost attention to detail, ensuring a robust bond between the components. Regular inspection and testing post-installation solidify the functionality of the system. The lighting system will only perform optimally when precautions are followed, methods are adhered to, and safety is prioritized. By diligently applying these principles, one can enjoy a fully operational and efficient solar street light that enhances both the aesthetics and safety of any outdoor space.
Original article by NenPower, If reposted, please credit the source: https://nenpower.com/blog/how-to-connect-the-four-core-wire-of-solar-street-light/
