
To connect a 4-wire solar solenoid valve, one must follow a series of defined steps to ensure the operation and synchronization of the valve with the solar panel system. 1. Understand the wiring diagram, 2. Identify the function of each wire, 3. Connect the wires correctly, 4. Test the solenoid valve for functionality. The most critical aspect revolves around the proper identification of wire functions and ensuring they are wired correctly to prevent malfunction or damages. Each wire’s role is to facilitate power, ground, or signal, which needs to be comprehended thoroughly to achieve optimal performance in a solar irrigation or drainage system.
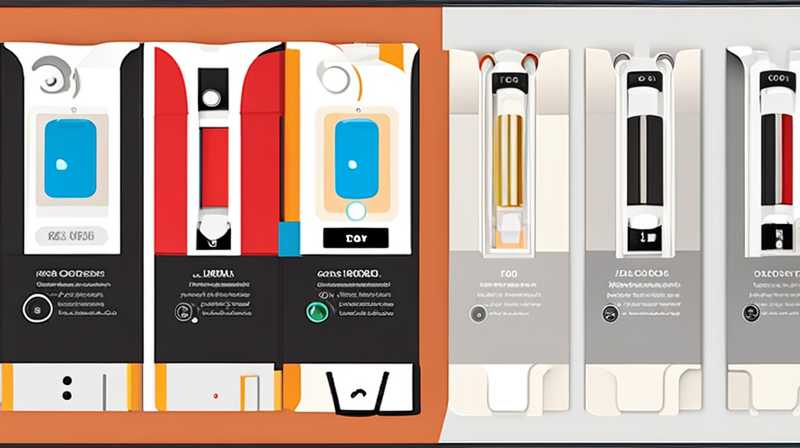
1. UNDERSTANDING THE COMPONENTS OF A 4-WIRE SOLENOID VALVE
A 4-wire solar solenoid valve operates within an irrigation or fluid control system, and it is essential to understand the basic components involved. This type of valve allows for precise control over the flow of liquid, making it particularly useful in systems reliant on solar power. Most 4-wire solenoid valves consist of two power wires and two control wires, which combined allow the solenoid to operate efficiently.
The power wires are typically responsible for delivering voltage from the solar panel or battery to the solenoid itself. These wires are often labeled, enabling easy debugging when issues arise. The control wires, on the other hand, provide a signal that signals when to open or close the valve. Understanding this basic functionality is crucial for anyone installing or maintaining such a valve.
2. IDENTIFYING WIRE FUNCTIONS IN A 4-WIRE SOLENOID
Understanding the purpose of each wire is imperative for the installation of a 4-wire solar solenoid valve. Generally, these valves will be color-coded, with standard colors representing specific functions. Common colors include red and black for power, while yellow and green often denote control.
The red wire commonly represents the positive connection to the power source, facilitating the current flow necessary for operation. Conversely, the black wire usually acts as the negative connection or ground. The yellow and green wires function together as a control signal allowing the user to operate the valve remotely or automatically based on a predefined schedule. Knowledge of these associations is essential for proper installation and operation.
3. INSTALLATION STEPS FOR A 4-WIRE SOLENOID VALVE
The installation process for a 4-wire solar solenoid valve involves several critical steps, each demanding careful attention. Initially, ensure that the solar power source is set up correctly and in a well-lit area to maximize energy absorption. Before connecting the solenoid valve, it is advisable to use a multimeter to check voltage levels, ensuring the system is working correctly.
Once confirmed, the next stage involves connecting the power wires. The red wire should be connected to the positive terminal of the power source, while the black wire must go to the negative terminal. Next, the control wires (typically yellow and green) need to be linked to the control system or a programmable timer. This allows activation based on the irrigation schedule. Attention to detail is paramount, as any misconnection can hinder performance or cause damage to the solenoid valve.
4. TESTING THE SYSTEM INTEGRITY
After successfully wiring the 4-wire solar solenoid valve, the subsequent process involves testing the system to ensure reliability and functionality. Begin by double-checking all connections, confirming that wires are securely fastened and insulated as needed. Once done, activate the solar power and observe the operation of the valve.
Running a test activation is advisable to ensure that the control signal can open and close the valve as intended. This can involve adjusting a timer or manually triggering the control circuit. Should the valve not respond, retrace the wiring steps to pinpoint any potential errors in connection. Consistent testing guarantees that the solenoid will function perfectly within the overall system.
FREQUENTLY ASKED QUESTIONS
HOW CAN I ENSURE MY SOLENOID VALVE FUNCTIONS PROPERLY?
To ensure that a solenoid valve operates effectively, you must conduct regular maintenance and checks. Begin with inspecting the wiring connections for any signs of wear or loose connections. Over time, vibrations or adverse weather conditions can cause components to loosen. Next, verify that the power source delivers the correct voltage to the solenoid. Utilize a multimeter for accurate voltage readings. Regularly observe the valve during operation to detect any unusual noises or changes in flow. Additionally, consistent testing of control signals should be performed to ascertain if they activate the valve correctly. By adhering to these practices, you can maintain optimal functionality and prolong the lifespan of your solenoid valve.
CAN I USE A 4-WIRE SOLENOID VALVE WITH A BATTERY POWERED SYSTEM?
Yes, a 4-wire solenoid valve can effectively operate in a battery-powered system. The critical factor to ensure is that the battery provides adequate voltage and current based on the valve’s specifications. Ensure the battery is fully charged and maintain connections similar to a solar panel setup. The power wires lead to the battery’s positive and negative terminals, while the control wires should link to the respective control circuit or switch. By maintaining correct wiring and ensuring sufficient power, a 4-wire solenoid valve can thrive and provide the necessary water or fluid control even in a battery-powered system.
WHAT SHOULD I DO IF MY SOLENOID VALVE DOES NOT OPEN OR CLOSE?
If a solenoid valve fails to open or close, the troubleshooting process is essential for pinpointing the issue. Begin by checking all electrical connections, ensuring they are secure, and that there are no frayed wires or corrosion that may cause failure. Inspect the power source to confirm that it is functioning and supplying the necessary voltage. If the control signal isn’t correctly activating the valve, elongate your focus on the control system or timer settings. A malfunctioning control circuit may prevent the signal from reaching the valve. Additionally, check for any debris or blockages inside the valve that might hinder its movement. Performing these detailed checks typically leads to problem resolution, restoring functionality to the valve.
The process of connecting a 4-wire solar solenoid valve encompasses several essential steps and considerations that guarantee not only installation but also the ongoing performance of the valve. Understanding the fundamental requirements, such as wire identification, proper connections, and testing procedures, builds a strong foundation for successful operation. Moreover, maintenance and compliance with best practices ensure that the valve serves its purpose efficiently in the broader context of solar-powered systems. Ensuring regular inspection and troubleshooting quickly addresses issues, enhancing longevity and reliability. To maximize performance and efficiency, one must remain informed and vigilant throughout their usage.
Original article by NenPower, If reposted, please credit the source: https://nenpower.com/blog/how-to-connect-the-4-wire-solar-solenoid-valve/
