
To connect miniature indoor solar lights, ensure the solar panel receives adequate sunlight, position them correctly, and follow a straightforward installation process. 1. Choose an optimal location for the solar panel, preferably where it can absorb sunlight for several hours throughout the day. 2. Ensure that the battery is charged before the first use, typically done during the first few days of placement. 3. Connect the solar panel to the light units correctly, following manufacturer instructions for wiring and placement. 4. Check the functionality by turning the lights on after dusk, ensuring they illuminate as intended. The connection process may vary slightly based on the brand, so consulting the specific manual is advisable.
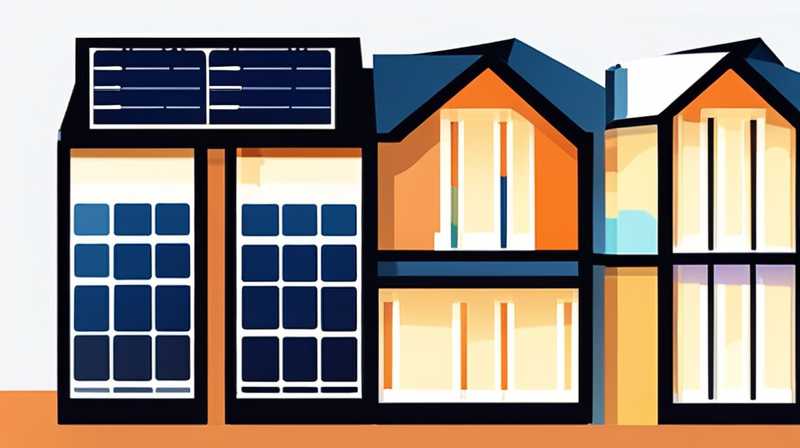
1. SOLAR PANEL PLACEMENT
The installation of miniature indoor solar lights necessitates a careful evaluation of where the solar panel will be positioned. Selecting a suitable location is imperative for the efficacy of these lights since they rely exclusively on sunlight for energy. Adequate exposure is essential; hence, it is advisable to place the panel in an area free from obstructions that could block sunlight.
When determining the right spot, consider the orientation of the rays at different times of the day. Utilizing locations with direct sunlight for the majority of the day maximizes the energy collected. It is also pertinent to remember the indoor setting; some areas may have windows that obstruct full sunlight during certain hours. Therefore, identifying the best window or indoor area is key to ensuring that the solar panel receives sufficient exposure.
2. BATTERY CHARGING
Once the solar panel has been positioned, the next step involves ensuring that the battery is fully charged prior to the initial activation of the lights. Most miniature solar lights come with a rechargeable battery that stores energy captured by the solar panel during the day. Charging the battery beforehand is critical; if this step is overlooked, you might experience diminished performance during the first evening’s use.
Depending on the design and type, batteries may require different methods for charging. Typically, allowing the solar panel to absorb sunlight for at least two consecutive days before initial use is advisable. This facilitates optimal charging and sets a solid foundation for performance. Moreover, a fully-charged battery enhances longevity, thereby reducing the frequency of replacements and ensuring consistent illumination during nighttime.
3. CONNECTION PROCESS
The connection process varies in complexity based on the specific model of the miniature solar lights. However, the general method is largely straightforward. Carefully read and adhere to the manufacturer’s instructions during the connection phase to navigate any unique features or requirements. Commonly, the solar panel’s cable connects directly to the light unit; this is typically a plug-in mechanism, ensuring a smooth installation.
Once connected, it is essential to examine the wiring for any signs of damage or improper connectivity. Gently tug on the cables to ensure that they are securely in place. If any discrepancies arise, correcting them before proceeding to test the lights is crucial. A common oversight is failing to check these connections, which can lead to performance issues down the line.
4. FUNCTIONAL TESTING
After successfully connecting the miniature indoor solar lights, conducting a functional test is prudent. This involves checking to see if the lights activate at sunset, which verifies that the battery has charged sufficiently and the entire system is appropriate. This testing phase should be carried out over several evenings to allow for varied conditions, confirming that the lights operate under different levels of ambient light.
During the testing, take note of how bright the lights are and whether they maintain illumination throughout the night. If the lights seem dim or fail to illuminate properly, re-evaluate the placement of the solar panel or the position of the battery. Ensuring that all components are working harmoniously is essential to enjoying the full benefits of your indoor solar lights.
5. MAINTENANCE
To ensure the longevity and effectiveness of solar lights, regular maintenance is essential. The solar panel should be kept clean and free of debris, as dust and dirt can significantly hinder energy absorption. Scheduled checks every few weeks can help prolong the life and function of your lights. A damp cloth can be used to wipe away any obstructions.
Additionally, periodically assess the battery condition. If you notice diminished performance after several months, consider replacing the battery to ensure optimal functionality. Monitoring and maintaining your miniature solar lights will allow for sustained performance over years of use while also ensuring that your indoor space remains beautifully illuminated.
FREQUENTLY ASKED QUESTIONS
WHAT TYPES OF BATTERIES DO MINIATURE SOLAR LIGHTS USE?
Typically, miniature solar lights are equipped with rechargeable batteries such as nickel-metal hydride (NiMH) or lithium-ion types. The choice of battery can significantly impact the performance and longevity of the light. NiMH batteries are commonly favored due to their ability to hold a charge efficiently, allowing for prolonged periods of illumination throughout the night. Conversely, lithium-ion batteries offer enhanced performance in colder temperatures, making them suitable for various indoor environments.
When selecting miniature solar lights, be aware of the battery’s capacity and replace it as needed to maintain performance. Over time, batteries may degrade, which can impede the solar light’s ability to stay illuminated for extended periods. Ensuring that you are using high-quality batteries when replacements are necessary is crucial for sustainable use.
HOW LONG DO MINIATURE SOLAR LIGHTS LAST?
The lifespan of miniature indoor solar lights can vary based on several factors, including the quality of materials used, the environment in which they are installed, and the frequency of maintenance. Generally, solar lights are designed to last between 2 to 5 years. High-quality fixtures with durable components may exceed this expected lifespan, offering reliable illumination over extended periods.
Key elements contributing to longevity are the solar panel’s energy efficiency and the battery’s health. Regular cleaning and maintenance can enhance the fixture’s durability, ensuring that the solar panels remain functional and free of debris. Furthermore, protecting the lights from extreme weather conditions or harsh indoor environments can also play a significant role in extending their lifespan.
CAN MINIATURE SOLAR LIGHTS BE USED INDOORS?
Yes, miniature solar lights can indeed be used indoors, and they offer numerous advantages for enhancing interior spaces. These lights function best in areas where they receive adequate light through windows, typically harnessing sunlight during the day to illuminate areas at night.
However, it is vital to position the solar panel in an optimal location that maximizes sunlight exposure. If indoor lighting conditions are inadequate, it may be necessary to explore alternative energy sources or consider solar lights specifically designed for high-efficiency indoor use. Having an understanding of the solar lights’ operational principles allows them to be utilized creatively across various indoor applications.
Astutely connecting miniature indoor solar lights involves understanding their placement, ensuring proper charging, following connection protocols, and performing maintenance to promote functionality. Properly managing these aspects can significantly enhance the user experience.
Original article by NenPower, If reposted, please credit the source: https://nenpower.com/blog/how-to-connect-miniature-indoor-solar-lights/
