
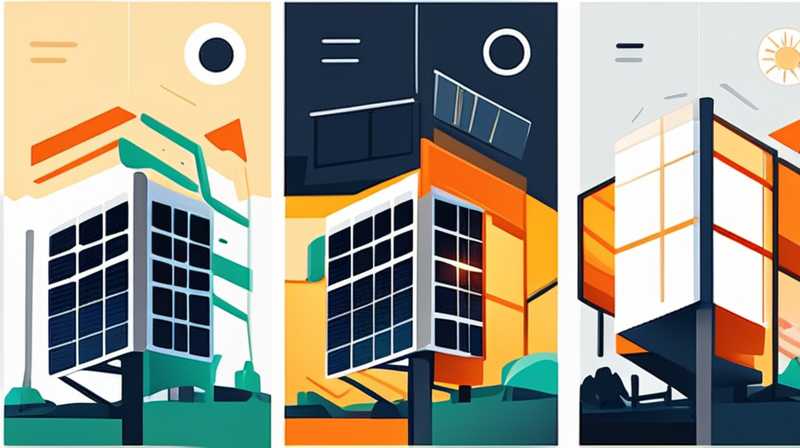
1. Connecting a high power solar light involves several key steps: a. Select an appropriate location for installation, ensuring ample sunlight exposure throughout the day, b. Gather necessary tools and materials, including mounting brackets, screws, and cables, c. Install the solar panel correctly, angling it to maximize sun absorption, d. Connect wiring between the solar panel and the light fixture, ensuring secure and weatherproof connections, e. Test the system after installation, verifying proper function and illumination at night.
To further elaborate, the selection of a suitable location is crucial. A space that receives direct sunlight for at least six hours a day will enhance the solar panel’s efficiency, leading to optimal battery charging and light performance. Urban settings may have obstacles such as tall buildings or trees that obstruct sunlight, necessitating careful consideration of the installation site.
1. UNDERSTANDING SOLAR POWER FUNCTIONALITY
Solar lights function by harnessing the sun’s energy, converting it into electricity through photovoltaic panels. These systems primarily consist of a solar panel, battery, light-emitting diode (LED) fixture, and controller. During daylight hours, the solar panel absorbs sunlight, which energizes electrons within the panel. As these electrons move, they generate direct current (DC) electricity, which flows into the battery for storage.
The battery plays a vital role in sustaining energy output during nighttime or overcast conditions. Typically, deep-cycle batteries are utilized due to their ability to store and discharge energy over extended periods. Furthermore, the controller regulates the flow of energy, ensuring efficient charging while preventing battery overcharging or discharging. By converting sunlight into electrical energy, solar lights provide an eco-friendly alternative to traditional lighting methods, promoting sustainability.
Expanding upon technology, the recent advancements in solar lighting incorporate smart technologies. Some modern solar lights now feature motion sensors, allowing them to illuminate only when movement is detected, thereby conserving energy. Others may have app connectivity, giving users control over settings and performance. This developing technology increases not only usability but also the overall efficiency of solar-powered systems.
2. PLANNING THE INSTALLATION PROCESS
Embarking on the installation process requires meticulous planning to guarantee an effective setup. Before initiating any physical work, it is crucial to assess the area where the solar light will be installed. Factors to consider include sunlight exposure patterns, potential obstruction from nearby structures, and accessibility for any required maintenance.
Creating a checklist of the materials needed helps streamline the installation. Commonly required components include the solar light unit, mounting hardware, wiring, and tools such as drills, screwdrivers, and wire strippers. Ensuring that all necessary items are on hand eliminates unnecessary delays during the setup.
Moreover, as this is a high power solar light installation, it is prudent to consult the manufacturer’s instructions. Each product may vary in specific requirements and installation methods. Following guidelines minimizes the risk of errors and enhances the light’s efficiency and longevity.
3. ASSEMBLING AND MOUNTING THE SOLAR LIGHT
The assembly and mounting phase is where the preparatory work transforms into tangible results. Using a drill, securely fix the mounting brackets to the selected surface. The brackets should be affixed to a sturdy location such as a wall, pole, or post, ensuring the solar light is well-supported.
After securing the brackets, the solar light unit must be attached to the mounted hardware. This step often involves aligning the unit with the pre-installed brackets and locking it in place. It is essential to ensure that the light fixture is positioned correctly to obtain optimal exposure to sunlight, providing maximum energy absorption during the day.
As the installation progresses, it is crucial to pay attention to cable management. Tidy cable arrangements not only enhance the aesthetic appeal but also prevent potential damage from environmental factors. Using zip ties or cable clips can help secure loose wires along walls or posts, ensuring they do not interfere with the solar light’s operation.
4. CONNECTING THE SOLAR PANEL AND LIGHTING UNIT
After securing the light unit in place, attention shifts to connecting the solar panel with the lighting fixture. Start by running the wiring from the solar panel to the battery compartment of the solar light. Connection points typically require a positive and negative lead, which should be correctly attached to ensure optimum energy transfer.
Using waterproof connectors to secure the connections is critical. This approach protects the electrical components from harsh weather conditions, ultimately enhancing the system’s durability and functionality. Following the connection, it is advisable to apply heat shrink tubing to further insulate the exposed wiring.
Completing this step also involves integrating any additional components, like motion sensors or remote controls, if applicable. Following the manufacturer’s instructions ensures that all features function as intended. Certain solar units may require specific programming or configuration settings to maximize their capabilities.
5. TESTING AND ADJUSTING THE INSTALLATION
Once all connections are made, the next crucial phase involves testing the system. Initiate the solar light by turning it on to verify its functionality. Initial tests should be conducted during daylight hours to ensure that the solar panel is charging effectively.
Throughout the testing phase, monitor the light’s performance. It is essential to ensure that the LED illuminates brightly in appropriate conditions. If the light fails to turn on after sunset, this may indicate issues with the solar panel’s exposure, battery charge, or connection integrity.
If necessary, adjustments can be made after evaluating the initial performance. The positioning of the solar panel may require shifting to avoid shadows cast by neighboring trees or structures. Therefore, frequent testing and adjustment are instrumental in achieving the most effective performance of the solar lighting system.
6. MAINTENANCE FOR LONG-LASTING PERFORMANCE
To prolong the functionality and lifespan of solar lights, systematic maintenance is required. Regularly checking the battery’s condition is vital. Over time, batteries begin to deteriorate, especially if not used correctly. It’s essential to replace them periodically according to the manufacturer’s recommendations.
Moreover, keeping the solar panel clean is fundamental in ensuring efficiency. Dust, debris, and leaves can obstruct sunlight absorption, thereby diminishing the overall performance of the solar light. Using a soft cloth and water, clean the panel periodically, especially after a storm or windy weather.
Lastly, checking wiring connections and the integrity of fixtures will help preempt potential issues. Tightening any loose connections and ensuring that fasteners remain secure will mitigate risks of malfunction. Emphasizing maintenance contributes significantly to the longevity of solar power systems.
FREQUENTLY ASKED QUESTIONS
1. WHAT SHOULD BE CONSIDERED WHEN INSTALLING SOLAR LIGHTS?
When installing solar lights, one must contemplate factors like sunlight exposure, positioning of the solar panel, and surrounding obstructions that could hinder the solar panel from receiving adequate sunlight. It’s also essential to verify the specifications of the solar light and whether the area can accommodate the required mounting structure. Additionally, understanding local climate patterns is crucial, as consistent cloudy or rainy weather may affect the performance of solar lights. Assessing these parameters beforehand could considerably enhance the effectiveness and efficiency of the installed solar lighting system.
2. HOW LONG DOES IT TAKE TO INSTALL A HIGH POWER SOLAR LIGHT?
The duration required to install a high power solar light can vary significantly depending on several factors, including the location’s complexity, available tools, and the number of fixtures being installed. On average, the installation process may take anywhere from two to four hours. This timeframe accounts for the preparation, assembly, wiring connections, and testing. If obstacles arise, such as challenging mounting surfaces or inclement weather, it could extend the timeline accordingly. Proper preparation and familiarity with installation steps can streamline the process, ensuring a more efficient installation experience.
3. HOW CAN I INCREASE THE EFFICIENCY OF MY SOLAR LIGHTS?
To enhance the efficiency of your solar lights, several actionable strategies can be implemented. First, select locations that receive unobstructed sunshine for at least six hours daily. This optimal positioning is fundamental to maximizing energy absorption. Additionally, considering the installation angle of the solar panel can significantly influence its exposure to sunlight. Regular maintenance, such as cleaning the solar panel and checking wiring connections, further supports performance. Additionally, integrating smart technologies like motion sensors can optimize energy use by ensuring lights activate only when movement is detected, thereby conserving battery life.
The process of connecting a high power solar light encompasses various essential steps. Emphasizing the importance of careful planning, adhering to manufacturer guidelines, and ensuring a thorough testing phase cannot be overstated. Aligning the installation with optimal sunlight exposure and following precise procedures guarantees not only the effectiveness of the solar lights but also enhances their longevity and functionality.
By capturing solar energy, these systems provide an environmentally conscious alternative to traditional lighting, reducing reliance on fossil fuels while contributing to energy efficiency. The versatility of solar lights allows for their use in various environments, such as residential areas, gardens, and public spaces, highlighting their benefits.
Furthermore, addressing potential challenges, such as obstructions and maintenance needs, remains crucial in prolonging their performance. This proactive approach significantly aids in mitigating common issues that may distill operational capabilities.
Investing in solar lights is not merely a sustainable choice but also reflects practicality in utility and cost-effectiveness. Through informed decisions in installation and maintenance practices, users can fully leverage the benefits this technology has to offer, illuminating spaces while preserving the environment. Prioritizing care and systematic assessments will offer a journey into a greener future, making solar lighting an excellent addition to quotidian living.
Original article by NenPower, If reposted, please credit the source: https://nenpower.com/blog/how-to-connect-a-high-power-solar-light/
