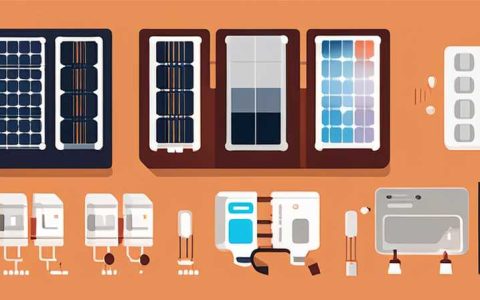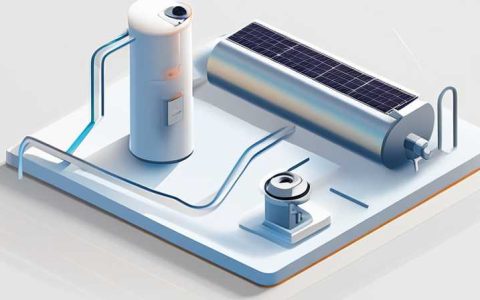
To change the tube when the solar light does not illuminate, follow these steps: 1. Diagnose the issue, examining for possible faults like depleted batteries or damaged tubes. 2. Remove the solar light from its fixture carefully, ensuring not to harm any wiring. 3. Replace the non-functioning tube with a new one, ensuring compatibility with your solar light model. 4. Reassemble the solar light, checking that all components are secure. 5. Reposition the light in an area receiving ample sunlight to maximize charging. Particularly, a common reason for malfunction involves the batteries; if they are worn or not charged adequately, replacing them will often restore functionality.
1. UNDERSTANDING SOLAR LIGHT FUNCTIONALITY
Solar lights operate using photovoltaic cells that convert sunlight into electrical energy. This energy is stored in batteries, allowing the light to function after the sun sets. The efficiency of these systems can diminish over time due to various factors such as hardware wear, environmental conditions, or inadequate sunlight exposure. Recognizing these components’ roles is crucial when troubleshooting issues.
The system begins with solar panels absorbing sunlight; if these panels become obstructed by dirt or debris, their ability to harvest sunlight diminishes. Moreover, battery health also plays a significant role; older batteries or those exposed to extreme temperature changes can lose their capacity to store energy. Understanding these factors is essential before taking remedial actions, as an informed approach prevents unnecessary replacements or repairs.
2. TROUBLESHOOTING SOLAR LIGHTS
Diagnosing why a solar light fails to operate correctly requires a systematic examination. Start with the battery, which is often the root cause of malfunction. If the light does not illuminate at night, insufficient charging during the day could be a factor. Checking the charge level is vital, as over time, batteries degrade and stop holding a charge.
If the batteries are functional, examine the tubes or light bulbs used. They may have burned out or suffered damage due to weather exposure. Carefully removing the light from its mount allows assessment of these components without risking further damage. It is advisable to visually inspect wiring for frays or disconnections, which might also contribute to the device’s failure. Performing these checks can help narrow down the exact issue.
3. REPLACING THE TUBE
When assessing the need for a tube replacement, ensure to procure a compatible tube specifically designed for your solar light model. Purchasing the wrong type can lead to additional problems, including incorrect fit or suboptimal performance. Familiarize yourself with the specifications, especially the wattage and voltage, to avoid mismatches.
Once you have obtained the correct tube, begin the replacement process by removing the solar light from its mounting and disconnecting any wires connected to the old tube. Handle the components gently to avoid damaging fragile parts. After securing the new tube in place, ensure connections are firm and correctly aligned. Avoid overtightening the screws, as this can damage the tube’s components. After assembly, reposition the light in an optimal location where direct sunlight exposure is guaranteed.
4. MAINTAINING SOLAR LIGHTS FOR LONGEVITY
To prolong the life of solar lights requires regular maintenance. Clean the solar panels periodically to ensure they are free from dust or debris. Accumulation on the surface can considerably reduce functionality, leading to less energy capture and inefficient charging. Furthermore, it is wise to inspect the system as seasons change, particularly before winter when snow or ice can insulate the panels.
Regularly check the batteries, replacing them as necessary. Storing solar lights indoors during harsh weather conditions can also help retain their functionality over time. When storing, ensure that they are completely discharged and kept in dry environments to prevent corrosion of the battery terminals. Implementing these maintenance techniques can significantly extend the operational lifespan of solar lights.
FREQUENTLY ASKED QUESTIONS
HOW DO I KNOW IF MY SOLAR LIGHT IS BROKEN?
To determine whether a solar light is malfunctioning, several methods can be employed. First, observe if the light illuminates during the night after a day of full sunlight exposure. If it remains dark, inspect the battery to check for corrosion or damage. Use a multimeter to test the battery voltage; a reading below the specified range indicates a faulty battery needing replacement. Additionally, ensure that the solar panels are clean and unobstructed. If all components appear functional yet the light still does not work, the issue may reside within the internal wiring or the tube itself. In this case, carefully disassemble the light to inspect for connectivity issues or wiring damage. A systematic approach combining checks on each component will lead to an accurate diagnosis.
CAN I USE REGULAR BATTERIES IN SOLAR LIGHTS?
Using regular batteries in solar lights is generally discouraged due to compatibility issues. Solar lights are designed specifically to work with rechargeable batteries capable of handling the continual charge and discharge cycles involved in their operation. Regular batteries will not withstand these cycles, leading to potential leaks or damage. Rechargeable batteries such as NiMH (Nickel-Metal Hydride) or Li-ion (Lithium-ion) should be utilized for optimal performance. These types of batteries are specifically engineered with the right voltage and storage capabilities suitable for solar-powered applications. Utilizing regular batteries can lead to frequent replacements and cost issues, along with potential damage to the unit itself.
HOW LONG DO SOLAR LIGHTS LAST?
The lifespan of solar lights is contingent upon several factors, including the quality of the components, environmental conditions, and the level of maintenance. On average, most solar lights are engineered for a duration of three to five years. However, premium models can last even longer if adequately cared for. Factors contributing to such lifespan variations include the quality of the solar panel, light bulb type, and the battery used. Regular cleaning of solar panels and replacing depleted batteries significantly contribute to prolonging the operational life of the unit. Exposure to harsh weather conditions can also affect lifespan; thus, it’s beneficial to store lights during extreme conditions for better longevity. Comprehensive maintenance routines and quality checks can substantially enhance solar lights’ usability and functional life.
Extending the functionality of solar lights hinges on understanding their components, diagnosing issues correctly, and effectively replacing any faulty parts. When solar lights fail to operate, assess potential issues systematically, starting with batteries and progressing to tubes and wiring. Using compatible components during adjustments cannot be overstated. Furthermore, implementing proper maintenance practices such as cleaning solar panels and assessing hardware condition leads to improved performance and increased longevity of solar lights. Proper treatment and mindful operations ensure these versatile lighting solutions continue to enhance outdoor spaces effectively. Through regular checks, knowledgeable replacements, viable installations, and appropriate storage techniques, users can maximize the efficacy of their solar lights, providing both environmental and economic benefits. In essence, maintaining functionality requires diligence, informed decisions, and commitment to optimal practices that guarantee effective nighttime illumination.
Original article by NenPower, If reposted, please credit the source: https://nenpower.com/blog/how-to-change-the-tube-when-the-solar-light-is-not-on/


