
To change the tube of a solar lamp, you need to follow a few essential steps: 1. Identify the type of lamp, 2. Gather necessary tools, 3. Remove the old tube, 4. Install the new tube, 5. Test the lamp.
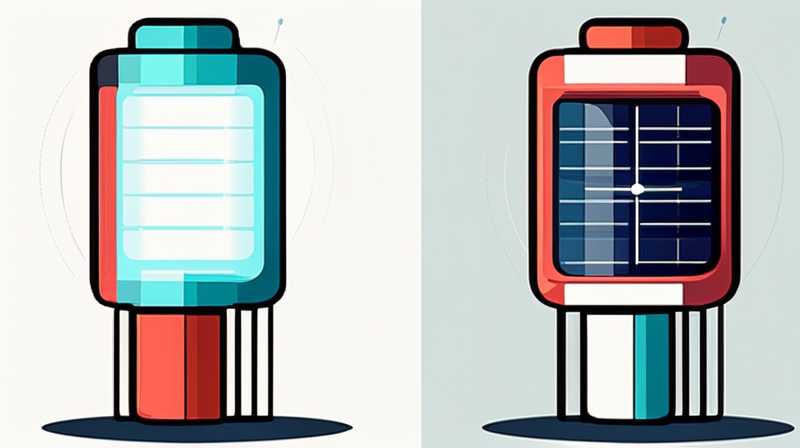
1. IDENTIFYING THE TYPE OF LAMP
Understanding the specific design and model of your solar lamp is fundamental. Not all solar lamps are constructed the same, nor do they utilize identical tubular components. When assessing your lamp, look for brand markings or model numbers that reveal the specifications needed for replacement. Many manufacturers provide detailed information regarding compatible tube sizes and types in their product manuals or online.
Additionally, consider the energy source of your solar lamp. Some devices function with LED tubes, while others might incorporate fluorescent or other types of lighting. Recognizing the correct specifications for your lamp will ensure that not only do you acquire the right tube, but also that it operates efficiently upon installation. Having a clear understanding of these components will streamline the subsequent steps.
2. GATHERING NECESSARY TOOLS
Once the type of solar lamp has been recognized, equipping yourself with the necessary tools is imperative. You will typically require basic hand tools such as screwdrivers—both flathead and Phillips— as well as pliers. In some instances, a pair of gloves may also be useful to protect your hands from broken glass or sharp edges while handling the lamp’s components.
In conjunction with tools, securing the correct replacement tube is essential. Always verify that the new tube meets the required specifications in terms of size, wattage, and type. Purchasing from a reputable supplier guarantees that you will receive a quality product that is fit for purpose, thereby minimizing the potential for future issues related to compatibility and performance.
3. REMOVING THE OLD TUBE
Before commencing the removal process, ensure that the solar lamp is turned off, and if possible, that it has been disconnected from its charging source. This measure safeguards against electrical shocks and increases safety during maintenance. Depending on your lamp’s design, you may need to use screwdrivers to detach protective casings or covers that shield the tube. Handle these components with care to avoid damage.
Once you have accessed the tube, carefully extract it from its housing. Some tubes may be secured by clips or additional fasteners that need to be removed first. Exercise patience during this procedure, as exerting excessive force can lead to breakage, making the situation more complicated. After successfully removing the tube, inspect the interior of the lamp for any signs of wear or corrosion, as these may require further attention.
4. INSTALLING THE NEW TUBE
With the old tube out, the next step involves fitting the new tube into the lamp without unnecessary delay. Begin by ensuring the new tube is free of defects by inspecting it thoroughly prior to installation. Align it carefully with the housing, ensuring that any prongs or electrical components are properly connected. If the lamp includes specific slots or guides, utilize these to facilitate the correct positioning of the tube.
Following the placement of the new tube, proceed to secure any necessary fasteners or screws to keep it securely in place. Pay meticulous attention to the fittings, ensuring they are tightly fastened but not overtightened, as doing so might lead to tube damage. After securing the new tube, reattach any protective covers or casings removed at the onset of the process, ensuring the lamp is sealed to protect it from external elements.
5. TESTING THE LAMP
Once the tube has been successfully installed, it’s crucial to conduct a series of tests to verify that everything operates as intended. Turn on the lamp, allowing it a moment to charge if it has a solar panel. Observe whether the lamp provides consistent and adequate illumination, running through its settings if available to confirm functionality in various modes.
In addition to simple illumination checks, observe the lamp for unusual sounds or flickering lights during operation. These could indicate potential issues that may need further assessment. If any problems arise at this stage, you might need to revisit the installation process to ensure everything is correctly positioned and secured. A successful installation culminates in a well-functioning solar lamp ready for continued use outdoors.
FREQUENTLY ASKED QUESTIONS
HOW OFTEN SHOULD I REPLACE MY SOLAR LAMP TUBE?
The frequency of replacement for solar lamp tubes hinges on several factors, including usage patterns, exposure to environmental elements, and the quality of the tube itself. Typically, LED tubes can last several years, whereas fluorescent tubes may have a shorter lifespan. Regular maintenance is essential; inspect the tubes every few months for signs of burn-out or damage. If a tube displays flickering lights or reduced brightness, it is likely time to replace it. Proactively replacing tubes can prevent inefficiency and extend the overall life of the solar lamp, saving resources long term.
CAN I REPLACE THE TUBE MYSELF?
Undoubtedly, you can undertake the replacement of the solar lamp tube independently, assuming you possess basic manual skills. Most maintenance tasks do not require specialized expertise, especially when detailed guides such as this one are available. However, if uncertainties arise during the process, or if the lamp operates under unique specifications, seeking professional assistance may be prudent. Always consult user manuals where applicable to ensure proper operation and safety throughout the handling and maintenance process.
WHAT SHOULD I DO IF MY SOLAR LAMP DOES NOT WORK AFTER REPLACING THE TUBE?
Should the solar lamp fail to operate following tube replacement, consider several potential issues that may be causing this malfunction. Check all connections to ensure that the new tube is securely seated in its housing, as loose fittings can prevent optimal functionality. Additionally, assess the solar panel’s condition and environmental exposure; if the panel is obstructed by debris or shaded, it may hinder charging capabilities. Lastly, inspect the entire unit for external damages and examine the power source to verify that it is working correctly. Should problems persist, consulting a professional for a thorough assessment could be beneficial.
FINAL THOUGHTS
Engaging in the procedure of changing the tube of a solar lamp fosters both self-sufficiency and a proactive approach to maintaining outdoor lighting systems. By recognizing the type of tube necessary for replacement, gathering the right tools, and carefully executing the steps for removal and installation, one can streamline the process, ensuring functional and efficient lighting that complements their outdoor environment. Regular observation and maintenance can prolong the lifespan of the lamp, ultimately enhancing the convenience offered through solar energy. Not only does this empower individuals to manage their household features effectively, but it also contributes positively to environmental conservation by promoting the utilization of renewable energy sources. Familiarizing oneself with these processes underscores the importance of caring for solar-powered devices and emphasizes an eco-friendly approach to home improvement projects. This knowledge can transform the way one interacts with and maintains their solar lamps, creating a satisfying blend of functionality and sustainability.
Original article by NenPower, If reposted, please credit the source: https://nenpower.com/blog/how-to-change-the-tube-of-solar-lamp/
