
To change the power supply of a solar micro-inverter, one must follow several detailed steps to ensure the system operates safely and efficiently. 1. Safety Precautions, 2. Tools Required, 3. Steps for Replacement, 4. Post-Installation Testing.
The first step also involves turning off the entire solar panel system to avoid any electrical hazards. Following safety protocols cannot be overstated, as incorrect handling could result in serious injuries. Next, an appropriate toolkit is essential, including screwdrivers, a multimeter for testing, and the replacement power supply itself.
After preparing for the replacement, physically remove the existing power supply, ensuring that all connections are detached properly before installing the new component. This process must involve a systematic approach, ensuring the new unit is compatible with the existing system architecture. Finally, post-installation testing verifies that the system functions correctly prior to resuming normal operations, thus preventing potential damage or inefficiencies.
1. SAFETY PRECAUTIONS
Safety is of utmost importance when handling electrical components, especially within solar energy systems. 1.1 Understanding Electrical Hazards Understanding electrical hazards is the first step in ensuring safety during the replacement of a micro-inverter power supply. Solar micro-inverters operate at high voltages that can be dangerous, posing risks of shock or electrocution if improperly handled. Awareness of these risks is essential for anyone embarking on this task.
1.2 Personal Protective Equipment (PPE) In this context, utilizing Personal Protective Equipment (PPE) plays a crucial role in safeguarding oneself during the replacement procedure. Gloves, safety goggles, and insulated tools can serve as essential protections against accidental contact with high-voltage areas. It’s also advisable to work in a dry environment to further mitigate any risks associated with moisture and electricity.
2. TOOLS REQUIRED
To successfully carry out the replacement job, certain tools and equipment are necessary. 2.1 Essential Tools Essential tools for this task include a screwdriver set, a voltage tester, and a multimeter. A voltage tester will ensure that there is no residual electricity in the system, while the multimeter can assist in diagnosing any issues with the electrical connections.
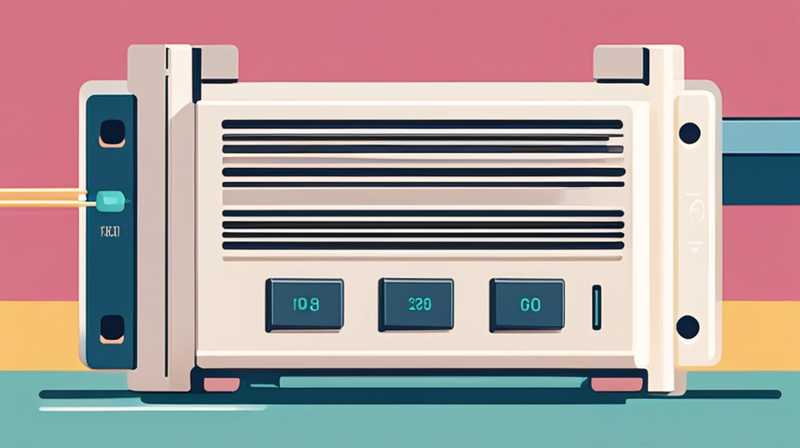
2.2 Replacement Power Supply Moreover, acquiring a compatible replacement power supply is critical for efficient operation. Ensure to select a unit that matches the specifications of the existing micro-inverter to maintain system compatibility. A mismatched unit can lead to performance issues or even damage the micro-inverter.
3. STEPS FOR REPLACEMENT
This section walks through the systematic process of changing the power supply. 3.1 Shutting Down the System It is vital to first shut down the solar panel system completely before undertaking any replacement. This step involves switching off the main inverter and disconnecting the power supply from the solar panels, which ensures personal safety while working with the micro-inverter.
3.2 Disconnecting the Old Power Supply Following the shutdown, the next step is to carefully disconnect the existing power supply. Start by loosening any screws or connectors that secure the component, and take special care to note their arrangement for proper reinstallation later. Maintaining a structured approach in removing the component helps prevent any mishaps or losses of small parts during the process.
3.3 Installing the New Power Supply Once the old power supply is completely detached, proceed to install the new unit. This should involve aligning the new power supply with the mountings from the previous unit, ensuring a snug fit. Tightening screws and connectors must be done carefully to prevent any loose ends that could affect performance.
3.4 Final Connections and Testing Completing the installation requires reconnecting the power supply to its corresponding circuit. A thorough check is necessary to verify that all connections are secure and correct. After making the connections, conduct thorough testing with a multimeter to ensure that everything is functioning as expected prior to reactivating the solar panel system.
4. POST-INSTALLATION TESTING
After installation, it is imperative to perform post-installation checks to affirm the system’s functionality. 4.1 Verifying Connections Verifying all connections should be the first step in this process. Any loose or improperly connected wires could lead to failures or even short circuits. Employ a multimeter to ensure proper voltage flow and to detect any irregularities in the system.
4.2 System Activation After confirming that all connections are secure, the next phase involves powering up the system. Reconnect the solar panels and activate the inverter through its base control panel. Observing the operational indicators will help confirm if the micro-inverter is functioning correctly and efficiently.
4.3 Monitoring Performance It is also advisable to monitor the system’s performance over the next few days to catch any anomalies early. Regular checks will help to assess the efficiency of the installed power supply and ensure that the entire solar panel system is functioning optimally.
FREQUENTLY ASKED QUESTIONS
WHAT IS A SOLAR MICRO-INVERTER?
A solar micro-inverter is a device that converts direct current (DC) generated by individual solar panels into alternating current (AC) that can be fed into the electrical grid or utilized within a home. Unlike traditional string inverters that connect multiple panels together, micro-inverters operate independently, allowing for greater energy production and flexibility in energy management. Their design enhances the performance of solar panel systems, especially in situations where panels may be partially shaded or oriented in different directions. Furthermore, micro-inverters facilitate panel monitoring, enabling real-time performance assessments, and identifying individual panel issues without affecting the system’s overall operation.
HOW DO I KNOW IF MY MICRO-INVERTER IS FAULTY?
Determining a malfunctioning micro-inverter can be complex but several indicators can signal an issue. First, check for warning lights on the inverter. Most modern micro-inverters have LED indicators showing their operational status. If the light is off or showing an error code, it may indicate a malfunction. Additionally, if the energy production from your solar system is significantly lower than expected, this could point to a faulty micro-inverter. Monitoring production data through your solar management app can also help identify potential issues. If during remote monitoring the data exhibits inconsistencies, such as drastic drops in energy output, it may be an indication of a defective unit requiring further diagnostics or replacement.
WHAT IS THE AVERAGE LIFESPAN OF A SOLAR MICRO-INVERTER?
The average lifespan of a solar micro-inverter is typically around 20 to 25 years, aligning closely with the expected lifespan of solar panels. The longevity can vary depending on factors such as the quality of the product, installation practices, and environmental conditions. High-quality micro-inverters are engineered to endure various elements, including extreme temperatures and exposure to sunlight, contributing to their durability. However, regular maintenance and monitoring are essential to identify potential problems before they lead to significant failures. Having an extended warranty or maintenance plan can also provide protection and peace of mind regarding long-term performance.
In summary, understanding the nuances involved in replacing a micro-inverter power supply is paramount for ensuring safe and efficient solar energy utilization. Addressing critical considerations such as safety precautions, selecting the right tools, methodical steps for installation, and implementing rigorous post-installation tests can significantly impact performance. It’s essential to remain vigilant throughout the process. The ongoing monitoring of systems ensures potential issues are captured early, allowing for proactive maintenance or timely repairs. Adhering to these well-structured steps will not only optimize the energy production of a solar power system but also guarantee that it operates reliably for years to come, maximizing returns on investment.
Original article by NenPower, If reposted, please credit the source: https://nenpower.com/blog/how-to-change-the-power-supply-of-solar-micro-inverter/
