
To convert a solar lamp into a traditional lighting lamp, follow these steps: 1. Remove the solar panel and battery; 2. Rewire the existing circuitry; 3. Install a compatible light bulb; 4. Ensure proper electrical connections. A key aspect, detailed below, involves safely handling and replacing the solar components.
1. SOLAR COMPONENT DISASSEMBLY
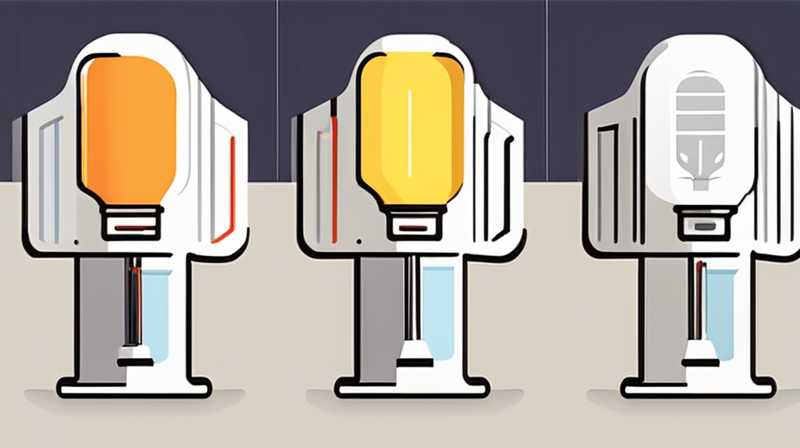
Disassembling a solar lamp to transform it into a lighting lamp requires careful attention to its structure. Most solar lamps are comprised of several key components: the solar panel, rechargeable battery, LED light source, and the housing that protects these elements. Removing the solar panel and the rechargeable battery is the initial task. Start by carefully unscrewing or unclipping the solar panel from its housing, being cautious not to damage any wiring attached to the panel. Use appropriate tools, such as a screwdriver or pliers, as necessary to avoid damaging the components.
After successfully detaching the solar panel, proceed to remove the rechargeable battery. In many cases, these batteries are not soldered but merely placed inside a compartment. However, certain models may require you to unscrew or pry off a panel that houses the battery. Ensure that you also disconnect any wires connected to the battery. This is important, as mishandling wires may lead to shorts or damage that could hinder the lamp’s new functionality.
2. REWIRING THE PERMANENT CIRCUITRY
Once the solar panel and battery have been removed, the next step is to rewire the lamp’s circuitry for compatibility with traditional power sources. The primary objective is to adapt the wiring to allow for direct connection to an electrical outlet. Prior to rewiring, it is advisable to take photographs of the original wiring layout. This aids in ensuring that connections are restored accurately and safely.
When approaching the task of rewiring, it’s crucial to strip the insulation off the wires to create clean connection points. This can usually be accomplished using wire strippers. Connect the positive lead from the input power source to the positive wire of the lamp’s LED, ensuring a secure connection. Similarly, attach the negative lead responsibly. It’s vital to use appropriate connectors to prevent any risk of short circuits. Once this step is complete, testing the circuit with a multimeter can affirm that connections are intact and there are no unintended openings or shorts.
3. INSTALLING A COMPATIBLE LIGHT BULB
Transforming the solar lamp also necessitates installing a suitable light bulb that can operate effectively under its new power conditions. Using an LED or incandescent bulb that matches the lamp’s power rating is crucial. An LED light not only enhances energy efficiency but also prolongs the lifespan of the bulb and minimizes heat generation.
Before selecting a bulb, consider the wattage supported by the previous design. This can usually be assessed from the specifications on the lamp or inferred from similar lamps. After selecting an appropriate bulb, properly insert it into the lamp holder. Make sure the bulb fits snugly and that all connections are secure. If required, additional modifications may be necessary to hold the bulb in place adequately, potentially involving custom brackets or adjustments to the housing.
4. ENSURING PROPER ELECTRICAL CONNECTIONS
At this stage, checking the electrical connections and performing a final setup is necessary. Ensure all electrical leads are properly secured and maintain a low risk of exposure to moisture. Any external wiring should be covered with electrical tape or heat-shrink tubing to protect them from environmental factors. This step is significant to ensure the sustainability of the lamp and protect its inner workings from damage.
Furthermore, it is advantageous to incorporate a switch into the setup. Adding a mechanical or electronic switch will offer superior control over the lamp’s operation. This allows for the flexibility to turn the lamp on or off as desired, ensuring it is not utilizing power unnecessarily when not in use. Testing the lamp after all connections are made is essential as well, ensuring that it operates as intended without flickering or shutting off unexpectedly.
FREQUENTLY ASKED QUESTIONS
WHAT TOOLS ARE REQUIRED FOR THE CONVERSION?
When converting a solar lamp to a traditional lighting lamp, several tools are essential for a successful transition. Commonly required tools include screwdrivers (both flathead and Phillips), wire strippers, pliers, a multimeter for electrical testing, and potentially a soldering iron if permanent connections are needed. Additionally, having on hand heat-shrink tubing or electrical tape for insulating the connections is advisable.
It’s also worthwhile to consider safety goggles and gloves. Working with electrical components carries inherent risks, and protecting oneself from electrical shocks or injuries is critical. If the solar lamp has significant weathering or corrosion, some cleaning agents or brushes may be necessary to prepare the components for the renovation process.
Each project can vary in detail, therefore assessing the specific needs of the lamp prior to the process will determine if additional tools or materials are required. This preparation ensures that the conversion process can proceed without interruptions, maximizing efficiency and effectiveness in transforming the lamp.
CAN ANY SOLAR LAMP BE CONVERTED?
Not every solar lamp model is suitable for conversion to a traditional lighting lamp due to various factors, including design, materials, and electrical specifications. Many low-quality or older models possess limitations that can hinder adaptability. When evaluating the feasibility of conversion, it’s essential to consider the lamp’s circuitry, power rating, and the physical structure of the housing.
High-quality solar lamps may feature modular designs that allow for easier transformation into alternative lighting sources, whereas cheaper units may utilize integrated components that are difficult to modify without causing damage. It is advisable to assess the internal components and see if they can accommodate a traditional bulb or power source. If procurement of traditional electrical components would necessitate further alterations beyond practical usability, seeking additional options or a more adaptable lamp design may be prudent.
HOW LONG DOES THE CONVERSION TAKE?
The duration needed to convert a solar lamp into a lighting lamp varies significantly based on multiple aspects, including the complexity of the existing lamp design and the individual’s mechanical aptitude. On average, the process could take anywhere from one to three hours. This allows ample time for disassembly, wiring adjustments, and testing, particularly for individuals who may be learning the conversion process in real-time.
For those with previous experience in electrical projects, the conversion could be completed in a shorter timeframe, as familiarity with the process allows for a more streamlined approach. Conversely, if complications arise, such as corroded wires or unanticipated component malfunctions, additional time may be required for troubleshooting. It’s beneficial to allocate extra time during the initial assessment to mitigate rushed decisions and ensure a complete and safe transformation.
FINAL REMARKS ON THE TRANSFORMATION PROCESS
Undertaking the transformation of a solar lamp into a traditional lighting device presents several benefits and opportunities for learning. Each step involved—disassembly, rewiring, bulb replacement, and ensuring electrical safety—contributes to a broader understanding of electrical devices. Through this hands-on experience, individuals can improve their skills in both mechanical and electrical crafts, which may be beneficial for various future projects.
The economic aspect is as notable as the educational one. Repurposing an existing solar lamp can effectively reduce the need for purchasing new lighting sources while minimizing waste in landfills. Sustainable living is a concept increasingly embraced worldwide, and engaging in practices that reflect this mindset reinforces the principles of resourcefulness.
Moreover, satisfaction stemming from successfully altering a product is intrinsic; beyond practical benefits, the venture highlights creativity and ingenuity in repurposing existing devices. The excitement that follows powering up a transformed lamp for the first time serves as a rewarding culmination to the efforts involved. Ultimately, this process embodies a blend of practical knowledge acquisition, sustainability engagement, and self-fulfillment derived from crafting something new from the old.
Original article by NenPower, If reposted, please credit the source: https://nenpower.com/blog/how-to-change-solar-lamp-into-lighting-lamp/
