
To assemble solar lights yourself requires understanding the components involved, the assembly process, and tips for optimal performance. 1. Gather necessary tools and materials, 2. Follow step-by-step assembly instructions, 3. Test functionality after assembly, 4. Ensure proper placement for sunlight exposure. A detailed elaboration on gathering necessary tools and materials is vital. This step sets a foundation for the entire assembly process. Essential tools include a screwdriver, wire cutters, and pliers to manipulate various components. Materials often consist of the solar panel, LED lights, batteries, wiring, and encasing fixtures to protect these elements from weather conditions. Proper preparation ensures a smoother assembly process and enhances the longevity of the lights.
1. UNDERSTANDING SOLAR LIGHT COMPONENTS
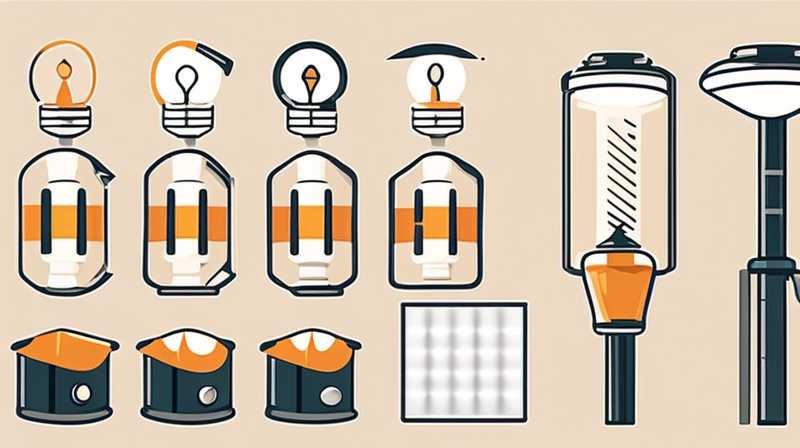
The efficient assembly of solar lights necessitates a comprehensive comprehension of their integral components. Solar lights fundamentally comprise several key parts, each fulfilling a distinctive role. The solar panel collects sunlight and converts it into electrical energy, while LED bulbs serve as the illumination source, renowned for their energy efficiency and longevity. Batteries store the converted energy, ensuring that the lights function during the night. Additionally, wiring connects these components, facilitating the flow of electricity.
In assembling solar lights, recognizing the materials and their functions paves the way for effective construction. The solar panel usually made of silicone, or crystalline silicon, plays a pivotal role in energy collection. Meanwhile, LEDs provide bright illumination for extended periods with minimal power consumption, making them suitable for solar applications. Understanding these components enables accurate placement and connection, ensuring that the final product operates effectively.
2. GATHERING TOOLS AND MATERIALS
An essential phase in the assembly of solar lights is the procurement of the appropriate tools and materials necessary to facilitate the process. Before embarking on assembly, it’s prudent to assemble a toolkit that includes wire cutters, screwdrivers (both flathead and Phillips), pliers, and possibly a soldering iron. Each tool has its specific purpose: for instance, wire cutters are essential for trimming excess wiring, while screwdrivers are indispensable for securing components.
The materials required for assembling solar lights commonly include the solar panel, LED bulbs, rechargeable batteries, and a casing or fixture. These materials might be purchased as a kit or sourced individually based on the desired specifications. Investing in high-quality components can significantly enhance the durability and performance of the assembled lights.
3. STEP-BY-STEP ASSEMBLY INSTRUCTIONS
Commencing the assembly process necessitates careful adherence to a structured approach. Initiate by examining the components laid out on a secure surface, ensuring you have everything required at hand. Begin with the solar panel, ensuring it is positioned correctly to receive maximum sunlight. Mount the solar panel onto its designated fixture, ensuring that it’s secure. Proper alignment guarantees that it efficiently captures sunlight throughout the day.
Next, focus on the installation of the LED bulbs. Connecting the LED lights involves precise wiring. Utilize the wires to connect the positive terminal of the battery to the LED’s positive wire, followed by the negative connections. Ensuring these connections are solid guarantees the continuity of electric flow. Failure to achieve proper connections may result in the lights failing to illuminate effectively.
4. CONFIGURING THE BATTERY AND WIRING
The battery not only stores power but also influences the overall performance of the solar lights. Once the solar panel and LED bulbs are secured, focus on the battery placement. It is crucial to install the battery within the casing, ensuring connections are tight and secure. The integration of the charging circuit alongside the battery allows for efficient energy transfer from the solar panel to the battery.
Proper wiring configuration is paramount for the optimal operation of the assembled solar lights. Mistakes in wiring can lead to faulty lighting or even short circuits. Always double-check connections and ensure no wires are exposed, reducing the risk of hazards. Cap all connections with insulating tape to enhance safety. Once everything is secure, proceed to test the functionality of your newly assembled solar lights, verifying that each component operates as intended.
5. TESTING FUNCTIONALITY AND ADJUSTMENTS
Having assembled your solar lights, testing them becomes an absolute necessity to confirm functionality. Initially, leave the lights outside in a well-lit area, allowing the solar panels to collect energy during the day. At nighttime, observe whether the lights illuminate correctly. If they perform as expected, congratulations on your successful assembly!
However, if the lights do not function, it’s essential to revisit each step. Inspect the connections to the battery and LED bulbs thoroughly. Ensure the solar panel is clean and free of obstructions that could impede its ability to absorb sunlight. Adjustments may involve repositioning the solar panel or reassembling specific connections. Troubleshooting effectively is crucial in attaining a reliable and high-performing solar light system.
6. TIPS FOR OPTIMAL PERFORMANCE
Achieving optimal performance from solar lights extends beyond mere assembly. Placement plays a significant role; positioning the solar panel in a location that receives abundant sunlight during the day enhances energy absorption. Areas obstructed by trees or buildings should be avoided to maximize sunlight exposure.
Regular maintenance is equally important for ensuring longevity and efficiency. Remove dirt and debris from the solar panels periodically; a clean panel will capture more sunlight. Additionally, replacing batteries every few years is advisable, as they may lose their capacity to retain charge over time. This proactive approach guarantees that solar lights maintain optimal functionality and provide consistent illumination.
7. POTENTIAL CHALLENGES AND SOLUTIONS
Even with careful assembly, potential challenges may arise during the installation and usage of solar lights. Weather conditions, for instance, can affect the performance of solar lights. Heavy rain or prolonged cloud cover may result in insufficient energy collection. To mitigate these effects, consider using high-capacity batteries that store more energy, allowing the lights to operate effectively even in adverse weather.
Another possible challenge is the overheating of components due to excessive sunlight exposure. Ensuring that the solar panel has adequate ventilation and is not placed in an enclosed area can help manage this risk. Additionally, using weatherproof or UV protective casings can further safeguard the integrity of the lights, making them more resilient to outdoor conditions.
FREQUENTLY ASKED QUESTIONS
HOW LONG DO SOLAR LIGHTS LAST?
The lifespan of solar lights can vary significantly based on the quality of components used and maintenance provided. Typically, LED bulbs can last between 25,000 to 50,000 hours. This translates to several years of use, depending on the frequency of operation. The rechargeable batteries, however, often require replacement every 1 to 3 years. Maintaining the solar panel and ensuring it is free from obstructions further extends the overall lifespan, as efficient solar energy collection is crucial for sustenance.
CAN SOLAR LIGHTS OPERATE IN WINTER?
Solar lights can indeed function in winter, but their performance may be impacted by several factors. Snow accumulation on solar panels can hinder sunlight absorption, causing diminished effectiveness. To counteract this, positioning the lights in areas less prone to snow accumulation helps maintain functionality. While cloudy or short days in winter can limit energy collection, high-quality solar panels can still capture sufficient light to power the lights intermittently.
HOW DO I CHOOSE THE RIGHT SOLAR LIGHTS FOR MY NEEDS?
Selecting appropriate solar lights requires assessing several factors, such as intended use, brightness level, and aesthetic preference. Evaluate your lighting requirements; for example, pathway lighting will need different brightness specifications than security lighting. Look for lights with features like motion sensors, adjustable brightness settings, and durable materials suited for outdoor conditions. Also, consider whether you desire fixed installations or portable options, as this can influence the overall choice.
In summary, the process of assembling solar lights yourself involves several crucial steps to ensure efficiency and functionality. Starting with understanding the essential components, followed by gathering the necessary tools and materials, and then carefully assembling the lights, is vital. Testing the lights and making tweaks based on their performance is equally important. Adopting proper placement and maintenance routines significantly enhances their effectiveness. With thoughtful planning and execution, you can create an efficient solar lighting system that meets your needs and contributes positively to your environment. This self-management empowers individuals to harness solar energy, reducing dependence on conventional electrical sources while promoting sustainability.
Original article by NenPower, If reposted, please credit the source: https://nenpower.com/blog/how-to-assemble-solar-lights-yourself/
