
1. Review Inverter Specifications
- Power Rating: Ensure the inverter can handle the combined power output of your solar array and the charge/discharge rate of your batteries.
- Voltage Range: Check that the inverter’s voltage range is compatible with both your solar array and the new battery system.
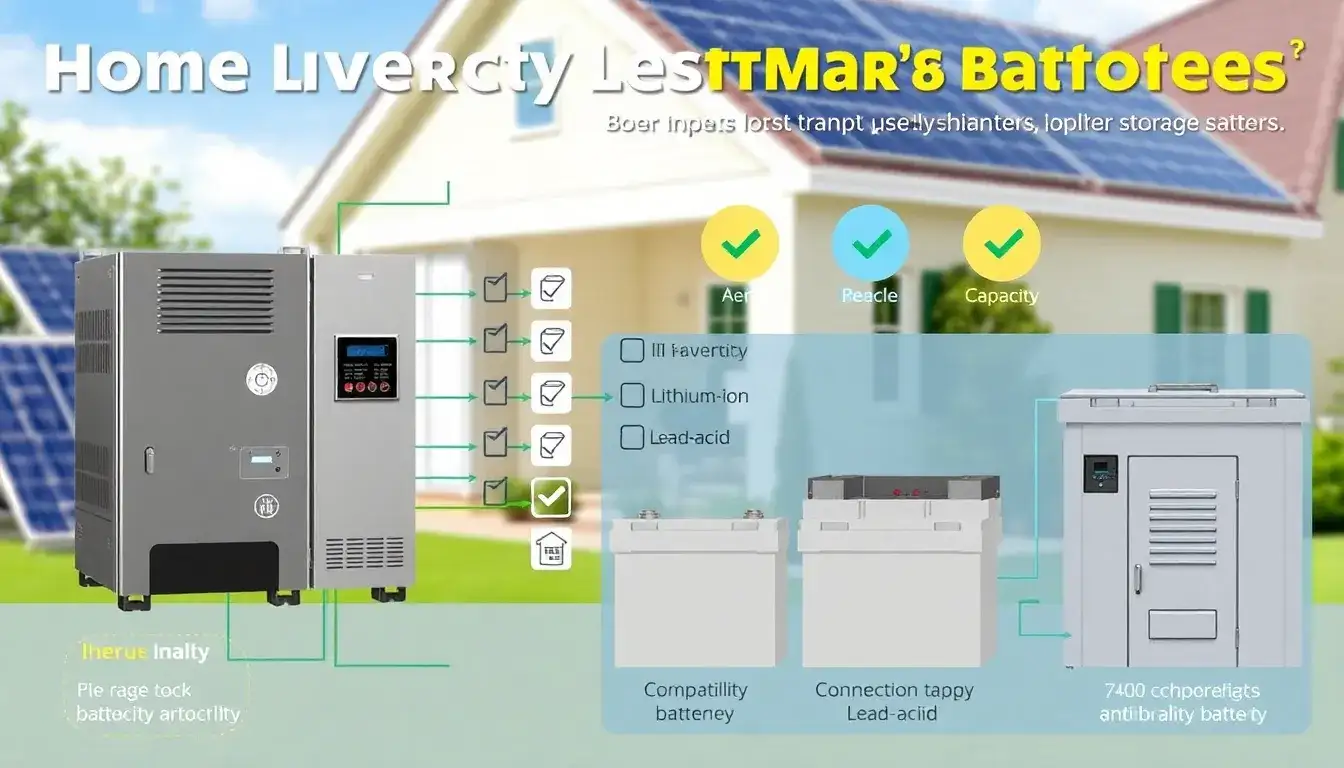
2. Battery Type Considerations
- Lithium-Ion and LiFePO4 Batteries: These require specific charging algorithms and BMS compatibility. Not all inverters support these battery types, so check if your inverter is designed for lithium technology.
3. Inverter and Battery Communication
- Communication Protocols: Ensure the inverter supports the same communication protocols as the battery’s BMS (e.g., CAN bus, RS232).
4. Charging and Discharging Requirements
- Verify the inverter can provide the necessary charging profile and handle the peak current discharge requirements of the new batteries.
5. Consult Manufacturer Documentation and Support
- Check the inverter’s manual or contact the manufacturer to confirm compatibility with specific battery models.
- Some brands like Victron provide specifications and guidelines for integrating various battery types.
6. Perform Compatibility Checks for Specific Battery Systems
- If using high-voltage battery systems (e.g., 150V to 400V), ensure the inverter supports these voltages.
By following these steps, you can ensure a compatible and efficient integration of new batteries with your existing inverter.
Original article by NenPower, If reposted, please credit the source: https://nenpower.com/blog/how-do-i-know-if-my-current-inverter-is-compatible-with-new-batteries/
