
To debug a solar control box effectively, one must follow a systematic approach that encompasses several key steps. 1. Ensure Proper Power Supply – Check that the power supply to the solar control box is functioning adequately, providing the necessary voltage and current for operation. 2. Inspect Connections and Wiring – Examine all connections and wiring for any signs of wear, corrosion, or loose fittings, as these can lead to intermittent signals or power loss. 3. Verify Sensor Functionality – Assess the performance of sensors integrated within the system to ensure they are providing accurate readings. 4. Update Firmware – Make sure the control box is equipped with the latest firmware version, as updates can resolve existing bugs and improve system performance. The debugging process not only entails identifying issues but also implementing solutions in a methodical and safe manner to restore optimal functionality.
1. UNDERSTANDING THE SOLAR CONTROL BOX
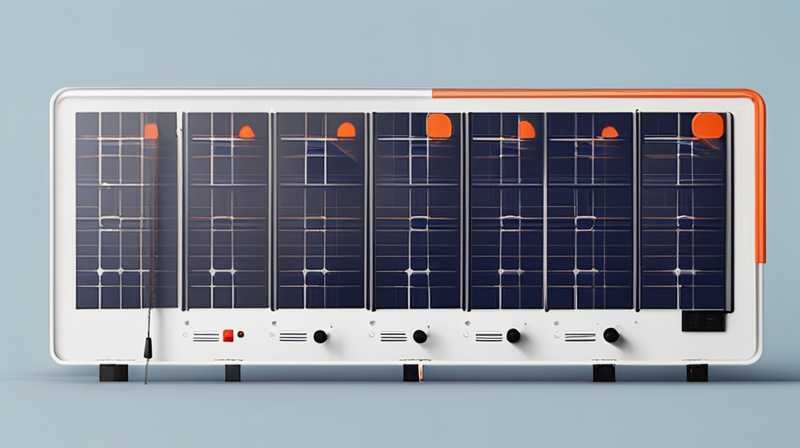
The solar control box represents a pivotal component in solar energy systems, acting as the brain that optimizes the performance of solar panels and energy storage devices. Centralized within its design is the ability to process data from various sources, including solar panels, batteries, and sensors, making this device instrumental in the effective management of solar energy.
A primary function of the solar control box is to regulate the flow of electricity between the solar panels and the batteries. This involves monitoring parameters such as voltage, current, and temperature to ensure that the batteries are charged efficiently while preventing overcharging, which can lead to reduced battery lifespan or catastrophic failure. Therefore, gaining a comprehensive understanding of its functionalities is essential for successful debugging.
2. INITIAL DIAGNOSTIC STEPS
Embarking on the debugging process requires a structured set of diagnostic steps. Initially, assessing the power supply is paramount. This means ensuring that the solar control box receives appropriate voltage and current. If the power supply source, such as solar panels or grid input, is fluctuating or inadequate, it can directly influence performance and functionality. Therefore, using a multimeter to check voltage levels at the input terminals of the control box is an excellent starting point.
Following this, the next area of focus should be the physical connections and wiring. Since solar control boxes are often exposed to various environmental conditions, wear and tear may occur. Inspect the wiring harness for signs of fraying or damage, and ensure connections are secure; loose wires could result in inconsistent performance. A thorough inspection could reveal issues that are easy to rectify if caught early, thereby saving time and resources.
3. SENSOR EVALUATION
When undertaking the debugging of a solar control box, sensor evaluation plays a crucial role. Sensors play a significant part in gathering essential data regarding system performance. The types of sensors commonly found affiliated with solar control boxes include current sensors, temperature sensors, and voltage sensors. Each serves a unique purpose that aids in optimizing energy generation and storage.
Performing a functional check of these sensors involves verifying their calibration and response to changes in environment and conditions. If sensors display erratic behavior or readings that seem implausible, recalibration or replacement may be necessary. It’s beneficial to have an understanding of how to approach this calibration process to enhance accuracy in system performance.
4. FIRMWARE AND SOFTWARE INSPECTION
Another critical dimension in debugging solar control boxes is the state of their firmware and software. Solar control systems are often outfitted with software that allows for user input and monitoring, which greatly enhances functionality and customization. Many manufacturers will periodically release firmware updates that address known issues, improve compatibility, or enhance features.
Checking for updates involves accessing the manufacturer’s website or the interface through which the solar control box connects with the end-user. In certain cases, bugs or glitches can occur if the software has not been updated to the latest version. If problems persist after updating, reverting to a previous version might also be a viable solution, as newer updates can sometimes introduce unforeseen complications.
5. TROUBLESHOOTING COMMON ERRORS
Troubleshooting entails identifying common errors encountered during operation. One prevalent issue involves solar panels displaying poor performance, which can frequently derive from either shading or soiling. It is advisable to inspect for debris or obstructive vegetation that may disrupt sunlight exposure on solar panels. Inadequate sunlight can lead to underperformance, leading users to falsely attribute issues to the control box.
Another frequent error relates to inverter or controller misrepresentation. Solar control boxes often interface with inverters to convert DC electricity to AC for household use. Users should familiarize themselves with specific indicator lights and error codes which offer detailed insights into performance. By gaining clarity on what each light or code signifies, users can identify whether the issue lies with the inverter or the control box itself.
FAQs
HOW OFTEN SHOULD I CHECK MY SOLAR CONTROL BOX?
Regular maintenance of a solar control box is ideal. It is recommended to perform checks at least twice a year. Monitoring various elements such as wiring integrity, sensor performance, and software updates during these inspections can significantly enhance your system’s reliability. Moreover, issues can often be mitigated if caught early, as many minor problems can escalate if neglected.
WHAT ARE SOME SIGNS THAT MY SOLAR CONTROL BOX IS NOT FUNCTIONING CORRECTLY?
A few indicators may reveal that a solar control box is malfunctioning. Signs like erratic power output, frequent disconnections, or abnormal readings from sensors should not be ignored. Additionally, if system notifications alert you of faults or errors, immediate action is crucial.
CAN I REPAIR MY SOLAR CONTROL BOX MYSELF?
While some basic checks can be conducted independently, it is often best to engage with professionals for intricate repairs or adjustments. Engaging an experienced technician can ensure that issues are correctly identified and addressed. DIY attempts may inadvertently void warranties or lead to further complications. Therefore, using expert services for complex problems is generally advisable.
In summary, debugging a solar control box is an intricate procedure that necessitates diligence and an understanding of the various components involved. Enhancing system performance involves a multifaceted approach, where each issue penetrated must be evaluated carefully. It commences with verifying the power supply and then checking wiring and connections meticulously. Evaluating sensor performance emerges as a crucial step, alongside the inspection of firmware or software updates to ensure optimal performance. Common troubleshooting methods should be employed when necessary to ensure the entire system functions as intended. While undertaking these tasks, it’s essential also to consider safety precautions to avert potential hazards associated with electrical systems. Engaging professionals or expert guidance can also provide additional support and knowledge, ensuring your solar control system operates at its peak efficiency. By following these steps and conducting periodic inspections, users can significantly prolong the lifespan of their solar control box, while also enjoying the benefits of a well-functioning solar energy solution.
Original article by NenPower, If reposted, please credit the source: https://nenpower.com/blog/how-to-debug-the-solar-control-box/
